So you’re craving something luscious, a little bit fancy, but let’s be real, you don’t want to spend all day covered in flour, huh? Same, friend, *same*. We’re talking about that dreamy, velvety goodness that is Red Velvet Cake, but instead of a culinary marathon, we’re doing a delightful sprint. Forget dry, crumbly imposters; we’re whipping up a moist-as-a-cloud, ridiculously easy Red Velvet using a cake mix. Your secret weapon for instant dessert hero status starts now!
Why This Recipe is Awesome
Okay, let’s be brutally honest. Life’s too short for complicated recipes when a box mix can be transformed into pure magic. This isn’t just “good for a box mix”; this is “OMG, you made this?!” good. It’s truly idiot-proof – and trust me, I’ve put that to the test more times than I care to admit. We’re taking that humble box mix, giving it a little glow-up, and ending up with a cake so moist, so tender, it’ll make you wonder why you ever bothered with those 17-ingredient recipes. Plus, it’s quick enough to whip up for an impromptu celebration or, you know, a Tuesday. No judgment here!
Ingredients You’ll Need
Get ready for a super short list, because we’re all about efficiency here, aren’t we?
- 1 box Red Velvet Cake Mix: That glorious box of magic. Any brand will do, pick your fave!
- 1 cup Whole Milk (or buttermilk!): Ditch the water the box calls for. Milk is our moisture MVP.
- 1/2 cup Vegetable Oil (or melted unsalted butter): For that rich texture.
- 3 large Eggs: Yes, one more than the box usually asks for. Extra fluffiness and moisture, baby!
- 1/2 cup Sour Cream (or plain full-fat Greek yogurt): THIS is the secret sauce for next-level moisture and a subtle tang. Don’t skip it!
- 1 teaspoon Vanilla Extract: A little extra oomph never hurt anyone.
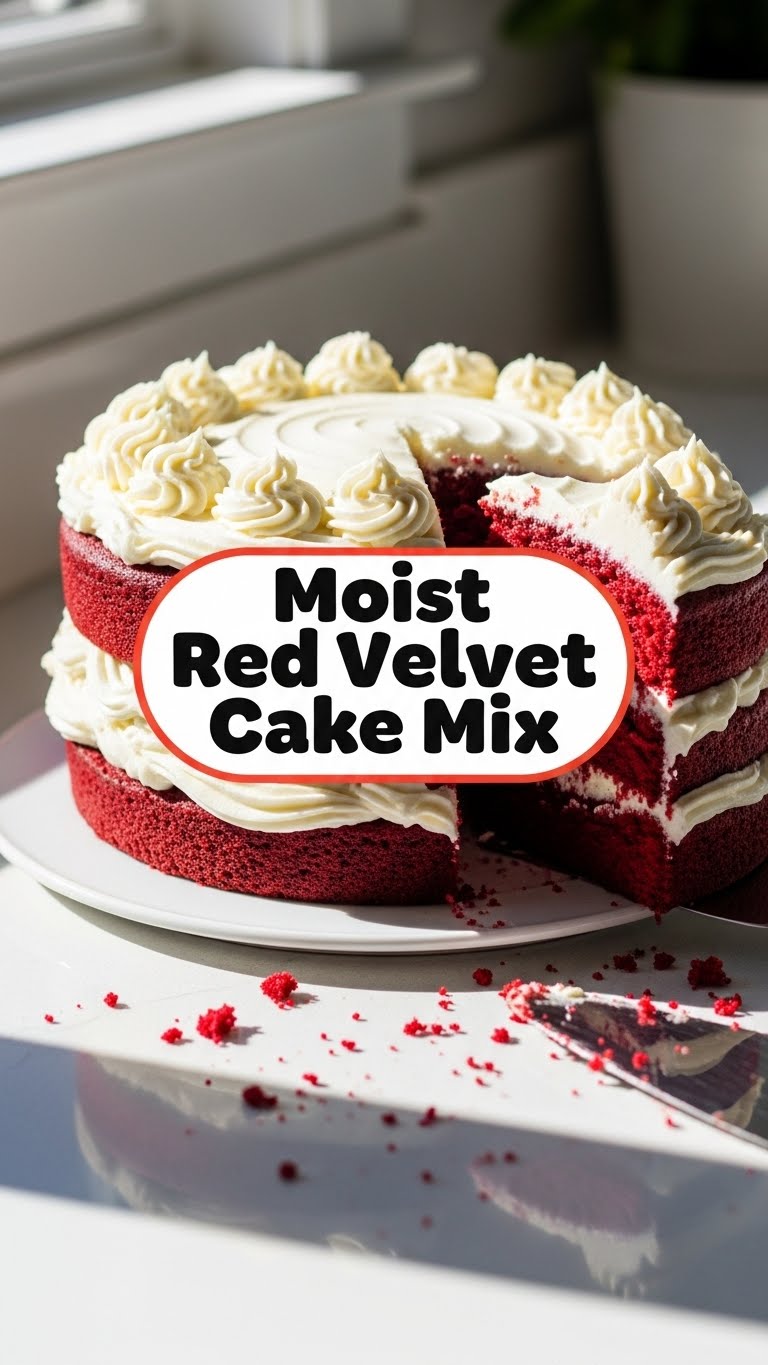
- Cream Cheese Frosting: Store-bought for ease (no shame!), or whip up your own if you’re feeling ambitious.
Step-by-Step Instructions
- Preheat & Prep: First things first, get your oven to 350°F (175°C). Then, grease and flour two 8-inch round cake pans (or one 9×13 pan for a sheet cake vibe). Parchment paper circles on the bottom are a game-changer for easy release, FYI.
- Mix the Wet Stuff: In a large bowl, whisk together the milk, oil, eggs, sour cream, and vanilla extract until everything is nicely combined and smooth.
- Add the Dry Magic: Pour the entire box of red velvet cake mix into your wet ingredients.
- Gentle Combine: Using an electric mixer on low speed (or a whisk and some elbow grease), mix until just combined. You’re looking for smooth, not overworked. Stop mixing as soon as you don’t see any dry streaks! Overmixing is a cake’s worst enemy.
- Pour & Bake: Divide the batter evenly between your prepared cake pans. Pop them in the preheated oven.
- Bake Time: Bake for 28-32 minutes, or until a wooden skewer or toothpick inserted into the center comes out clean. If you’re using a 9×13 pan, it might take a bit longer, around 35-40 minutes.
- Cool Down: Let the cakes cool in their pans on a wire rack for about 10-15 minutes. Then, carefully invert them onto the wire rack to cool completely. This part is crucial!
- Frost & Devour: Once your cakes are *completely* cool (and I mean completely, otherwise you’ll have a frosting disaster), frost them with your cream cheese frosting. Slice, serve, and accept all the compliments!
Common Mistakes to Avoid
- Thinking you don’t need to preheat: Rookie mistake! A cold oven messes with the rise and texture. Always preheat!
- Overmixing the batter: This is a cake cardinal sin. Overmixing develops the gluten too much, leading to a tough, dense cake. Mix until *just* combined.
- Opening the oven door too early: Resist the urge! Let those cakes bake undisturbed for at least 2/3 of the baking time, or they might sink in the middle.
- Not cooling completely before frosting: Patience, young padawan! Frosting a warm cake will result in melted, sliding frosting and a very sad-looking dessert. Nobody wants that.
- Measuring ingredients by eye: While we’re going for chill, baking is still a science. Eyeballing can lead to inconsistent results. Use actual measuring cups!
Alternatives & Substitutions
Feeling a little rebellious? Here are some ways to shake things up:
- Milk Swap: Don’t have whole milk? Skim will work, but whole milk or even better, buttermilk, will give you the best, richest results. Buttermilk adds a lovely tang that complements red velvet perfectly!
- Oil for Butter: If you’re not keen on vegetable oil, melted unsalted butter can absolutely be used for a richer, buttery flavor. Just make sure it’s cooled a bit before mixing.
- Sour Cream Alternative: No sour cream? Plain full-fat Greek yogurt is a fantastic 1:1 substitute. It adds the same moisture and tang.
- Frosting Fun: Cream cheese frosting is iconic for red velvet, but feel free to experiment! A simple vanilla buttercream, whipped cream, or even a white chocolate ganache could be divine.
- Add-ins: Want to get extra fancy? Fold in a handful of white chocolate chips into the batter before baking. Or sprinkle some festive nonpareils on top of the frosting!
FAQ (Frequently Asked Questions)
- Can I use margarine instead of butter/oil? Well, technically yes, but why hurt your soul like that? Margarine can give a different texture and flavor, and IMO, it’s not as good. Stick to oil or real butter for the best results.
- How do I know when the cake is done? A classic toothpick test is your best friend! Insert a wooden skewer or toothpick into the center of the cake. If it comes out clean (no wet batter!), your cake is ready.
- Can I make cupcakes instead? Absolutely! Line a cupcake pan with liners, fill them about 2/3 full, and bake for 18-22 minutes. Keep an eye on them, as baking times will vary.
- Can I make this cake ahead of time? Yes! Baked and unfrosted cakes can be stored tightly wrapped at room temperature for up to 2 days, or frozen for up to 2 months. Just thaw and frost when ready.
- Does red velvet cake need to be refrigerated? If it’s frosted with cream cheese frosting, yes! The dairy in the frosting means it needs to be stored in the fridge. Bring it to room temperature for about 30 minutes before serving for the best flavor and texture.
- My cake looks dry. What did I do wrong? Most likely culprits are overbaking (even by a few minutes!) or overmixing the batter. Always trust the toothpick test, and mix only until combined!
Final Thoughts
So there you have it, my friend – your foolproof, moist-as-heck Red Velvet Cake from a box mix. Who knew being a culinary genius could be this easy? You’ve got all the tips and tricks to make a cake that tastes homemade without the all-day effort. Now go impress someone – or yourself – with your new culinary skills. You’ve earned it!


