So you’re craving something warm, sweet, and utterly comforting, but the thought of a complicated recipe makes you want to just order takeout? Yeah, same, friend. We’ve all been there, staring blankly into the fridge, wishing a perfect slice of moist cake would just manifest. Good news: while actual magic is still on backorder, I’ve got the next best thing. This isn’t just a cake; it’s a hug in dessert form, and it’s so easy, you might just wonder if you accidentally became a pastry chef overnight.
Why This Recipe is Awesome (A.K.A., Why You’re About to Become a Dessert Legend)
Listen, I get it. Life’s busy. Your couch is comfy. But this isn’t one of those recipes that demands your firstborn or 8 hours of your weekend. This “Golden Cloud of Moistness” cake is:
- Seriously Simple: If you can mix things in a bowl, you can make this cake. It’s practically idiot-proof. (No offense, just saying even *I* haven’t messed it up.)
- Unbelievably Moist: We’re talking melt-in-your-mouth, ‘is there butter in this even if I used oil?’ levels of moist. No dry, crumbly sadness allowed.
- Quick to the Plate: From zero to hero (cake hero, that is) in less time than it takes to binge-watch a few episodes of your favorite show.
- Versatile AF: It’s a fantastic base for pretty much any flavor or frosting you can dream up. Or, you know, just eat it plain. Your call.
Ingredients You’ll Need (The Goods for Goodness)
Gather your troops! These are the simple heroes of our moist cake saga. Make sure everything’s at room temperature for best results – it actually matters, trust me!
- 1 ½ cups All-Purpose Flour: The backbone of our operation. Don’t worry, we’re not getting fancy with cake flour.
- 1 ½ teaspoons Baking Powder: For that lovely lift. We want cake, not a hockey puck.
- ½ teaspoon Salt: A little pinch brings out all the other flavors. Don’t skip it, it’s like the unsung hero.
- ¾ cup Granulated Sugar: Sweet, sweet granulated joy. Adjust to your sweet tooth, but this is a good starting point.
- ½ cup (1 stick) Unsalted Butter: Softened, please! Like, really soft, but not melted. Alternatively, you can use ½ cup vegetable oil for an even moister cake. Your choice, chef!
- 2 Large Eggs: Room temperature. Our binding agents.
- 1 teaspoon Vanilla Extract: Because plain cake is a tragedy. Go for the good stuff if you can.
- ¾ cup Milk: Any kind! Whole, 2%, almond, oat – whatever you’ve got chilling in the fridge. Also, room temperature, obvs.
Step-by-Step Instructions (Let’s Get This Party Started!)
- Prep Your Stage: Preheat your oven to 350°F (175°C). Seriously, do it now. Grab an 8 or 9-inch round baking pan, grease it generously, and dust it with a little flour. Don’t skip this step! Unless you enjoy scraping cake off a pan, which, who does?
- Dry Mix Magic: In a medium bowl, whisk together the flour, baking powder, and salt. Set aside. This is your “dry stuff” bowl.
- Wet Wonders (If Using Butter): In a larger bowl, cream together the softened butter and sugar until it’s light and fluffy. This can take 2-3 minutes with an electric mixer. If you’re using oil, just whisk the oil and sugar together briefly.
- Egg-cellent Additions: Beat in the eggs, one at a time, mixing well after each addition. Then stir in that glorious vanilla extract. Scrape down the sides of the bowl to make sure everything’s incorporated.
- Alternate & Conquer: Now for the alternating! Add about a third of your dry flour mixture to the wet ingredients and mix on low speed until *just* combined. Then add half of the milk and mix. Repeat with another third of the flour, the rest of the milk, and finally the last of the flour. Stop mixing as soon as the last streaks of flour disappear. Overmixing is the enemy of moist cake!
- Into the Pan It Goes: Pour your beautiful batter into your prepared baking pan. Give the pan a gentle tap or two on the counter to settle the batter and release any air bubbles.
- Bake It ‘Til Golden: Pop that pan into your preheated oven. Bake for 28-35 minutes, or until a wooden skewer or toothpick inserted into the center comes out clean.
- Cool Down, Buttercup: Let the cake cool in the pan for about 10-15 minutes. Then, carefully invert it onto a wire rack to cool completely. Patience, young padawan!
- Slice and Devour: Once cool, slice into your masterpiece. Frost it if you’re feeling fancy (a simple glaze or buttercream works wonders), or just enjoy it plain. You’ve earned this.
Common Mistakes to Avoid (So Your Cake Doesn’t End Up in the ‘Fail’ Pile)
We’ve all been there, staring at a deflated, dry, or stuck-to-the-pan cake. Learn from my mistakes (and everyone else’s!):
- Ignoring Room Temperature Ingredients: This isn’t just a suggestion; it’s a science. Cold ingredients don’t emulsify properly, leading to a lumpy batter and a less tender cake.
- Overmixing the Batter: The absolute arch-nemesis of tender cake! Once you add the flour, mix only until just combined. Too much mixing develops gluten, making your cake tough and chewy. We want fluffy, not rubbery.
- Not Preheating the Oven: Baking in a cold oven is like trying to sprint before stretching. It messes with the cake’s rise and texture. Always preheat!
- Opening the Oven Door Too Early: Resist the urge! The first 20-25 minutes are crucial for the cake to set. Opening the door lets out heat and can cause your cake to sink.
- Forgetting to Grease/Flour the Pan Properly: Trust me, fighting with a stuck cake is not how you want to end your baking journey. Grease, flour, and maybe even line the bottom with parchment paper for extra insurance.
Alternatives & Substitutions (Because Life’s About Options!)
Feel free to get creative! This recipe is a fantastic base for all sorts of deliciousness.
- Butter vs. Oil: As mentioned, vegetable oil makes for an incredibly moist cake, sometimes even more so than butter. Butter, however, adds a richer flavor. Try both, see what you prefer!
- Milk Alternatives: Any dairy or non-dairy milk works here. Almond milk, soy milk, oat milk – they’re all welcome to the party. Even buttermilk will give it a nice tang and extra moisture.
- Flour Power: Want to try a gluten-free version? A 1:1 gluten-free baking blend will usually work beautifully in this recipe.
- Flavor Boosters:
- Lemon Zest: Add 1-2 teaspoons of lemon zest for a bright, citrusy cake.
- Almond Extract: Swap half the vanilla for almond extract for a marzipan-like flavor.
- Sprinkles: Fold in ½ cup of sprinkles at the very end for a funfetti cake!
- Cocoa Powder: Replace ¼ cup of flour with ¼ cup of unsweetened cocoa powder for a subtle chocolatey hint.
FAQ (Frequently Asked Questions – Because You Probably Have ‘Em)
Got questions? I’ve got (casual, probably humorous) answers!
- My cake came out dry! What went wrong? Hmm, did you overbake it? Or maybe accidentally add too much flour? Dryness usually comes from one of those culprits. Next time, try baking for less time or using a kitchen scale for precise flour measurement.
- Can I make cupcakes with this recipe? Absolutely! Just fill cupcake liners about two-thirds full and bake for 18-22 minutes. Keep an eye on them, as baking times differ.
- How do I know when the cake is truly done? The classic toothpick test never lies! Insert a toothpick into the center; if it comes out clean or with a few moist crumbs attached (not wet batter), it’s ready.
- Can I freeze this cake? Yep! Once completely cooled and unfrosted, wrap it tightly in plastic wrap, then aluminum foil. It’ll keep for up to 3 months. Thaw it on the counter when you’re ready for more cake goodness.
- Why is it so important for ingredients to be at room temperature? Is it just to annoy me? Ha! No, it’s not to annoy you (well, maybe a little). Room temperature ingredients emulsify better, meaning they blend together smoothly, trapping more air and creating a lighter, more even-textured, and yes, moister cake. Science, baby!
- Do I really need to sift the flour? For this recipe, probably not critical. Modern flours are usually finely milled. However, if you want an extra-light, airy cake, sifting can help break up any clumps and aerate the flour.
- Can I use brown sugar instead of granulated? You can! Brown sugar will add an extra layer of moisture and a lovely, subtle caramel note. Just be aware it might make your cake a little denser and darker in color.
Final Thoughts (Go Forth and Bake!)
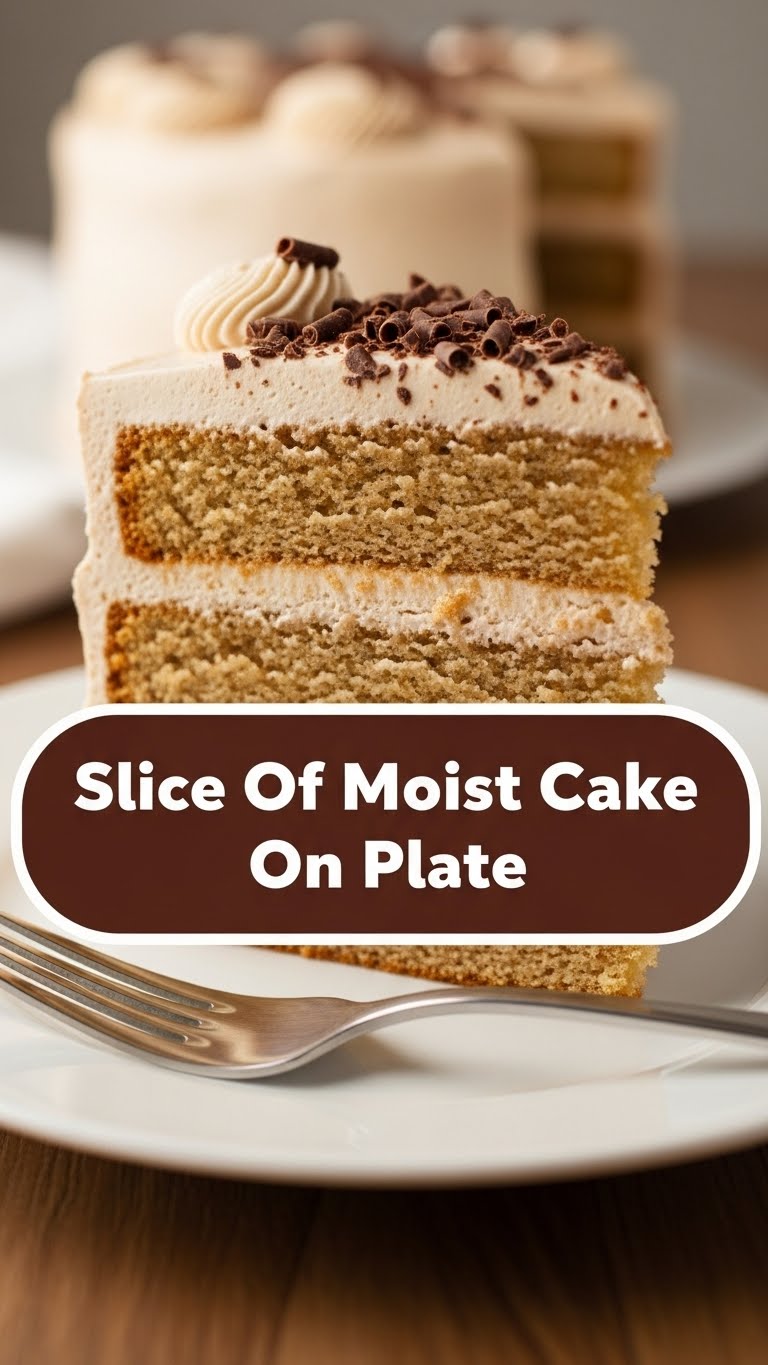
There you have it, folks! A recipe for a slice of moist cake on a plate that’s so good, you’ll be wondering why you ever paid good money for sad, dry supermarket cake. Now go impress someone—or yourself—with your new culinary skills. You’ve earned the right to brag a little, and more importantly, to enjoy every single delightful crumb. Happy baking!


