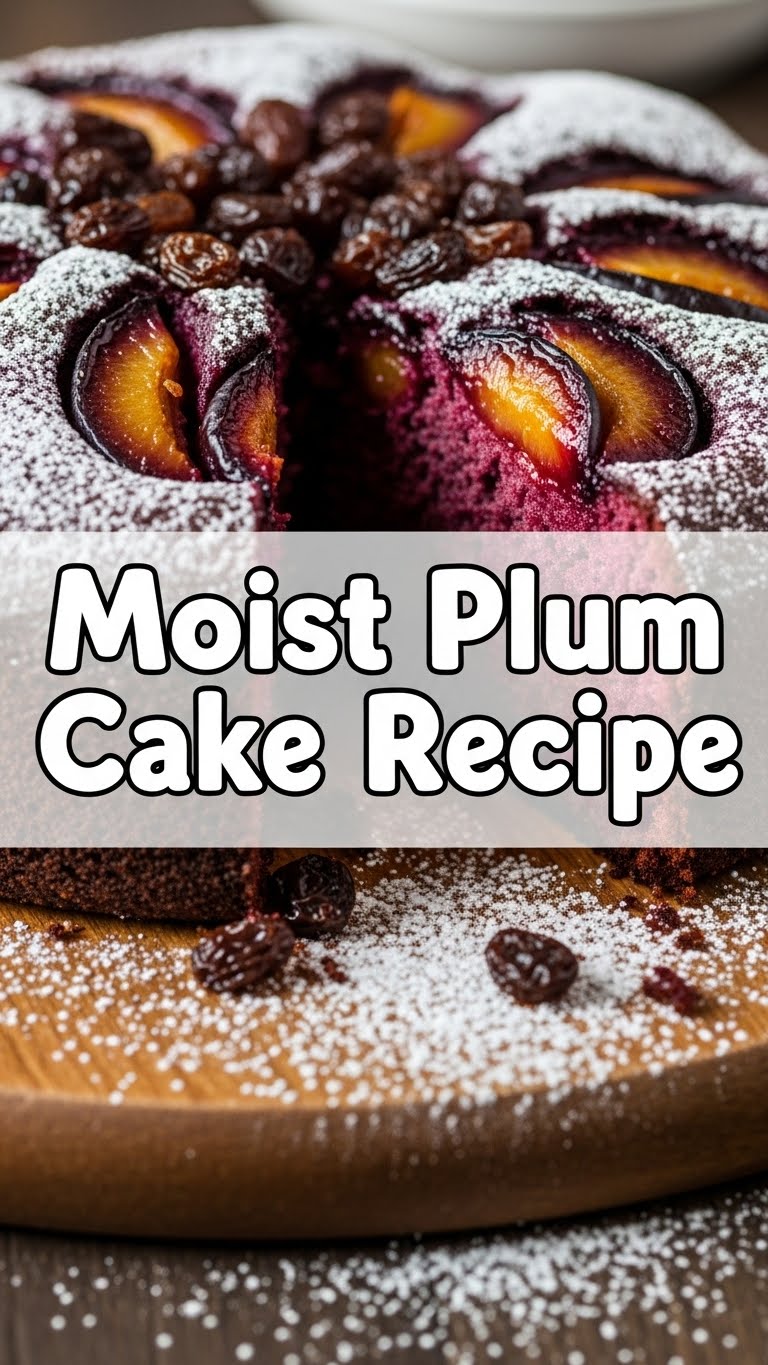
Ever wake up craving something sweet, moist, and utterly delicious, but the thought of a complicated recipe makes you wanna crawl back into bed? Yep, been there, done that. Most days, I’m all about maximum deliciousness for minimum effort. And guess what? I found the holy grail of “I-can’t-believe-this-was-so-easy-and-it’s-this-good” cakes. We’re talking about a **Moist Plum Cake** that will make your taste buds sing, and your friends think you’re a baking genius (your secret is safe with me!).
Why This Recipe is Awesome
Okay, let’s be real. This isn’t one of those fussy, delicate bakes that requires a culinary degree and perfect silence. This plum cake is practically idiot-proof. Seriously, even if your usual baking success story involves a store-bought mix, you can nail this. It’s incredibly forgiving, meaning a little over or under-mixing isn’t going to send it straight to the trash. It’s also:
- **Super Moist:** Like, seriously, moist. No dry crumbly business here.
- **Simple Ingredients:** Nothing you need to hunt down in an obscure artisan food store. Just pantry staples!
- **Beginner-Friendly:** If I didn’t mess it up, you won’t. Trust me.
- **Delicious Warm or Cold:** Perfect with your morning coffee, afternoon tea, or as a late-night snack (no judgment).
- **Looks Fancy, Acts Casual:** It’s got that rustic, elegant look, but it’s basically wearing sweatpants.
Ingredients You’ll Need
Gather your troops, er, ingredients! Make sure your butter and eggs are at room temperature. It makes a HUGE difference, trust me.
- 1 ½ cups All-purpose flour: The backbone of our cake. No fancy stuff needed.
- 1 ½ teaspoons Baking powder: Our rising hero. Don’t skip it, unless you want a plum pancake.
- ¼ teaspoon Salt: Just a pinch, to make everything pop.
- ½ cup (1 stick) Unsalted butter: Softened, at room temp, please! Like a good house guest, it’s easier to work with when it’s relaxed.
- ¾ cup Granulated sugar: Sweetness personified. Or granulated, whatever.
- 2 Large eggs: Room temp! Binds everything together, like a good therapist.
- 1 teaspoon Vanilla extract: Adds that *chef’s kiss* flavor.
- ½ cup Milk: Whole milk preferred for ultimate moistness, but any milk will do in a pinch.
- 3-4 Medium fresh plums: Halved and pitted. The absolute star of the show! Don’t be shy with them.
- **Optional:** A sprinkle of extra sugar or a dash of cinnamon for the top (because why not?).
Step-by-Step Instructions
Alright, apron on, game face ready! Let’s get baking!
- **Prep Your Arena (aka Oven & Pan):** Preheat your oven to 350°F (175°C). Grab an 8 or 9-inch round cake pan. Grease it, then line the bottom with parchment paper. Greasing the parchment too is a pro move. **Don’t skip this step!**
- **Whisk the Dry Stuff:** In a medium bowl, whisk together your flour, baking powder, and salt. Give it a good mix, then set it aside.
- **Cream the Wet Stuff (Part 1):** In a larger bowl, using an electric mixer (or a strong arm), cream together the softened butter and granulated sugar until it’s light and fluffy. This usually takes about 2-3 minutes. This is where the magic starts.
- **Add Eggs & Vanilla:** Beat in the eggs, one at a time, mixing well after each addition. Then, stir in the vanilla extract. Scrape down the sides of the bowl to make sure everything’s incorporated.
- **Alternate & Combine:** Now for the grand finale! Add your dry ingredients to the wet ingredients in three additions, alternating with the milk in two additions. **Start and end with the dry ingredients.** Mix on low speed *just until combined*. **Seriously, do NOT overmix!** Overmixing is the enemy of a moist cake.
- **Pour & Plum-ify:** Pour the glorious batter into your prepared cake pan. Arrange the plum halves on top of the batter, cut-side up. You can be artistic here, or just plop them on. If you want, sprinkle a little extra sugar or cinnamon over the plums.
- **Bake It Up!:** Pop that pan into your preheated oven and bake for 45-55 minutes. You’ll know it’s ready when **a toothpick inserted into the center comes out clean.**
- **Cool Down:** Let your masterpiece cool in the pan for about 10-15 minutes. Then, carefully invert it onto a wire rack to cool completely. Try not to eat it all at once – it’s tough, I know!
Common Mistakes to Avoid
Listen up, buttercup! A few rookie mistakes can turn your dream cake into… well, something less dreamy. Avoid these:
- **Not preheating your oven:** Seriously, it’s not a suggestion, it’s a command. A cold oven will give you uneven baking and a sad cake.
- **Overmixing the batter:** This is probably the biggest culprit for dry, tough cakes. Mix until *just* combined. See a few streaks of flour? Totally fine!
- **Using cold ingredients:** Butter, eggs, milk—let them hang out on the counter for at least 30 minutes. Room temp ingredients emulsify better, giving you a smoother, more uniform batter.
- **Cutting into it too soon:** I know, the smell is intoxicating, and you want to dive in immediately. But please, let it cool a bit or it might crumble and stick to the pan. Patience is a virtue, especially in baking!
- **Not lining your pan:** Even if your pan is non-stick, that parchment paper is your insurance policy against sticking. Trust me, it’s worth the extra 30 seconds.
Alternatives & Substitutions
Life happens, and sometimes you don’t have exactly what the recipe calls for. No worries, we can improvise!
- **Plums:** No plums? *Gasp!* But okay, try peaches, apricots, nectarines, or even berries (like blueberries or raspberries). Fresh is best, but if you’re using frozen fruit, make sure to thaw and drain it well to avoid excess moisture.
- **Butter:** Margarine is a “break glass in emergency” option, but butter reigns supreme for flavor and texture. For a dairy-free version, a good quality plant-based baking butter alternative can work.
- **Flour:** All-purpose is king here, but you *could* try a 1:1 gluten-free baking blend if you’re feeling adventurous (results may vary, my friend, so no guarantees!).
- **Milk:** Whole milk gives the best richness, but 2%, 1%, or even unsweetened plant-based milk (like almond or soy) will work in a pinch.
- **Spices:** Feeling extra? A pinch of cardamom or a touch of ginger alongside the cinnamon can really elevate the flavor profile.
FAQ (Frequently Asked Questions)
Got questions? I’ve got (casual and hopefully helpful) answers!
- **Can I use dried plums/prunes?** Nah, stick to fresh for this recipe. Dried fruit has a different moisture content and texture, and it just won’t give you the same juicy burst.
- **My cake isn’t moist, what went wrong?** Probably overbaked or overmixed. Keep a close eye on that baking time and remember to mix gently until *just* combined! Use an oven thermometer to ensure your oven temp is accurate.
- **Do I have to peel the plums?** Nope! The skins soften beautifully during baking and add a lovely color and a bit of tartness. Less work for you, which is always a win in my book!
- **Can I make this dairy-free?** Yes! Use a good quality plant-based milk (like almond or oat) and a dairy-free butter alternative. Make sure your butter alternative is suitable for baking.
- **How long does it keep?** Covered at room temperature, it’ll last 2-3 days. In the fridge, it’s good for up to 5 days. Honestly, it often tastes even better the next day when the flavors have had a chance to meld.
- **What if I don’t have a round pan?** A square 8×8-inch pan or even a loaf pan will do! Just keep an eye on the baking time; it might be slightly shorter for a square pan, and potentially a bit longer for a loaf pan.
- **Can I add nuts to this?** Absolutely! A sprinkle of chopped walnuts or pecans on top of the plums (or folded into the batter) would add a lovely crunch.
Final Thoughts
See? I told you it was easy! And now you’ve got this gorgeous, moist plum cake that tastes like sunshine and hugs. Seriously, this cake is perfect for impressing guests, delighting your family, or just treating yourself because, frankly, you deserve it.
Go on, grab a slice (or three). You’ve earned it! And maybe tell your friends you slaved over it for hours—your secret’s safe with me. 😉 Happy baking, my friend!


