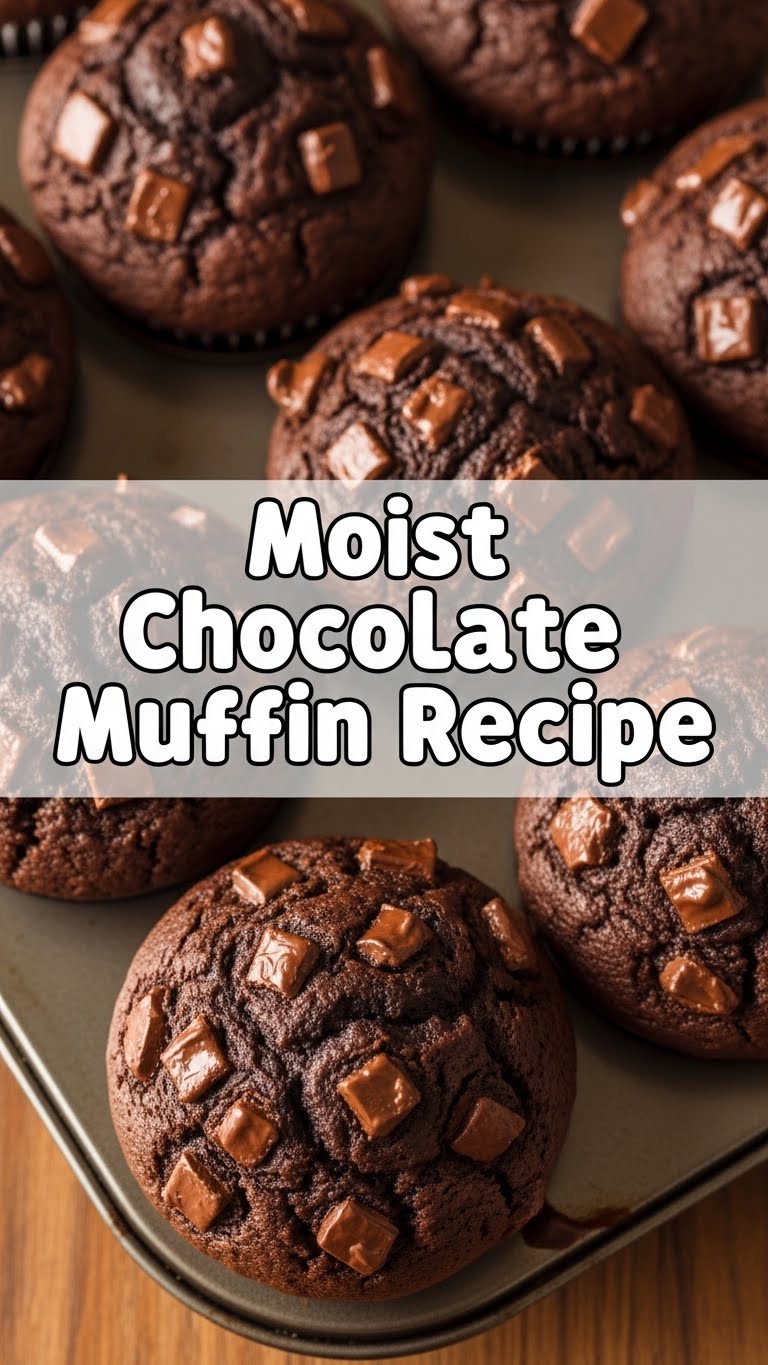
So, you’re staring into the fridge, dreaming of chocolate, but the thought of a complicated baking project makes you want to curl up with a bag of chips instead? Been there, done that. But what if I told you there’s a chocolate muffin recipe so ridiculously easy and delicious, it’ll make you feel like a pastry chef without all the drama? Yep, you heard me right. Get ready for some moist, chocolatey bliss.
Why This Recipe is Awesome
Okay, first things first: This isn’t just *any* chocolate muffin recipe. This is THE chocolate muffin recipe for anyone who loves chocolate but dreads dishes. It’s seriously **idiot-proof**. I’ve made it on a Tuesday night after a loooong day, and it still turned out perfectly. It’s fast, minimal fuss, and yields muffins so moist, they practically melt in your mouth. Plus, your kitchen will smell divine, and isn’t that half the point anyway?
Ingredients You’ll Need
- **All-purpose flour:** About 1 ½ cups. The backbone of our muffin empire.
- **Granulated sugar:** ¾ cup. For that sweet, sweet magic.
- **Unsweetened cocoa powder:** ½ cup. The star of the show! Don’t skimp here; it’s where all the chocolatey goodness comes from.
- **Baking soda:** 1 teaspoon. Our little lift-off agent, ensuring fluffy perfection.
- **Salt:** ½ teaspoon. Just a pinch to make everything pop and balance the sweetness.
- **Milk:** ¾ cup. Whole milk is best for richness, but whatever you have will work.
- **Vegetable oil:** ½ cup. Yes, oil! It’s the secret to that mind-blowingly moist texture. Don’t even think about butter for this one.
- **Large egg:** 1. The binder, the unifier.
- **Vanilla extract:** 1 teaspoon. Because vanilla makes chocolate even better, duh.
- **Chocolate chips:** 1 cup (semi-sweet or dark). Because you can never have too much chocolate, can you?
Step-by-Step Instructions
- **Preheat & Prep:** Crank that oven to 400°F (200°C). Line a 12-cup muffin tin with paper liners. Trust me, liners are your friend and make cleanup a breeze.
- **Dry Mix Master:** In a big bowl, whisk together the flour, sugar, cocoa powder, baking soda, and salt. Make sure there are no big lumps—we want smooth sailing!
- **Wet Mix Whiz:** In a separate medium bowl, whisk together the milk, vegetable oil, egg, and vanilla extract until they’re all buddy-buddy and well combined.
- **Combine the Squad:** Pour the wet ingredients into the dry ingredients. Mix gently with a spatula until *just* combined. **DO NOT overmix!** Lumps are actually okay here, a little rustic charm never hurt anyone and ensures tender muffins.
- **Chip It In:** Gently fold in those glorious chocolate chips. Because, well, more chocolate.
- **Fill ‘Em Up:** Divide the batter evenly among the 12 muffin cups. They should be about two-thirds full to allow for proper rising.
- **Bake It Up:** Pop them in the oven for 18-20 minutes, or until a toothpick inserted into the center comes out with moist crumbs (not wet batter!). The tops should be set and spring back slightly.
- **Cool Down:** Let them chill in the muffin tin for a few minutes before transferring them to a wire rack to cool completely. Or, you know, eat one while it’s still warm. No judgment here.
Common Mistakes to Avoid
- **Overmixing the batter:** This is the *number one* sin. Seriously. Overmixed batter equals tough, rubbery muffins. Mix until just combined, even if there are a few flour streaks. Your arm will thank you, and so will your taste buds.
- **Not preheating your oven:** Thinking you don’t need to preheat the oven? Rookie mistake. A hot oven helps the muffins rise beautifully and gives them that perfect dome. Don’t skip this!
- **Baking too long:** Dry muffins are a sad, sad thing. Keep an eye on them; **every oven is a little different**. Start checking around 18 minutes. Moist crumbs are good, wet batter is not.
- **Forgetting the liners (or greasing poorly):** Unless you *love* scrubbing muffin tins, use those paper liners! Or grease *really* well. Your future self will thank you.
- **Eating only one:** Let’s be real, this is a mistake you’ll want to make. But seriously, share if you can resist!
Alternatives & Substitutions
- **Dairy-free?** Swap regular milk for almond, soy, or oat milk. They all work great! Just make sure it’s unsweetened.
- **No chocolate chips?** You can chop up a chocolate bar, use mini chocolate chips, or even throw in some white chocolate chips for a fun twist. **IMO**, semi-sweet is king, but you do you!
- **Want more flavor?** A pinch of instant espresso powder (about ½ teaspoon) really deepens the chocolate flavor without making it taste like coffee. Shhh, it’s our secret weapon.
- **Nutty addition:** Feel free to add about ½ cup of chopped walnuts or pecans for some crunch. Just don’t tell the purists.
FAQ (Frequently Asked Questions)
- **Can I use margarine instead of vegetable oil?** Well, technically yes, but why hurt your soul (and your muffin’s moisture) like that? Vegetable oil is crucial here for that super moist texture. Stick with it if you can.
- **How long do these chocolate gems last?** Stored in an airtight container at room temp, they’re typically good for 3-4 days. But let’s be honest, they rarely last that long.
- **Can I freeze them?** Absolutely! Once cooled completely, wrap individual muffins in plastic wrap, then pop them in a freezer-safe bag. They’ll keep for up to 3 months. Just thaw at room temp or give ’em a quick zap in the microwave.
- **What if I don’t have a muffin tin?** You can use cupcake liners on a baking sheet, but they might spread a bit more and lose some of their shape. Or, **FYI**, a muffin tin is a super useful kitchen tool!
- **My muffins are dry, what went wrong?** Chances are you overmixed the batter or baked them for too long. Remember: **gentle mixing and keep an eye on the oven!**
- **Can I make this into a loaf cake?** You totally can! Adjust baking time to 45-55 minutes at 350°F (175°C) in a standard loaf pan. Check with a toothpick; it should come out with moist crumbs.
Final Thoughts
So there you have it, folks! Your new go-to recipe for ridiculously moist, intensely chocolatey muffins that are practically guaranteed to make your day better. No fancy techniques, no obscure ingredients, just pure chocolatey goodness. Now go impress someone—or yourself—with your new culinary skills. You’ve earned it! And hey, if you end up eating three in a row, I’m not judging. We’re friends, remember?


