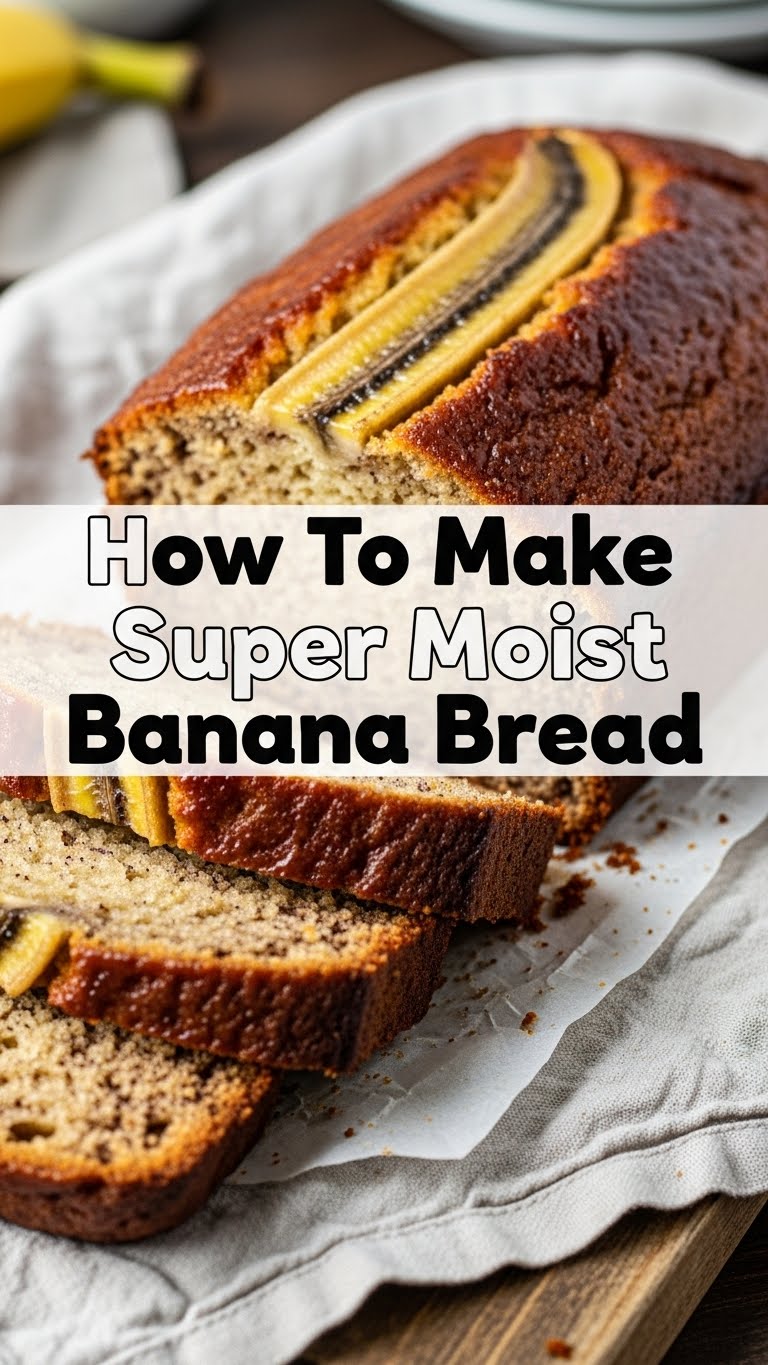
So, you’re staring at those suspiciously spotted bananas on your counter, aren’t you? The ones that have gone from “perfectly ripe” to “is that a science experiment?” Don’t even think about tossing them! That, my friend, is liquid gold just begging to become the most ridiculously moist banana bread you’ve ever sunk your teeth into. And guess what? We’re going to make it happen without breaking a sweat, or even thinking too hard.
Why This Recipe is Awesome
Okay, let’s be real. There are a million banana bread recipes out there. But *this* one? This one is special. It’s the kind of recipe that makes people ask, “What’s your secret?!” and you just casually shrug, pretending you didn’t just follow a super simple, practically foolproof guide. This recipe guarantees a loaf so moist, it practically melts in your mouth – no dry, crumbly sadness allowed. Seriously, it’s idiot-proof. Even I didn’t mess it up, and my track record with anything more complex than toast is… spotty, to say the least.
Plus, it uses up those sad-looking bananas, transforming them into pure, comforting joy. It’s basically magic, but with flour and sugar. So, get ready to become a banana bread superstar with minimal effort. You’re welcome.
Ingredients You’ll Need
Gather ’round, fellow culinary adventurer! Here’s your shopping list – mostly stuff you probably already have lurking in your pantry (or fridge, no judgment here).
- 3-4 Ripe Bananas: The darker, the better! We’re talking brown spots, not green. Think of them as pre-caramelized sweetness.
- 1/2 cup (113g) Unsalted Butter: Melted and cooled. Because butter makes everything better, duh.
- 1 Large Egg: Room temperature, if you’re feeling fancy, but straight from the fridge works too, we’re not baking for the Queen.
- 1 teaspoon Vanilla Extract: The warm, comforting hug every baked good needs.
- 1 cup (200g) Granulated Sugar: Sweetness is key! (Unless you’re a sugar rebel, then adjust accordingly).
- 1 1/2 cups (180g) All-Purpose Flour: The structure of our delicious dreams.
- 1 teaspoon Baking Soda: Our leavening MVP, making sure our bread rises to the occasion.
- 1/2 teaspoon Salt: Don’t skip this! It balances the sweetness and really makes the flavors pop.
- Optional Add-ins: Chocolate chips (a generous handful, obviously), chopped walnuts, pecans, or maybe a sprinkle of cinnamon if you’re feeling spicy.
Step-by-Step Instructions
Alright, time to get our hands a little dirty (but mostly just our mixing bowl). This is where the magic happens!
- Preheat & Prep: First things first, get that oven going. Set it to 350°F (175°C). Then, grab a 9×5 inch loaf pan, lightly grease it, and flour it (or line with parchment paper for easy lift-out, you smart cookie!).
- Mash ‘Em Up: Peel those spotty bananas and dump them into a large mixing bowl. Grab a fork or a potato masher and get to work! We’re looking for a lumpy, not perfectly smooth, consistency. Some chunks are good, IMO.
- Wet Ingredients Party: To your mashed bananas, add the melted butter, egg, and vanilla extract. Whisk it all together until just combined. Don’t go crazy, we’re not making meringue here.
- Dry Ingredients Dance: In a separate, medium bowl, whisk together the flour, granulated sugar, baking soda, and salt. Make sure there are no lumpy bits of baking soda chilling out on their own.
- Combine Forces: Pour the dry ingredients into the wet ingredients. With a spatula or wooden spoon, gently mix until *just* combined. Do not overmix! A few streaks of flour are perfectly fine. If you’re adding chocolate chips or nuts, fold them in now.
- Into the Pan: Scrape your glorious batter into your prepared loaf pan. Give the pan a gentle tap or two on the counter to settle the batter and release any air bubbles.
- Bake It Up: Pop that pan into your preheated oven. Bake for about 55-65 minutes. The top should be golden brown, and a toothpick inserted into the center should come out clean (or with a few moist crumbs, but no wet batter).
- Cool Down: Once baked, take the loaf out of the oven and let it cool in the pan for 10-15 minutes. This helps it firm up and prevents it from crumbling. Then, carefully remove it from the pan and let it cool completely on a wire rack. Or, if you’re impatient like me, slice into it while it’s still warm – just be warned, it might be a bit crumbly but oh-so-delicious!
Common Mistakes to Avoid
Listen up, buttercup! Even the pros make mistakes, but you don’t have to make these:
- Using Under-Ripe Bananas: This is probably the biggest no-no. Green or yellow bananas just don’t have the sugar and moisture content needed for super moist banana bread. Your bread will be less sweet and, dare I say, boring.
- Overmixing the Batter: We talked about this! Once you add the dry to the wet, mix just until combined. Overmixing develops gluten, which leads to tough, chewy bread. And nobody wants a tough banana bread, right?
- Not Preheating the Oven: Thinking you don’t need to preheat the oven? Rookie mistake. A properly preheated oven ensures even baking and the perfect rise. Don’t rush it!
- Opening the Oven Door Too Early: Resist the urge to peek! Especially in the first 30-40 minutes. Changes in temperature can cause your bread to sink in the middle. Patience, padawan.
- Underbaking: If that toothpick comes out with wet batter, it’s not done! Baking a little longer is always better than having a gooey, uncooked center.
Alternatives & Substitutions
Feeling adventurous or just missing an ingredient? No stress, here are some ideas:
- Dairy-Free? Swap the butter for an equal amount of melted coconut oil or a neutral oil like vegetable or canola. The flavor will be slightly different, but still delish.
- Sugar Swaps: You can totally use brown sugar instead of granulated for a deeper, more caramel-like flavor (and potentially even more moisture!). Or try a 50/50 mix.
- Gluten-Free Flour: Yes, you can! Just make sure to use a 1:1 gluten-free baking blend that contains xanthan gum. The texture might be slightly different, but still yummy.
- Add-Ins Galore: Beyond chocolate chips and nuts, think dried cranberries, shredded coconut, or even a swirl of cream cheese (now we’re talking!). Get creative!
- No Vanilla? Don’t sweat it too much. It adds a nice layer of flavor, but your banana bread will still be tasty without it.
FAQ (Frequently Asked Questions)
Got questions? I’ve got (casual) answers!
- Can I use margarine instead of butter? Well, technically yes, but why hurt your soul like that? Butter just has that superior flavor and texture that margarine can’t quite replicate. Just sayin’.
- What if my bananas aren’t super ripe? This is a tough one. You *can* bake them on a sheet pan at 300°F (150°C) for 15-20 minutes until they’re black and squishy. Or just wait! Good things come to those who wait for perfectly spotty bananas.
- Can I add chocolate chips? Is that even a question?! Absolutely! A generous cup of chocolate chips (semi-sweet or milk, your call) folded in at the end takes this to the next level.
- How do I store leftover banana bread? Ha, “leftover.” Good one! If by some miracle you have any, wrap it tightly in plastic wrap or aluminum foil. It’ll keep at room temperature for 2-3 days, or in the fridge for up to a week.
- Can I freeze banana bread? You bet! Bake it, let it cool completely, then wrap the whole loaf (or individual slices) tightly in plastic wrap, then foil. It’ll last for up to 3 months in the freezer. Just thaw at room temp when the craving hits.
- My loaf sank in the middle! What happened? Usually, this means it was underbaked, or you opened the oven door too early, letting cold air rush in. Make sure your oven temp is accurate and resist the urge to peek!
Final Thoughts
So there you have it! Your very own guide to crafting a super moist, incredibly delicious banana bread that will have everyone thinking you’re some kind of baking genius. The best part? It was easy, fun, and probably made your kitchen smell amazing. Now go impress someone—or yourself—with your new culinary skills. You’ve earned it! Grab a slice (or three), brew some coffee, and pat yourself on the back. You did good, friend. You did really, really good.


