So, the fridge is looking a bit sad, but your sweet tooth is practically screaming for something warm and comforting, right? Or maybe you just had a long week and deserve a hug in cake form. Same, friend, same. Forget complicated recipes that make you want to throw your spatula across the room. We’re talking about a moist, spiced cake that’s so easy, it practically bakes itself (okay, maybe not *that* easy, but close!).
Why This Recipe is Awesome
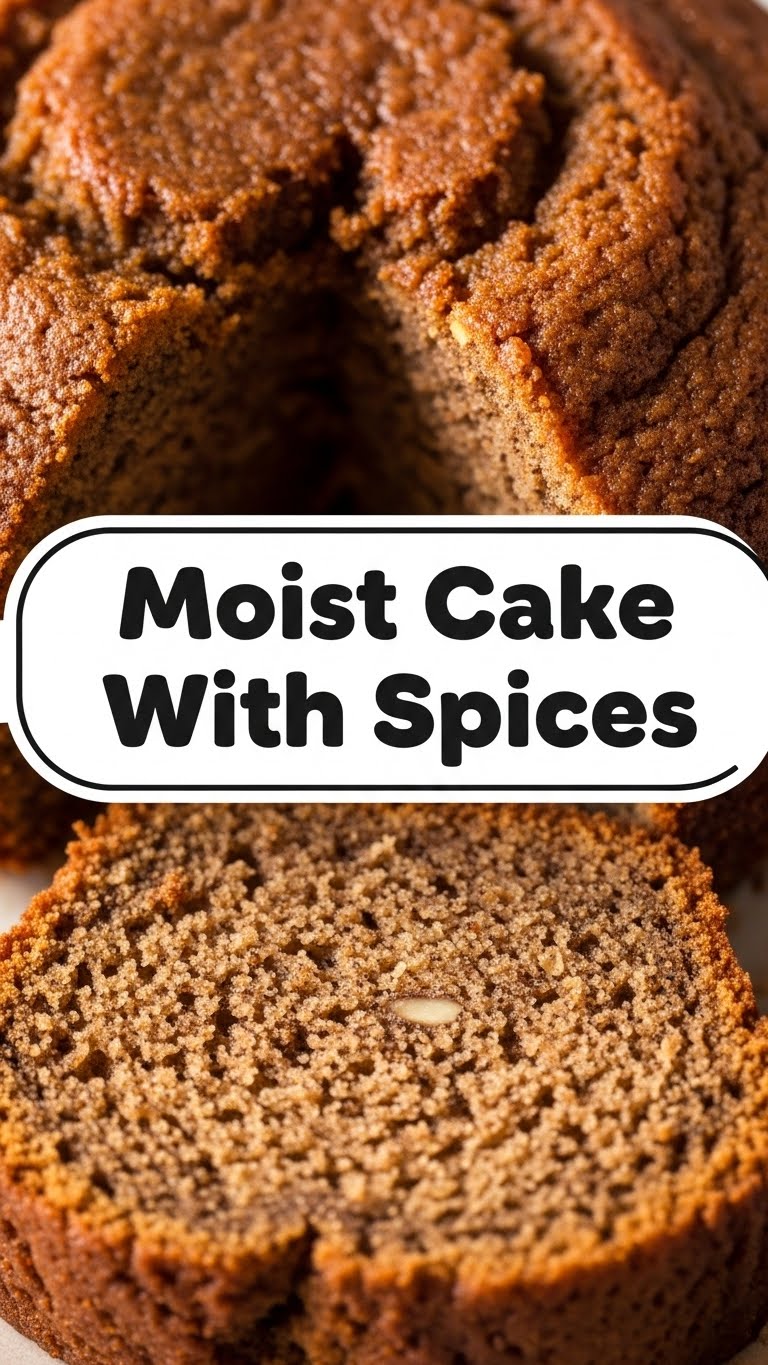
Seriously, this isn’t just a cake; it’s a mood. It’s that friend who always has your back, even when you forget their birthday. This cake is:
- Idiot-proof: I mean, if *I* can make it without setting off the smoke alarm, you totally got this.
- Moist AF: We’re talking melt-in-your-mouth, not-a-crumb-left-behind moist. Thanks, secret ingredient!
- Spiced Just Right: It’s like a warm hug from your favorite cozy sweater. Not overpowering, just perfectly balanced.
- Perfect for Literally Any Occasion: A Tuesday? Yes. A potluck? Definitely. Hiding from your responsibilities? Absolutely.
Plus, your house will smell like a professional bakery, and everyone will think you’re a culinary genius. You’re welcome.
Ingredients You’ll Need
Gather ’round, my fellow food enthusiasts! Here’s your hit list for deliciousness:
- All-Purpose Flour: 2 cups. The backbone of all things cakey. Don’t even *think* about gluten-free unless you’re actually gluten-free, then carry on.
- Granulated Sugar: 1 cup. Sweetness! Because life’s too short for unsweetened sadness.
- Light Brown Sugar (packed): ½ cup. Adds that deep, molasses-y goodness. Think of it as sugar’s cooler, more complex cousin.
- Baking Powder: 2 teaspoons. Our little lift-off agent. Don’t skip it, unless you want a cake frisbee.
- Baking Soda: 1 teaspoon. Another lift-off agent, working its magic with the buttermilk. Dynamic duo!
- Salt: ½ teaspoon. Balances everything out. Crucial, like a good wingman.
- Ground Cinnamon: 1½ teaspoons. The undisputed king of spice cakes.
- Ground Ginger: 1 teaspoon. Adds a little zing!
- Ground Nutmeg: ½ teaspoon. Warmth and coziness in a tiny spoon.
- Ground Cloves: ¼ teaspoon. Use sparingly, but it’s the secret weapon for depth!
- Large Eggs: 2, at room temperature. Binders, emulsifiers, all-around MVP.
- Vegetable Oil (or another neutral oil): ½ cup. The secret to ultimate moistness. Trust me, butter is great, but oil *wins* for the moist factor here.
- Buttermilk: 1 cup, at room temperature. Adds tenderness and that slight tang. If you don’t have it, a DIY hack is coming later!
- Vanilla Extract: 1 teaspoon. Because… vanilla. Duh.
Step-by-Step Instructions
Alright, let’s get this show on the road! You’re just a few simple steps away from cake heaven.
- Preheat & Prep: First things first, crank that oven up to 350°F (175°C). Then, grab an 8×8 or 9×9 inch square baking pan (or a 9-inch round pan works too). Give it a good spray with non-stick spray, or grease and flour it like a pro. For extra peace of mind, line the bottom with parchment paper.
- Whisk the Dry Stuff: In a large bowl, dump in your flour, granulated sugar, brown sugar, baking powder, baking soda, salt, cinnamon, ginger, nutmeg, and cloves. Whisk them together really well until there are no lumps and everything looks evenly distributed. Think of it as giving them a good little dance.
- Mix the Wet Wonders: In a separate medium bowl, crack your eggs, pour in the vegetable oil, buttermilk, and vanilla extract. Whisk them vigorously until everything is beautifully combined and a pale yellow.
- Combine & Conquer (Gently!): Now, pour the wet ingredients into the dry ingredients. Grab your spatula and mix everything together just until combined. Seriously, stop mixing as soon as you don’t see any streaks of dry flour. Overmixing is the enemy of a moist, tender cake! You want a silky, slightly lumpy batter.
- Bake It Off: Pour your glorious batter into your prepared pan. Give it a gentle tap or two on the counter to release any big air bubbles. Pop it into your preheated oven and bake for 35-40 minutes. You’ll know it’s done when a toothpick inserted into the center comes out clean or with just a few moist crumbs clinging to it.
- Cool Down: Once baked, take the cake out of the oven and let it cool in the pan for about 10-15 minutes. This helps it firm up a bit. Then, carefully invert it onto a wire rack to cool completely. Patience, grasshopper! Cutting into a warm cake is tempting, but a fully cooled cake slices better and holds its moisture.
Common Mistakes to Avoid
We’ve all been there, staring at a baking “experiment” wondering what went wrong. Here are a few pitfalls to dodge:
- Overmixing the Batter: This is probably the #1 culprit for dry, tough cakes. Once the wet and dry ingredients meet, mix just until combined. Stop mixing the moment no dry flour streaks remain!
- Not Preheating the Oven: Baking in a cold oven is like trying to run a marathon without warming up. Don’t do it. Preheat fully for even baking.
- Eyeballing Ingredients: Baking is a science, not an art project (at least not yet!). Get your measuring cups and spoons out. This isn’t a “pinch of this, dash of that” situation, especially for flour and leavening agents.
- Opening the Oven Door Too Early: Resist the urge to peek! Your cake needs its space and consistent temperature to rise properly. Wait until at least the 30-minute mark before checking.
- Forgetting to Line the Pan: Unless you enjoy a cake that’s cemented to the bottom, line it with parchment paper (especially for square or round pans). Future you will thank you.
Alternatives & Substitutions
No buttermilk? No problem! Want to switch up the spices? You’re the boss! Here are some simple swaps:
- Buttermilk Substitute: Out of buttermilk? Just add 1 tablespoon of lemon juice or white vinegar to a measuring cup, then fill the rest of the way to 1 cup with regular milk (any kind works!). Let it sit for 5 minutes until it curdles slightly. Voila! Instant buttermilk.
- Oil vs. Butter: You *can* use melted butter instead of oil, but for peak moistness in this specific recipe, oil reigns supreme. My two cents? Stick with the oil for that tender crumb.
- Spice Variations: Hate cloves? Skip ’em! Want more ginger? Go for it! A pinch of cardamom or allspice could also be a fun addition for an extra layer of warmth. Make it *yours*!
- Add-Ins: Feeling fancy? Fold in ½ cup of chopped nuts (walnuts or pecans are great), golden raisins, or even a handful of chocolate chips (I won’t tell!). You could also grate in a little apple or carrot for extra moisture and flavor.
FAQ (Frequently Asked Questions)
Got questions? I’ve got (mostly) humorous answers!
- Can I use all white sugar? Well, technically yes, but you’ll miss that subtle depth brown sugar brings. It’s like comparing a regular rom-com to one with a surprise twist ending. Just saying.
- My cake is dry, what went wrong? Ah, the age-old baking tragedy! Probably overmixed or, more likely, overbaked. Next time, keep a closer eye on the clock and the toothpick test. A few moist crumbs on the toothpick are good!
- How long does this cake keep? Wrapped well at room temperature, it’ll happily last for 3-4 days. In the fridge, maybe a week. But honestly, it rarely lasts that long, does it?
- Can I make it gluten-free? Absolutely! Use a 1:1 gluten-free all-purpose flour blend. Just know the texture might be ever-so-slightly different, but it’ll still be delicious.
- What kind of frosting goes best with this? A classic cream cheese frosting is always a winner with spiced cakes. Or, if you’re feeling minimalist, a simple dusting of powdered sugar makes it look elegant and taste amazing.
- Can I bake this as cupcakes? You betcha! Fill cupcake liners about two-thirds full and adjust the baking time to roughly 20-25 minutes. Keep an eye on them; they bake faster!
Final Thoughts
So there you have it, your new favorite moist, spicy cake. It’s easy, it’s ridiculously delicious, and it’s practically begging to be made. This isn’t just a recipe; it’s an invitation to treat yourself (and maybe a friend or two, if you’re feeling generous).
Go on, get baking! You’ve got this. And if you mess up? Who cares? You’ll still have a kitchen that smells amazing, and probably a perfectly edible “experiment.” Now go impress someone—or yourself—with your new culinary skills. You’ve earned it!


