So, you’re looking for something decadently delicious, outrageously moist, and vibrant enough to make your taste buds do a happy dance, but you also want it *easy*? My friend, you’ve come to the right place. Forget those complicated desserts that demand a culinary degree. Today, we’re diving headfirst into the glorious world of **Moist Red Velvet Brownies** – because who has time for fussy baking when there’s Netflix to watch?
Why This Recipe is Awesome
Okay, let’s be real. This isn’t just *another* brownie recipe. This is THE brownie recipe for when you want to look like a baking god/goddess without actually breaking a sweat. Here’s why it’s about to become your new best friend:
- It’s practically **idiot-proof**. Seriously, even I didn’t mess it up, and my kitchen adventures often end in… “creative” interpretations.
- The red velvet flavor is subtly tangy and rich, perfectly balanced with that deep brownie chew. It’s not just a brownie dyed red, folks!
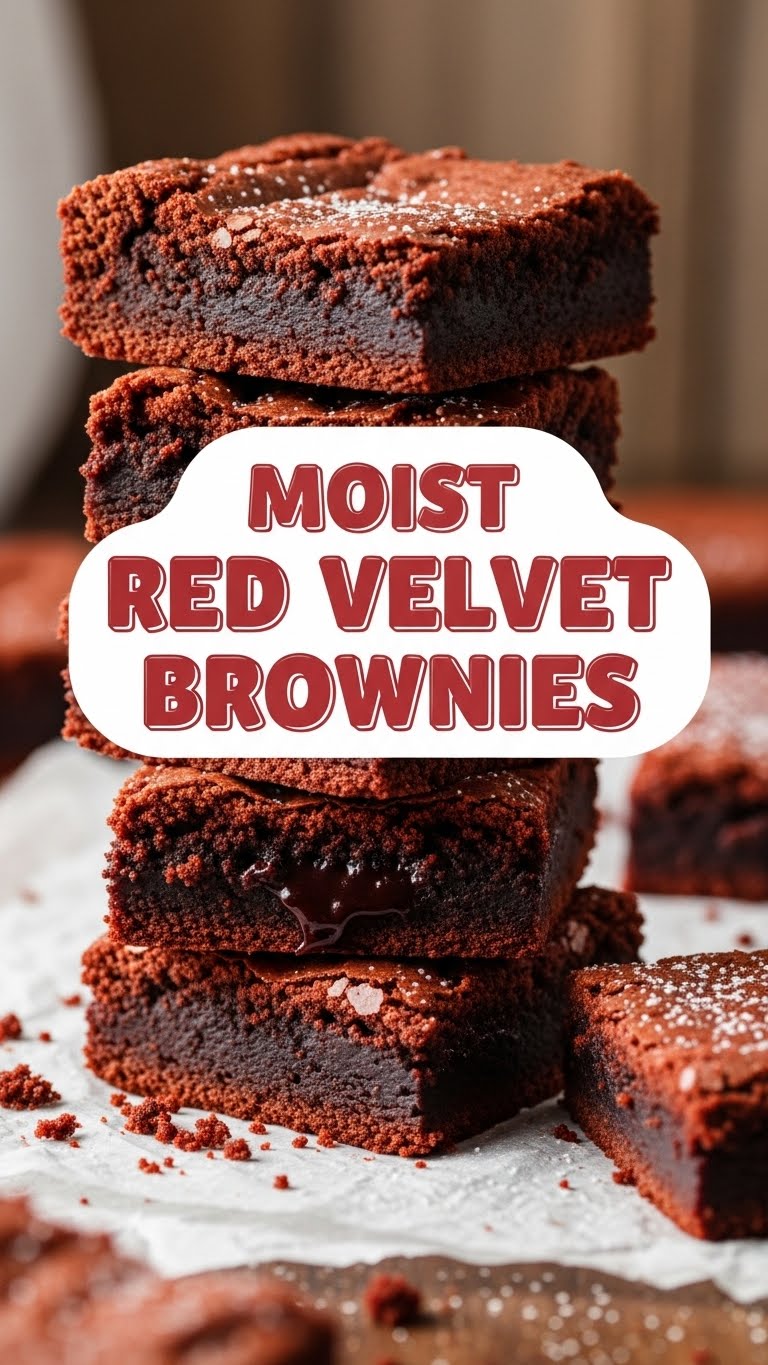
- Did I mention **moist**? Because we’re talking fall-apart-in-your-mouth, sticky-fingers-don’t-care moist. No dry, crumbly sadness allowed here.
- It’s ridiculously quick to whip up. From mixing bowl to oven in like, 15 minutes? Perfect for those “oh crap, I need a dessert” emergencies.
Ingredients You’ll Need
Gather your troops! No fancy-schmancy stuff here, just your everyday kitchen heroes. (Okay, maybe one slightly dramatic hero: red food coloring.)
- 1/2 cup (1 stick) unsalted butter, melted: Because butter makes everything better, duh.
- 1 cup granulated sugar: For that sweet, sweet goodness.
- 2 large eggs: Your binding agents. Try not to drop them.
- 1 teaspoon vanilla extract: The soul of all baked goods. Don’t skimp!
- 1.5 tablespoons unsweetened cocoa powder: The deep, dark heart of our red velvet.
- 1 teaspoon red food coloring (liquid or gel): The star of the show! Gel coloring gives a more vibrant hue, FYI.
- 1 cup all-purpose flour: Just your basic flour, nothing fancy.
- 1/2 teaspoon baking powder: Gives a little lift, keeps things light.
- 1/4 teaspoon salt: Don’t skip it! It balances the sweetness like a pro.
- 1/2 cup white chocolate chips (optional, but highly recommended): Because extra chocolate is always a good idea.
Step-by-Step Instructions
Ready? Let’s get baking! This is so easy, you’ll wonder why you ever bought a brownie mix.
- Preheat that oven, buttercup! Set it to 350°F (175°C). Line an 8×8 inch baking pan with parchment paper, leaving an overhang on the sides. This makes lifting them out a breeze. Trust me, future you will thank present you.
- Melt the butter. In a medium bowl, melt your butter. You can do this in the microwave (30-60 seconds) or on the stovetop.
- Mix the wet stuff. To the melted butter, add the sugar, eggs, and vanilla extract. Whisk ’em until they’re nice and smooth, and the sugar starts to dissolve a bit.
- Add the color and cocoa. Stir in the cocoa powder and that fabulous red food coloring. Mix well until the color is consistent and looks like pure magic. This is where the red velvet really starts to shine!
- Introduce the dry ingredients. In a separate bowl, whisk together the flour, baking powder, and salt. Now, gently fold the dry mixture into the wet mixture. Mix just until combined. Overmixing is a no-no, my friend.
- Fold in the chips. If you’re using white chocolate chips (and you totally should be), gently fold them into the batter.
- Pour and bake! Scrape the glorious red batter into your prepared baking pan. Spread it evenly. Pop it into the preheated oven for 25-30 minutes.
- Check for doneness. A toothpick inserted into the center should come out with moist crumbs, not wet batter. Overbaking means dry brownies, and we definitely don’t want that!
- Cool down. Let those beauties cool completely in the pan on a wire rack before cutting. Patience is a virtue, especially when it comes to perfect brownies!
Common Mistakes to Avoid
Even the simplest recipes have traps for the unwary! Learn from my past (many) errors:
- Thinking you don’t need to preheat the oven: Rookie mistake! Cold oven = uneven baking and sad, dense brownies. Give your oven some warm-up time.
- Overmixing the batter: The moment you add flour, treat it gently. Overmixing develops gluten, leading to tough, chewy (and not in a good way) brownies. Mix until *just* combined.
- Overbaking: Seriously, keep an eye on them. A minute too long can turn moist dreams into crumbly nightmares. Aim for moist crumbs on your toothpick, not a completely clean one.
- Cutting them hot: I know, I know. The smell is intoxicating. But cutting hot brownies is a recipe for messy, crumbly edges. Let them cool. Please. For the aesthetic!
Alternatives & Substitutions
Got a rogue ingredient or just feeling fancy? Here are some tweaks:
- No red food coloring? You can totally skip it! You’ll have delicious chocolate brownies, just without the iconic red velvet look. Think of them as “undercover” red velvet.
- Butter vs. Oil: While butter gives a richer flavor, you *can* use an equal amount of vegetable oil for a slightly chewier, denser brownie. But IMO, butter is king here.
- Chocolate chips: Don’t have white chocolate? Use semi-sweet, dark chocolate, or even omit them. Or go wild with some chopped nuts!
- Buttermilk for tang: For an extra authentic red velvet tang, replace 1 tablespoon of milk (if you were adding any, which we aren’t here) with buttermilk, or add 1/2 teaspoon of white vinegar with a splash of milk to make a DIY buttermilk. It reacts with the cocoa in a good way!
FAQ (Frequently Asked Questions)
Got questions? I’ve got answers! (Mostly.)
- Can I use margarine instead of butter? Well, technically yes, but why hurt your soul like that? Butter just tastes better, plain and simple.
- My brownies aren’t red enough! What gives? Probably your food coloring. Gel coloring is much more potent than liquid. Also, make sure you’re using a good amount!
- How long do these last? If you can resist eating them all in one sitting, they’ll stay moist and delicious in an airtight container at room temperature for 3-4 days. Good luck with that, though!
- Can I freeze them? Absolutely! Wrap individual brownies tightly in plastic wrap, then pop them in a freezer-safe bag for up to 2-3 months. Thaw at room temp for a quick treat.
- Why do you say “just until combined” for the flour? Ah, the secret to tenderness! Overmixing flour activates gluten, which leads to tough, rubbery baked goods. We want tender, moist brownies, not bouncy balls!
Final Thoughts
And there you have it, folks! Your very own batch of insanely moist, ridiculously delicious, and utterly gorgeous Red Velvet Brownies. You just whipped up something truly special with minimal fuss. Now go impress your friends, dazzle your family, or just hoard them all for yourself (no judgment here, I’ve done it). You’ve earned it!
Happy baking, my friend!


