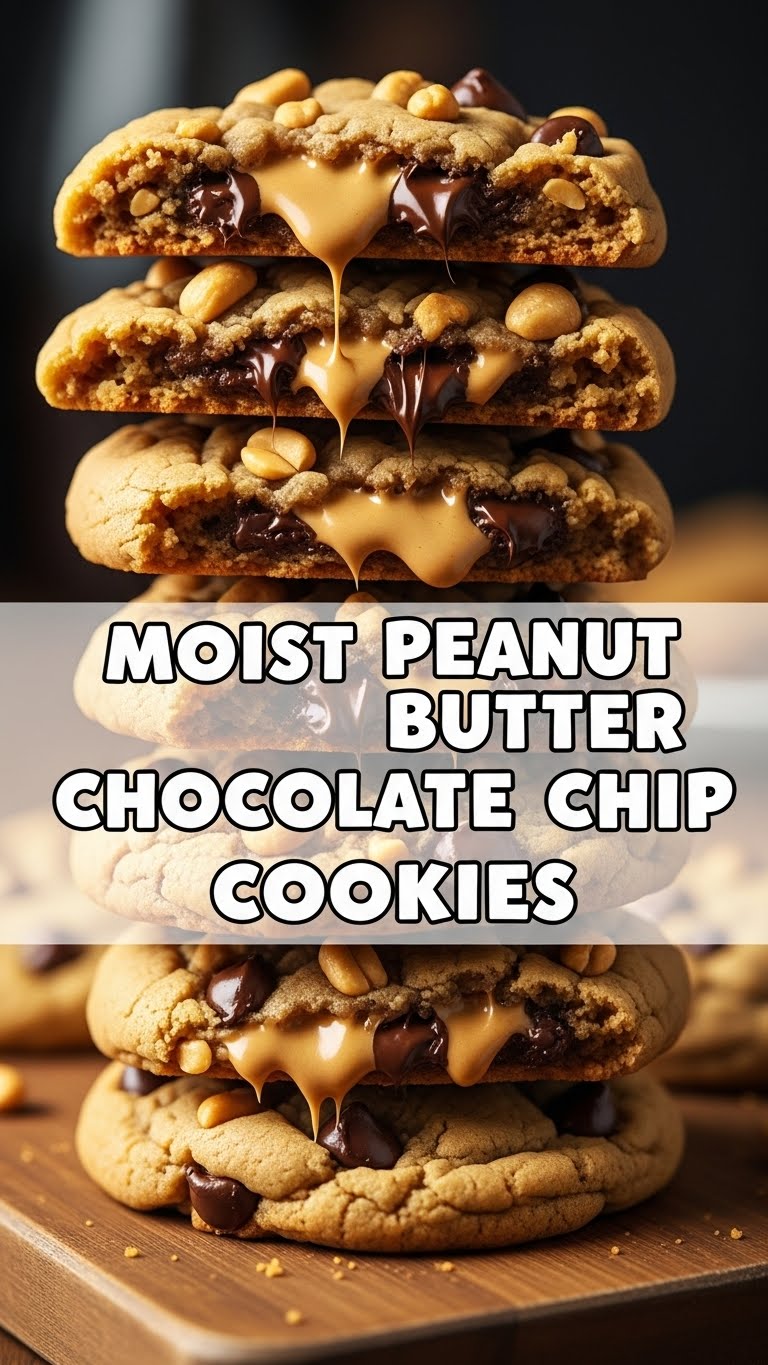
So, your sweet tooth is staging a full-blown coup, but your energy levels are whispering ‘nap’ louder than ‘bake,’ right? Been there, made the cookies. And guess what? We’re about to make some seriously **Moist Peanut Butter Chocolate Chip Cookies** that are so good, you’ll wonder if you secretly became a pastry chef overnight. Spoiler: You didn’t, this recipe is just *that* easy. Let’s get baking without taking ourselves too seriously, shall we?
Why This Recipe is Awesome
This isn’t just a recipe; it’s a **life hack** disguised as dessert. We’re talking about a cookie that delivers big on flavor with minimal fuss. It’s the kind of cookie that makes you go “Mmmph!” with your mouth full because you can’t be bothered to finish chewing before expressing pure joy. And the best part? It’s pretty much idiot-proof. Seriously, even I, a master of culinary mishaps (ask me about the time I tried to make ‘healthy’ brownies), nailed these on the first try. Plus, it’s peanut butter *and* chocolate. Name a more iconic duo. I’ll wait.
- **Quick & Easy:** Perfect for those sudden cookie emergencies.
- **Seriously Moist:** No dry, crumbly hockey pucks here, my friend.
- **Flavor Bomb:** Peanut butter + chocolate = pure bliss.
- **Minimal Cleanup:** Because who has time for endless scrubbing?
Ingredients You’ll Need
Gather your troops! Here’s what you’ll need to transform into a cookie wizard:
- 1/2 cup (1 stick) Unsalted Butter: Softened, please. Not melted, not straight from the fridge. Think “spreadable on toast” soft.
- 1/2 cup Granulated Sugar: The white stuff. Don’t skip it, it’s not just for sweetness!
- 1/2 cup Packed Light Brown Sugar: Hello, chewiness! Pack it down tight, no loosey-goosey measurements here.
- 1 large Egg: Room temperature is best, IMO, helps everything emulsify beautifully.
- 1 teaspoon Vanilla Extract: The good stuff. It makes everything taste better, fact.
- 1 cup Creamy Peanut Butter: The classic kind (like Jif or Skippy). Not the natural, oily stuff unless you’re ready for some potential texture experiments. Your call, daredevil.
- 1 1/4 cups All-Purpose Flour: Just your regular flour.
- 1 teaspoon Baking Soda: Our secret weapon for that perfect lift and spread.
- 1/2 teaspoon Salt: Balances out all that sweetness. Don’t skip it!
- 1 cup Semi-Sweet Chocolate Chips: Or milk chocolate, or dark, or a mix! You do you. **More is always better**, just saying.
Step-by-Step Instructions
- **Preheat Your Oven:** Set it to 350°F (175°C). Line a baking sheet with parchment paper or a silicone mat. This is not optional unless you enjoy scraping cookies off a pan later.
- **Cream the Fats & Sugars:** In a large bowl, using an electric mixer, beat together the softened butter, granulated sugar, and brown sugar until it’s light and fluffy. This usually takes 2-3 minutes. Don’t rush this step; it’s crucial for cookie texture!
- **Add the Wet Wonders:** Beat in the egg, vanilla extract, and creamy peanut butter until everything is well combined and smooth. Scrape down the sides of the bowl to make sure no lonely bits are left out.
- **Introduce the Dry Goods:** In a separate medium bowl, whisk together the flour, baking soda, and salt. Then, gradually add the dry ingredients to the wet ingredients, mixing on low speed until just combined. **Do not overmix!** Overmixing develops gluten, making tough cookies, and nobody wants a tough cookie.
- **Fold in the Chips:** Gently fold in those glorious chocolate chips by hand. Distribute them evenly, so every bite is a chocolatey dream.
- **Scoop & Roll:** Scoop rounded tablespoons of dough (or use a cookie scoop for uniformity, you fancy pants) and roll them into balls. Place them about 2 inches apart on your prepared baking sheet.
- **Bake ’em Up:** Bake for 10-12 minutes, or until the edges are lightly golden and the centers are just set. They might look slightly underdone in the middle, but they’ll continue to set as they cool. That’s the secret to moistness!
- **Cool Down (If You Can Wait):** Let the cookies cool on the baking sheet for a few minutes before transferring them to a wire rack to cool completely. Or, you know, eat one warm. We won’t tell.
Common Mistakes to Avoid
Look, we all make mistakes. But let’s try to avoid these rookie errors for maximum cookie glory:
- **Overbaking:** This is the #1 killer of moist cookies. Keep an eye on them! If the edges are dark brown and the centers are hard, you’ve gone too far.
- **Overmixing the Dough:** Once you add the flour, mix *just* until it comes together. Think gentle embrace, not aggressive wrestling match.
- **Using Cold Butter:** Seriously, let it soften. It’s not just a suggestion; it’s a non-negotiable for that creamy, airy texture.
- **Ignoring Oven Temperature:** Your oven’s thermostat isn’t just for show, buddy. If your cookies are flat or burnt, your oven might be running hot (or cold). An oven thermometer is your best friend.
- **Eating All the Dough Before Baking:** I get it, it’s tempting. But raw dough doesn’t have the same magical texture. Exercise some self-control, you can do it!
Alternatives & Substitutions
Feeling adventurous? Here are some ways to shake things up:
- Nut Butter Swap: Want to try something different? Almond butter or cashew butter can work, though they might change the texture slightly. If using natural, stir it really well and perhaps add an extra tablespoon of flour if it seems too oily.
- Chocolate Variety: Mix it up with white chocolate chips, milk chocolate chunks, dark chocolate morsels, or even peanut butter chips for a double peanut butter punch. **Mini chocolate chips** are also super fun!
- Add-ins Galore: Throw in some chopped pretzels for a sweet and salty kick, M&M’s for a pop of color, or a handful of chopped roasted peanuts for extra crunch.
- Gluten-Free Version: Swap the all-purpose flour for a 1:1 gluten-free baking blend. Results may vary slightly, but it usually works pretty well!
- Sweetener Adjustments: If you’re out of brown sugar, you can use all granulated sugar, but the cookies will be a bit less chewy. Or, add a tablespoon of molasses to your granulated sugar to make your own brown sugar approximation.
FAQ (Frequently Asked Questions)
Got questions? I’ve got (casual) answers!
Q: Can I use crunchy peanut butter instead?
A: Well, technically yes, but why mess with perfection? The creamy stuff gives that consistent, melt-in-your-mouth texture. Crunchy will add, well, crunch. If that’s your jam, go for it!
Q: My cookies came out flat! What gives?
A: Oh no! This often happens if your butter was too warm (borderline melted), or if you didn’t measure your flour correctly (too little). Also, make sure your baking soda is fresh—it’s not forever, FYI!
Q: How long do these cookies last?
A: “Last”? What’s “last”? Mine usually disappear within hours. But theoretically, stored in an airtight container at room temperature, they’ll be good for 3-5 days. If you manage to keep them around that long, you have more willpower than me.
Q: Can I freeze the cookie dough?
A: Absolutely! Roll the dough into balls, place them on a baking sheet, and freeze until solid. Then transfer them to a freezer-safe bag. When a craving hits, bake from frozen, adding an extra minute or two to the baking time. Cookie emergencies, averted!
Q: Is chilling the dough necessary for this recipe?
A: Not strictly for this one! These cookies are designed for immediate gratification. However, if you have 30 minutes to spare, chilling the dough can sometimes deepen the flavors and help prevent spreading. But no stress if you skip it!
Q: Can I reduce the sugar?
A: You can try, but sugar isn’t just for sweetness; it also contributes to the cookie’s texture and moisture. Reducing it too much might result in a less chewy or drier cookie. I wouldn’t go crazy with reductions, but a tablespoon or two less won’t hurt much.
Final Thoughts
Congrats, you magnificent cookie creator! You’ve successfully navigated the joyful waters of baking and emerged with a batch of moist, delicious peanut butter chocolate chip cookies. Now go impress someone—or yourself—with your new culinary skills. You’ve earned it!
So, grab a cookie (or three), pour yourself a glass of milk (or your preferred beverage), and bask in the glory of your homemade deliciousness. Remember, life’s too short for boring cookies. Happy baking, my friend!


