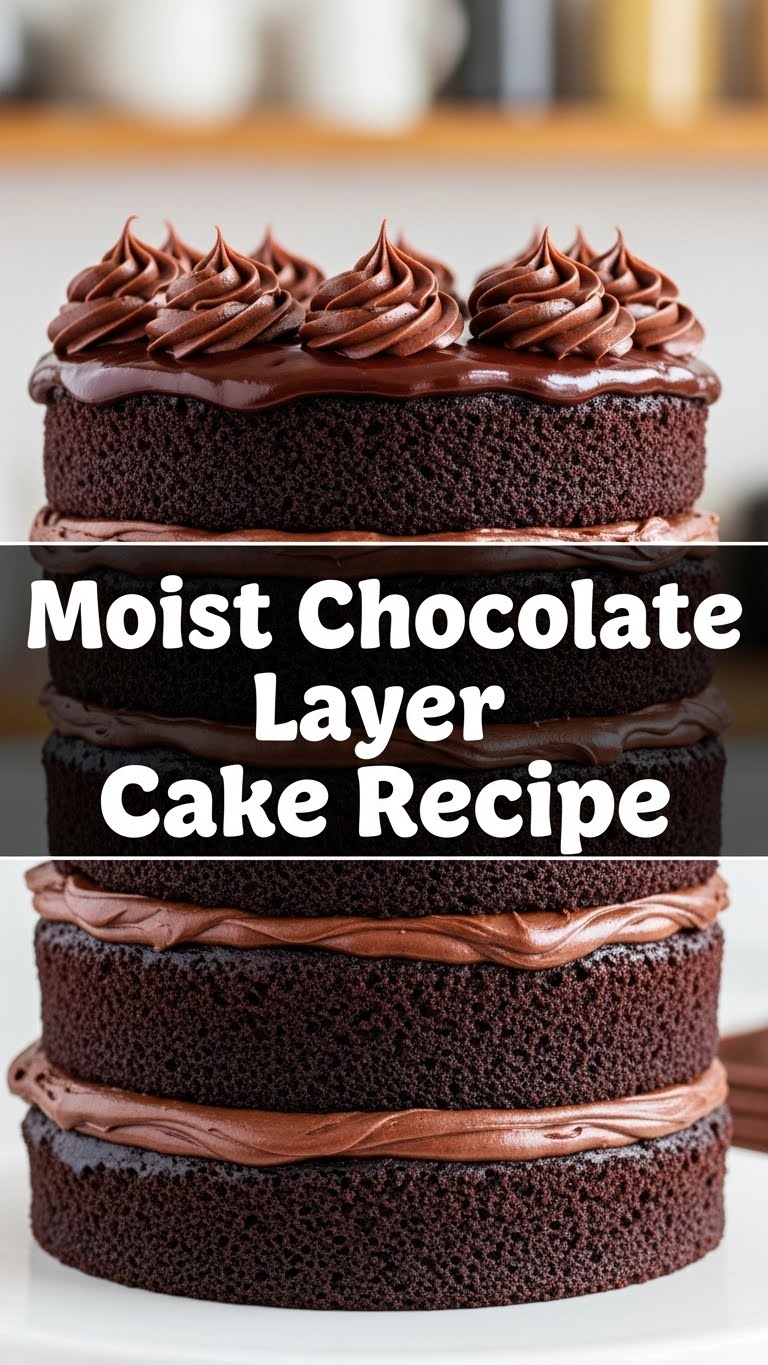
So, you’ve got that chocolate craving hitting hard, huh? Like, the kind where a sad little store-bought brownie just won’t cut it? And the thought of spending hours in the kitchen makes you want to curl up with Netflix instead? Same, friend, same. But what if I told you there’s a chocolate cake recipe so moist, so rich, so utterly decadent, and yet so *easy*, you’ll wonder why you ever hesitated? Get ready to meet your new best friend: The Seriously Moist Chocolate Layer Cake.
Why This Recipe is Awesome
Okay, let’s be real. There are a million chocolate cake recipes out there, right? But this one? This one is different. This isn’t just a cake; it’s a hug in dessert form. It’s so moist, it practically melts in your mouth, leaving zero room for those sad, crumbly dry cake nightmares of your past. Forget complicated techniques and obscure ingredients, this bad boy is designed for maximum flavor with minimum fuss.
Seriously, it’s pretty much idiot-proof. Even if you usually burn toast, you can nail this cake. And the frosting? Oh, the frosting is a creamy, dreamy chocolate cloud that takes this whole experience from “good” to “why am I not eating this every day?” Trust me on this, your taste buds will send you a thank-you note.
Ingredients You’ll Need
Gather ’round, my sweet-toothed companions! Here’s your shopping list for pure chocolate bliss. No need for a fancy patisserie, just good old kitchen staples.
- All-Purpose Flour: The backbone of our cake. Don’t go rogue with self-rising, please!
- Granulated Sugar: For that essential sweetness. Don’t skimp, we’re not on a diet today.
- Unsweetened Cocoa Powder: This is where the magic happens. Good quality cocoa makes ALL the difference. Think Dutch-processed for deep color and rich flavor.
- Baking Soda & Baking Powder: The dynamic duo that makes our cake rise and shine.
- Salt: A tiny bit, but don’t skip it! It balances all that sweetness and deepens the chocolate flavor. It’s the unsung hero, IMO.
- Large Eggs: Make sure they’re at room temperature. They mix into the batter better this way, creating a smoother texture.
- Milk: Any kind works – whole milk, 2%, even your favorite plant-based milk.
- Vegetable Oil: The secret weapon for ultimate moisture. Canola oil works too!
- Vanilla Extract: A splash of liquid gold to enhance all those lovely flavors.
- Boiling Water or Hot Coffee: Your ultimate secret ingredient! Coffee deepens the chocolate flavor without making it taste like coffee. Don’t worry, it’s fine.
For the Dreamy Chocolate Frosting:
- Unsalted Butter: Softened, please! Don’t try to frost with cold, hard butter unless you enjoy a wrestling match.
- Powdered Sugar (Confectioners’ Sugar): Sifted, unless you like lumpy frosting. Your call.
- Unsweetened Cocoa Powder: Again, good quality here is a game-changer.
- Milk or Heavy Cream: For creaminess and to get that perfect spreadable consistency.
- Vanilla Extract: A final touch of deliciousness.
Step-by-Step Instructions
Alright, apron on, game face ready! Let’s get baking this masterpiece. You got this!
- Preheat & Prep: Crank that oven to 350°F (175°C). Grease and flour two 8-inch round cake pans. Or, even better, line the bottoms with parchment paper for easy release.
- Dry Mix Magic: In a large bowl, whisk together the flour, sugar, cocoa powder, baking soda, baking powder, and salt. Make sure there are no lumps of cocoa lurking!
- Wet Mix Wonder: In a separate medium bowl, whisk together the eggs, milk, vegetable oil, and vanilla extract until well combined.
- Combine Forces: Pour the wet ingredients into the dry ingredients. Mix on low speed (or by hand with a whisk) until *just* combined. Don’t overmix; we want a tender cake, not a rubbery one.
- The Hot Secret: Carefully pour the boiling water (or hot coffee) into the batter. It will look super thin, but don’t panic! Whisk gently until smooth. This liquid makes the cake incredibly moist and rich.
- Divide & Conquer: Divide the batter evenly between your two prepared cake pans.
- Bake It Up: Pop them into the preheated oven and bake for 30-35 minutes, or until a wooden skewer inserted into the center comes out clean.
- Cool Down: Let the cakes cool in their pans on a wire rack for about 10-15 minutes. Then, carefully invert them onto the wire rack to cool completely. This is a crucial step!
- Frosting Time! While the cakes cool, make your frosting. In a large bowl, beat the softened butter until creamy. Gradually add the sifted powdered sugar and cocoa powder, alternating with splashes of milk/cream and vanilla, until smooth and fluffy. Add more milk/cream if needed for desired consistency.
- Assemble Your Masterpiece: Once the cakes are completely cool (and I mean COMPLETELY!), place one layer on your serving plate. Spread a generous amount of frosting on top. Place the second layer on top, then frost the top and sides of the entire cake.
Common Mistakes to Avoid
We’ve all been there, staring at a baking fail. Let’s try to avoid some classic blunders with a bit of humor and wisdom:
- Overmixing the Batter: This is probably the number one cake killer. Once the wet and dry ingredients are *just* combined, stop! Mixing too much develops the gluten, leading to a tough, dry cake. Nobody wants that.
- Opening the Oven Door Too Soon: Curiosity killed the cat, and it’ll collapse your cake. Resist the urge to peek during the first 20-25 minutes. Let that heat do its job!
- Not Cooling Cakes Completely: You’re excited, I get it. But frosting a warm cake is like trying to ice skate on a mud pit. Your frosting will melt, slide, and become a sad, sticky mess. Patience is a virtue (and leads to pretty cakes).
- Using Cold Ingredients (Especially Eggs & Butter for Frosting): Room temperature ingredients emulsify better, creating a smoother batter and fluffier frosting. It’s a small step that makes a big difference.
- Skipping Good Quality Cocoa: FYI, cheap cocoa powder tastes like… well, cheap cocoa powder. Invest in a decent brand; your taste buds will thank you.
Alternatives & Substitutions
Feeling a little rebellious? Want to tweak things? Here are some simple swaps:
- Coffee vs. Water: As mentioned, using hot coffee instead of boiling water in the batter seriously amplifies the chocolate flavor. It won’t taste like coffee, just more intensely chocolatey. Highly recommended!
- Buttermilk: Swap the regular milk for buttermilk for a slightly tangier cake with an even more tender crumb. If you don’t have buttermilk, add a tablespoon of lemon juice or white vinegar to regular milk and let it sit for 5-10 minutes before using.
- Dairy-Free? No Problem! Use your favorite plant-based milk (almond, soy, oat all work great) and a good quality dairy-free butter alternative for the frosting.
- Different Frostings: Not a fan of chocolate buttercream? You could do a cream cheese frosting, a simple vanilla buttercream, or even a ganache. Your cake, your rules!
- Extracts: A touch of almond extract instead of vanilla can add an interesting depth of flavor. Or, if you’re feeling boozy, a tablespoon of rum or Kahlua in the batter (and frosting!) is divine.
FAQ (Frequently Asked Questions)
Got questions? I’ve got answers (and probably a joke or two).
Q: Can I make this dairy-free?
A: Absolutely! Just swap out the milk for your favorite plant-based alternative (almond, soy, oat milk all work beautifully) and use a good quality vegan butter for the frosting. Easy peasy!
Q: Why boiling water/coffee? Doesn’t that cook the eggs?
A: Great question! The hot liquid helps “bloom” the cocoa powder, meaning it intensifies the chocolate flavor, making it richer and deeper. The eggs don’t scramble because the batter is already partially mixed and the hot liquid is quickly incorporated. It’s a scientific trick for peak chocolatey goodness!
Q: My cake turned out dry. What went wrong?
A: Oh no! The usual culprits are overbaking (keep an eye on that skewer!), or incorrect flour measurement. **If you want consistently moist cakes, consider using a kitchen scale to measure your flour.** It’s a game-changer, trust me.
Q: Can I bake this as cupcakes instead?
A: You betcha! Fill cupcake liners about two-thirds full and bake for roughly 18-22 minutes, or until a skewer comes out clean. Adjust your baking time accordingly!
Q: How long does this cake last?
A: If it survives the first 24 hours in your house, that’s impressive! Covered tightly at room temperature, it’s good for 2-3 days. In the fridge, it’ll last up to 5 days, though it’s best enjoyed at room temp.
Q: Do I really need to sift the powdered sugar for the frosting?
A: Well, technically no, you can skip it if you enjoy tiny sugar lumps in your frosting. But for that perfectly smooth, silky, dream-like frosting, yes, please sift. Your future self will thank you!
Final Thoughts
You did it! You glorious, chocolate-covered wizard, you! You just whipped up a moist chocolate layer cake that will make everyone swoon. Take a moment, bask in the glory, and maybe take a picture before someone (or you) devours it all.
Whether you’re impressing friends, making a birthday extra special, or just treating yourself because, hey, it’s Tuesday, this cake has got your back. Go on, slice into that beautiful creation. You’ve earned every single delicious bite. And remember, even if it’s not “picture-perfect,” it’s still homemade chocolate cake. And that, my friend, is always perfect.


