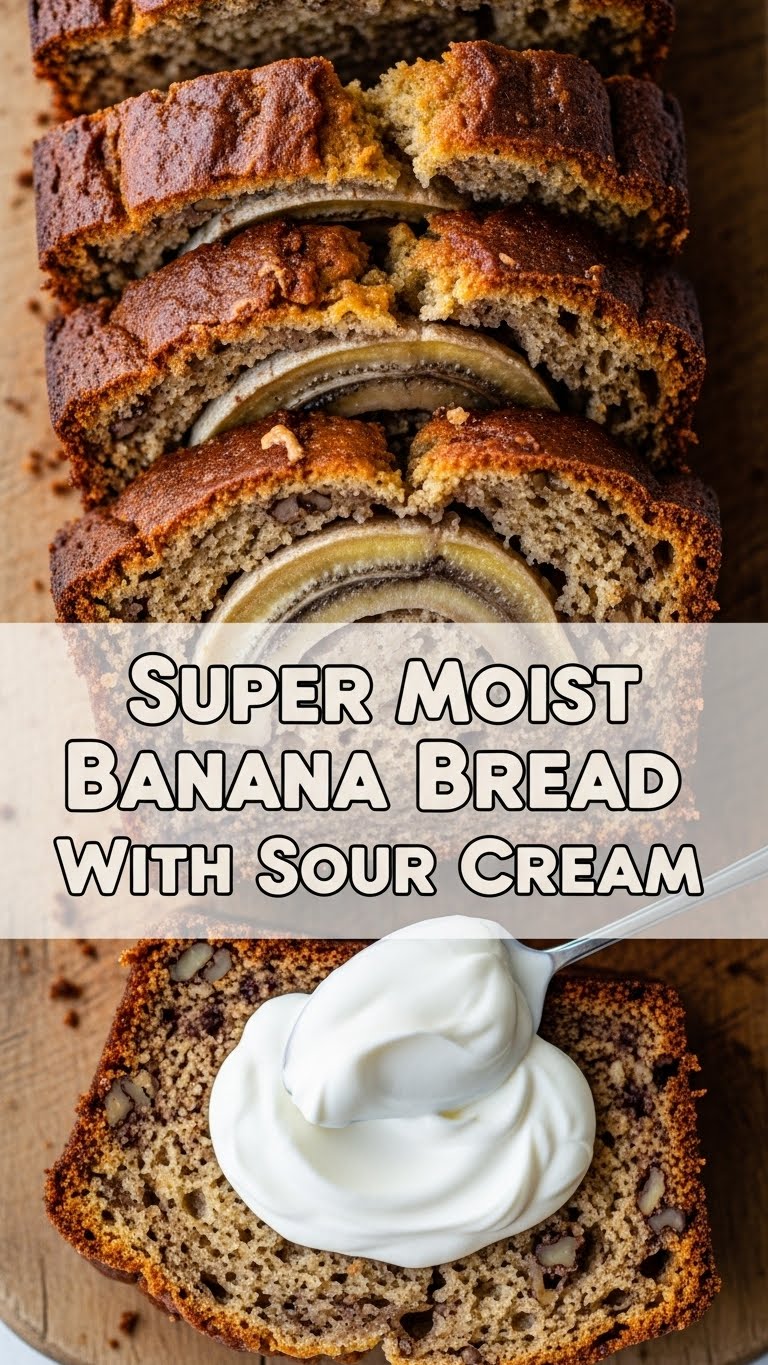
So you’re craving something ridiculously tasty but too lazy to spend forever in the kitchen, huh? Same, friend, same. And honestly, who has time for complicated recipes when there’s a whole season of [insert your favorite show here] waiting? But those bananas on your counter are looking… well, a bit tragic. Like they’ve seen better days. Don’t toss ’em! We’re about to transform those forlorn fruits into a **Super Moist Banana Bread with Sour Cream** that’ll make your taste buds do a happy dance. Get ready for some serious deliciousness without the serious effort!
Why This Recipe is Awesome
Let me tell you, this isn’t just *any* banana bread. This is the kind of banana bread that makes you wonder where it’s been all your life. First off, it’s practically **idiot-proof**. Even I, someone who once mistook salt for sugar (don’t ask), managed to nail this. The secret? **Sour cream**. That magical ingredient is the unsung hero, ensuring every slice is unbelievably tender and moist, like a cloud made of bananas and happiness. Plus, it’s the perfect excuse to use up those overripe bananas you almost forgot about. No food waste, just pure bliss. Seriously, your kitchen will smell like a dream, and you’ll feel like a culinary wizard. Or at least someone who can follow simple instructions.
Ingredients You’ll Need
- **3-4 Very Ripe Bananas:** The browner, the better. We’re talking spotted, almost black. Don’t be shy.
- **1 ½ cups All-Purpose Flour:** The regular stuff. No need for fancy flours here.
- **¾ cup Granulated Sugar:** Just enough sweetness to balance the banana goodness.
- **½ cup Packed Light Brown Sugar:** Hello, extra moisture and a hint of caramel!
- **1 Large Egg:** Room temperature, please. It mixes better, trust me.
- **½ cup (1 stick) Unsalted Butter:** Melted and slightly cooled. Real butter, folks. Don’t even think about the imposter stuff.
- **½ cup Full-Fat Sour Cream:** This is the *star*. Don’t skimp on the fat, it’s for moisture!
- **1 Teaspoon Baking Soda:** Our leavening hero.
- **½ Teaspoon Salt:** Balances flavors and makes everything pop.
- **1 Teaspoon Vanilla Extract:** Because everything tastes better with vanilla.
- **Optional Add-ins (choose one or two, or none!):**
- **½ cup Chocolate Chips:** Because, duh.
- **½ cup Chopped Walnuts or Pecans:** For a little crunch and “I’m fancy” vibe.
Step-by-Step Instructions
- **Get Prepped & Mushy:** Preheat your oven to **350°F (175°C)**. Grease and flour a 9×5 inch loaf pan. Seriously, don’t skip the greasing part unless you want a wrestling match with your bread later. In a large bowl, mash those gloriously overripe bananas with a fork until they’re mostly smooth but still have a few small lumps. We like character!
- **Dry Mix It Up:** In a separate medium bowl, whisk together the flour, baking soda, and salt. Give it a good whisk to make sure everything is evenly distributed. This is important, **FYI**.
- **Wet Ingredients Go Time:** In another (yes, another) large bowl, whisk together the melted butter, granulated sugar, and brown sugar until smooth. Crack in the egg and vanilla extract, whisking until just combined. Then, stir in the sour cream until everything is gloriously creamy.
- **Combine Gently:** Pour the dry ingredients into the wet ingredients. Using a spatula, mix just until combined. **DO NOT OVERMIX!** Lumps are totally fine here; overmixing leads to tough bread, and nobody wants that.
- **Fold in the Fun:** Gently fold in the mashed bananas. If you’re feeling adventurous and using chocolate chips or nuts, now’s the time to add those in too. Give it just a few stirs to incorporate.
- **Pan It Up & Bake:** Pour the batter into your prepared loaf pan. Smooth the top with your spatula. Pop it into the preheated oven and bake for **55-70 minutes**, or until a wooden skewer or toothpick inserted into the center comes out clean.
- **Cool Down, Buttercup:** Let the banana bread cool in the pan for about 10-15 minutes before carefully inverting it onto a wire rack to cool completely. I know, I know, it’s tempting to dive in immediately, but seriously, **let it cool**. It slices much better and actually finishes baking outside the oven.
- **Devour & Bask:** Once cool (or mostly cool, let’s be real), slice it up and enjoy! You just made magic.
Common Mistakes to Avoid
- **Overmixing the Batter:** This is the cardinal sin of quick bread. Mixing too much develops the gluten, resulting in a tough, chewy bread instead of a soft, tender one. Mix until just combined, a few lumps are your friends!
- **Not Using Ripe Enough Bananas:** Greenish-yellow bananas? Hard pass. You need those super ripe, spotty, almost black bananas for maximum sweetness and flavor. They literally make the bread.
- **Forgetting to Preheat the Oven:** Rookie mistake! An oven that isn’t at the right temperature from the start can mess with the rise and texture. Give it time to heat up properly.
- **Cutting It While Hot:** Patience, young padawan. Hot bread crumbles easily and can be gummy. Let it cool on a wire rack; it continues to set as it cools.
- **Using Cold Ingredients:** Especially the egg and sour cream. Room temperature ingredients combine more easily and create a smoother, more uniform batter. Plan ahead!
Alternatives & Substitutions
Feeling a little rebellious, or just missing an ingredient? No worries, I got you!
- **Sour Cream Swap:** If you’re fresh out of sour cream, **plain full-fat Greek yogurt** is your best friend. It offers a similar tang and moisture. Don’t use skim, though, that’s just sad.
- **Butter Alternatives:** You *could* use an equal amount of vegetable oil or melted coconut oil instead of butter. The texture will be slightly different—a bit more uniform crumb with oil—but still delicious. IMO, butter adds a richness that’s hard to beat, but sometimes you gotta do what you gotta do.
- **Flour Power:** Want to make it a bit healthier? You can swap up to half of the all-purpose flour for **whole wheat pastry flour** for a slightly nuttier flavor and some extra fiber, without making it too dense.
- **Spice It Up:** Add a teaspoon of cinnamon, a pinch of nutmeg, or even a dash of allspice for a warmer, more aromatic loaf.
- **Nut-Free Zone:** If you or your friends have nut allergies, simply omit the nuts. The banana bread is still fantastic on its own!
FAQ (Frequently Asked Questions)
Got questions? I’ve got (casual) answers!
Can I use frozen bananas?
Absolutely! Just thaw them completely and drain off any excess liquid before mashing. They’ll be extra mushy, which is perfect.
My bananas aren’t ripe enough! Help!
Crisis averted! You can actually “bake” them to ripeness. Pop unpeeled bananas on a baking sheet and bake at 300°F (150°C) for 15-20 minutes until their skins are shiny black. Let them cool, then peel and mash. Boom!
Can I make muffins instead of a loaf?
Heck yeah! Fill muffin liners about two-thirds full and bake for 20-25 minutes, or until a toothpick comes out clean. Perfect for grab-and-go breakfasts.
How long does this banana bread last?
If it lasts longer than two days in your house, you’re doing something wrong. Kidding! It stays fresh at room temperature for 3-4 days in an airtight container. In the fridge, it’s good for up to a week. You can also freeze slices for up to 3 months.
Can I use light sour cream?
Well, technically yes, but why hurt your soul like that? Full-fat sour cream gives you the ultimate moistness and flavor. You’re making banana bread, not trying to win a health competition here. Live a little!
Is this healthy?
It has fruit in it, so… yes? Look, it’s wholesome, delicious, and probably better than a candy bar. Let’s call it “soul-nourishing.” Your happiness is healthy, right?
Final Thoughts
So there you have it, folks! The ultimate recipe for super moist banana bread that’s so easy, it practically bakes itself. No more sad, neglected bananas for you. Now you have a secret weapon in your baking arsenal, guaranteed to impress anyone who gets a slice (or just yourself, let’s be real). Go forth, conquer those overripe bananas, and bask in the glory of your delicious creation. You’ve earned it!


