So, you’re staring into the fridge, dreaming of chocolate, but the thought of a complicated recipe makes you want to just order pizza? Been there, bought the T-shirt. Good news: I’ve got your back with a chocolate cake so ridiculously easy and moist, it’s almost unfair. Get ready for a cake that’ll make people think you secretly went to pastry school (don’t worry, your secret’s safe with me!).
Why This Recipe is Awesome
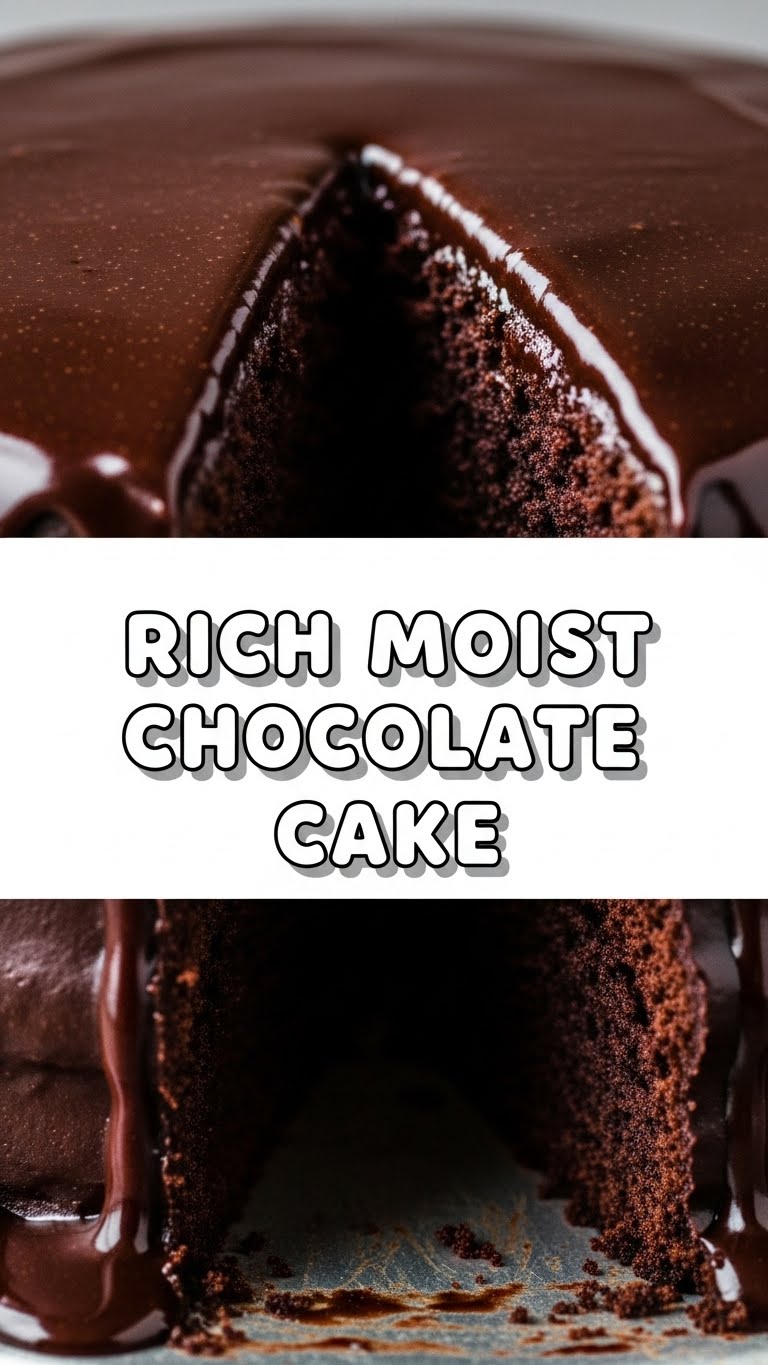
Okay, let’s be real. This isn’t just *a* chocolate cake; it’s *the* chocolate cake. It’s rich, it’s moist (I know, everyone says that, but seriously, M-O-I-S-T), and it’s surprisingly foolproof. Even if your culinary skills usually peak at instant noodles, you can totally nail this. Plus, it uses common pantry staples, so no fancy-pants ingredients needed. Your taste buds (and your ego) will thank you, trust me.
Ingredients You’ll Need
- All-purpose flour: 1 ½ cups. The good stuff that makes things cakey.
- Granulated sugar: 1 ½ cups. Because sweet dreams are made of sugar.
- Unsweetened cocoa powder: ½ cup. Go dark or go home! This is where the magic happens.
- Baking soda: 1 ½ teaspoons. For that lift, baby.
- Salt: 1 teaspoon. Don’t skip it; it brings out the chocolate flavor like a rockstar!
- Large eggs: 2 of ’em. Room temp if you’re feeling extra fancy (you should).
- Milk: 1 cup. Any kind, whole milk works best for maximum richness.
- Vegetable oil: ½ cup. Or canola. This is key for that super moist crumb!
- Vanilla extract: 2 teaspoons. The secret weapon for everything delicious, IMO.
- Boiling water: 1 cup. Sounds weird, works wonders, trust me on this one!
- (Optional: Chocolate chips or a simple ganache for topping, because why even make cake if you’re not going all out?)
Step-by-Step Instructions
- Preheat the oven and prep your pan: Get that bad boy to 350°F (175°C). While it’s heating, grease and flour a 9×13 inch baking pan or two 8-inch round pans. Don’t be lazy on this step unless you want your cake stuck forever.
- Whisk the dry stuff: In a large bowl, combine your flour, sugar, cocoa powder, baking soda, and salt. Give it a good whisk until it’s all friends and evenly distributed.
- Mix in the wet stuff (mostly): Add the eggs, milk, oil, and vanilla extract to the dry ingredients. Beat with an electric mixer on medium speed for about 2 minutes. Make sure to scrape down the sides of the bowl to ensure no dry bits are hiding.
- The hot water magic: Carefully, add the boiling water to the batter. The batter will be thin, don’t panic! It’s supposed to be like that. Mix until just combined. Do not overmix once the water is in!
- Bake it up: Pour the glorious batter into your prepared pan(s). Bake for 30-35 minutes for a 9×13 pan, or 25-30 minutes for round pans, or until a toothpick inserted into the center comes out clean.
- Cool down: Let the cake cool in the pan on a wire rack for about 10-15 minutes before attempting to invert it. If you’re using a 9×13, just let it cool completely in the pan before frosting. Patience, my friend, is a virtue (especially when chocolate cake is involved).
Common Mistakes to Avoid
- Not preheating your oven: Seriously, it’s like trying to run a marathon without stretching. Rookie move! Get that oven hot *before* the cake goes in.
- Overmixing the batter: Once the flour (and boiling water) are incorporated, stop! Overmixing develops gluten, which leads to a tough, rubbery cake. We want tender, not tough, remember?
- Skipping the salt: “Oh, it’s a sweet cake, I don’t need salt.” WRONG. Salt makes the chocolate sing and balances all that sweetness!
- Opening the oven door too soon: Unless you want your cake to deflate into a sad pancake, keep that door shut until near the end of baking time. Peek-a-boo can wait.
- Impatience: Trying to frost a warm cake? You’re asking for a melty, crumbly disaster. Let it cool. All the way. No shortcuts here!
Alternatives & Substitutions
- Milk: Out of regular milk? Almond, soy, or oat milk can work in a pinch. The flavor might shift slightly, but the moistness will still be there. Just don’t use sour milk, *unless* you’re specifically going for a buttermilk cake (which is a different recipe altogether).
- Oil: Melted butter can be used, but oil genuinely gives a superior moistness to chocolate cakes, FYI. But hey, if butter’s all you’ve got and you love that buttery flavor, go for it!
- Cocoa Powder: Dutch-processed cocoa will give a darker, less acidic flavor. Regular unsweetened cocoa is perfectly fine too! Just whatever you do, don’t use hot cocoa mix – that’s a different beast entirely.
- Espresso Powder: Want to make the chocolate flavor pop even more? Add a teaspoon of instant espresso powder with the dry ingredients. It won’t make your cake taste like coffee, but it will seriously deepen and enhance the chocolate. It’s my secret weapon!
FAQ (Frequently Asked Questions)
- “Can I use margarine instead of butter?” Well, technically yes, but why hurt your soul like that? This recipe uses oil for moisture, which is usually superior to margarine for that goal. If you *really* want a buttery taste, just use butter!
- “My cake is dry! What went wrong?” Did you overbake it? That’s the #1 culprit, my friend. Or maybe you measured your flour incorrectly – too much flour equals dry cake. Get a kitchen scale, it’s a game-changer for accuracy!
- “Can I make this into cupcakes?” Absolutely! Line a muffin tin, fill ’em about 2/3 full, and bake for 18-22 minutes. Keep a close eye on them; cupcakes bake much faster than a full cake.
- “Do I *really* need boiling water?” Yes, my friend, you do! It blooms the cocoa powder, making the chocolate flavor more intense and complex, and it also helps activate the baking soda for that beautiful rise and moist crumb. Don’t skip this magical step!
- “How long does it keep?” Covered tightly at room temperature, it’s usually good for 3-4 days. In the fridge, maybe up to a week. But honestly, it rarely lasts that long, does it? 😉
- “Can I add chocolate chips to the batter?” YES. A thousand times yes! Just toss about ½ to 1 cup of chocolate chips in a little bit of flour before adding to the batter to prevent them from sinking to the bottom.
Final Thoughts
There you have it! A rich, moist, utterly delicious chocolate cake that’s so easy, you’ll wonder why you ever bothered with a box mix. Now go impress someone—or just yourself, because you totally deserve it—with your newfound (or newly perfected) culinary skills. You’ve earned it! And hey, if you mess up, just call it ‘rustic’ and pour more frosting on it. No one will ever know. Happy baking!


