So you’ve got some sad-looking, spotty bananas lounging on your counter, a craving for something ridiculously tasty, and exactly zero energy for a complicated baking project, huh? My friend, you’ve come to the right place. We’re about to turn those neglected fruits into something legendary: the *moistest*, most glorious banana bars you’ve ever had. Get ready to impress yourself (and maybe anyone else lucky enough to be in your orbit).
Why This Recipe is Awesome
Okay, let’s be real. There are a million banana bar recipes out there. But this one? This one is special. It’s basically a warm, comforting hug in bar form, plus it makes you look like a baking genius without actually trying too hard. It’s **idiot-proof** – and trust me, if *I* can make it without a catastrophic kitchen incident, you definitely can. It’s fast, it uses up those overly ripe bananas you were probably going to throw out (gasp!), and the texture is just… dreamy. We’re talking soft, tender, and perfectly moist. No dry, crumbly sadness allowed here, folks.
Ingredients You’ll Need
Gather your troops! Most of these are probably already chilling in your pantry.
- **Your Sad, Spotty Bananas:** We’re talking 3 medium ones, super ripe. The blacker, the better, honestly. They’re basically pre-sweetened, mushy gold. Don’t be shy.
- **All-Purpose Flour:** 1 ½ cups. The good old reliable.
- **Granulated Sugar:** 1 cup. Because life needs a little sweetness.
- **Unsalted Butter:** ½ cup (that’s one stick), softened. Don’t even *think* about using cold butter unless you enjoy a lumpy batter and a workout for your mixer.
- **Large Egg:** 1, at room temperature. It helps bind everything into bar-shaped perfection.
- **Baking Soda:** 1 teaspoon. Our secret weapon for that glorious rise and tender crumb.
- **Vanilla Extract:** 1 teaspoon. A splash of magic for extra flavor.
- **Salt:** ½ teaspoon. Balances everything out and makes the banana flavor pop. Trust me, don’t skip it.
Step-by-Step Instructions
Let’s get this party started! Preheat that oven and grab your favorite baking pan.
- **Get Ready, Get Set, Preheat!** Fire up your oven to **350°F (175°C)**. Grease and flour a 9×13 inch baking pan, or line it with parchment paper for easy removal. Trust me, parchment paper is your friend.
- **Banana Mash-Up:** In a medium bowl, mash those ripe bananas with a fork until they’re mostly smooth with a few small lumps. We’re not making baby food here, just getting them ready.
- **Cream Dream:** In a large bowl, using an electric mixer (or some serious arm power), cream together the softened butter and granulated sugar until it’s light and fluffy. This usually takes 2-3 minutes.
- **Egg-cellent Addition:** Beat in the egg and vanilla extract until fully combined. Scrape down the sides of the bowl to make sure everything’s getting cozy.
- **Dry Team Assembles:** In a separate medium bowl, whisk together the flour, baking soda, and salt. Give it a good whisk to evenly distribute everything.
- **Combine & Conquer:** Gradually add the dry ingredients to the wet ingredients, mixing on low speed until just combined. **Don’t overmix!** Overmixing is the enemy of moist bars. A few streaks of flour are totally fine.
- **Banana Time!** Gently fold in the mashed bananas. Mix just until they’re incorporated.
- **Pan It Up!** Pour the batter into your prepared 9×13 inch pan and spread it evenly. Give it a little tap on the counter to settle.
- **Bake ‘Em Up:** Bake for **20-25 minutes**, or until a wooden skewer or toothpick inserted into the center comes out clean (or with just a few moist crumbs).
- **Cool Down:** Let those beauties cool in the pan on a wire rack before cutting. Patience, my friend, is a virtue (and prevents crumbly bars).
Common Mistakes to Avoid
Even though this recipe is pretty foolproof, there are a few banana bar blunders you’ll want to sidestep.
- **Using Underripe Bananas:** Rookie mistake! Green or yellow bananas won’t give you that intense flavor or moist texture. Embrace the brown spots, people.
- **Overmixing the Batter:** This is the quickest way to tough, dry bars. Mix until *just* combined, then stop. Seriously.
- **Not Greasing Your Pan (or using parchment):** Unless you enjoy chiseling your baked goods out of the pan, don’t skip this step. A little prep saves a lot of frustration.
- **Cutting While Hot:** I know, I know, the smell is intoxicating. But warm bars are delicate and more prone to crumbling. Let them cool down first for cleaner cuts.
Alternatives & Substitutions
Feeling adventurous? Or just missing an ingredient? No stress, we’ve got options!
- **Dairy-Free?** Swap the butter for your favorite dairy-free butter alternative. Make sure it’s one that bakes well.
- **Flour Power:** You can substitute up to half of the all-purpose flour with whole wheat flour for a slightly nuttier, healthier twist. Don’t go all whole wheat unless you’re prepared for a denser bar.
- **Add-Ins Galore:** This is where you can get wild! **Chocolate chips** (milk, dark, white – your call!), chopped nuts (walnuts or pecans are fab), shredded coconut, or even a sprinkle of cinnamon or nutmeg for extra spice. Just fold in about ½ to ¾ cup with the mashed bananas.
- **Less Sugar?** You *can* reduce the sugar slightly, but remember the bananas bring a lot of natural sweetness. If your bananas aren’t super ripe, keep the sugar as is, IMO.
FAQ (Frequently Asked Questions)
- **Can I use frozen bananas?** Absolutely! Just make sure to thaw them completely and drain any excess liquid before mashing. They tend to be even sweeter!
- **My bananas aren’t super ripe, will it work?** *Sigh.* You can try, but the flavor won’t be as banana-y or sweet, and the bars might be less moist. Patience, young padawan, patience.
- **How long do these banana bars last?** At room temperature, in an airtight container, they’ll be good for 2-3 days. In the fridge, they can last up to a week. If you’re strong-willed, that is.
- **Can I freeze them?** Yes! Wrap individual bars tightly in plastic wrap, then place them in a freezer-safe bag or container for up to 2-3 months. Thaw at room temperature.
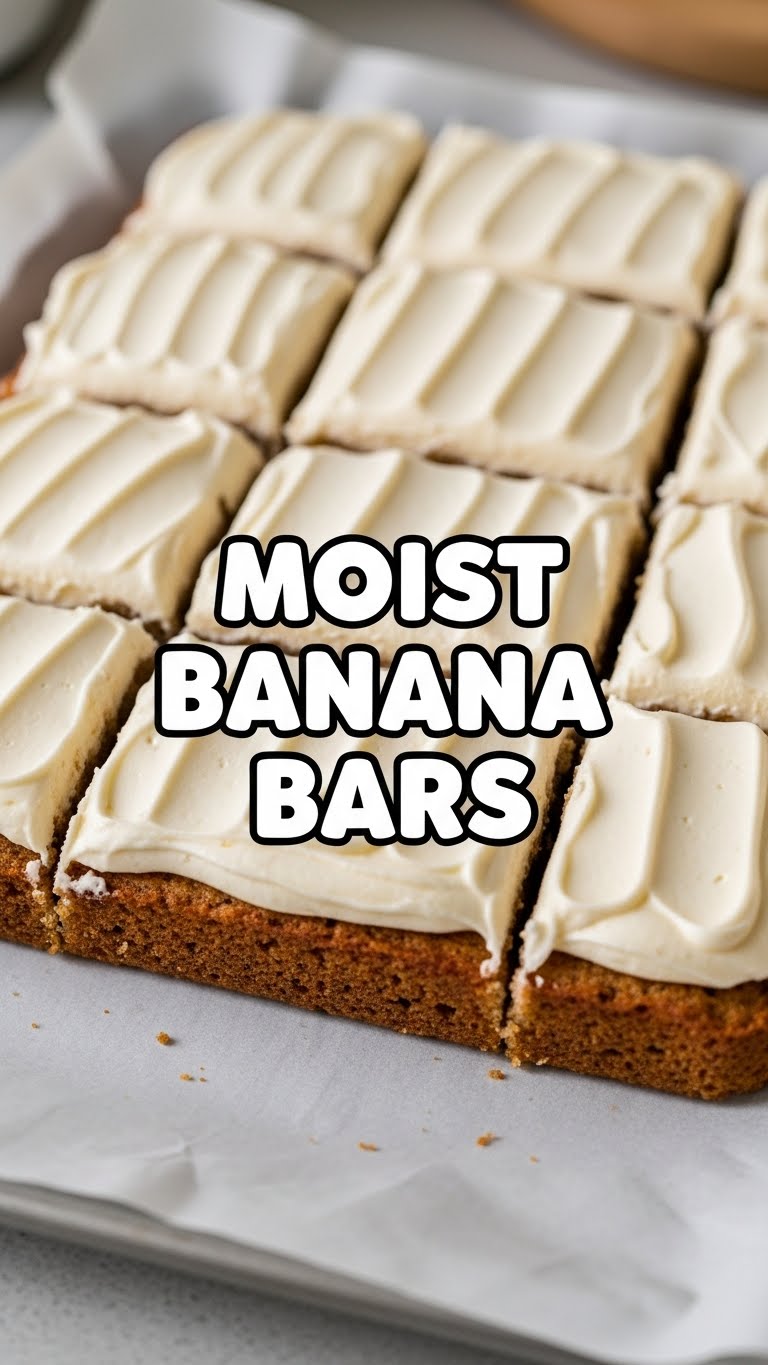
- **What about a glaze or frosting?** Oh, you fancy, huh? A simple cream cheese frosting (butter, cream cheese, powdered sugar, vanilla) takes these to another level. Or just a dusting of powdered sugar if you’re keeping it simple.
Final Thoughts
So there you have it! Your sad, spotty bananas are now delicious, moist banana bars ready to be devoured. These are perfect for breakfast, a snack, dessert, or just because it’s Tuesday. Go forth and conquer those bananas, my friend. Seriously, these bars are the bomb. You deserve this deliciousness, and honestly, you’ve earned that pat on the back. Now go impress someone – or yourself – with your new culinary skills. You rock!


