So, your bananas went from perfectly ripe to “uh-oh, science experiment” overnight, huh? And now they’re just sitting there, judging you from the fruit bowl? Don’t toss those beautiful, brown-spotted specimens! It’s time to turn them into something utterly delightful, incredibly easy, and so moist it practically winks at you.
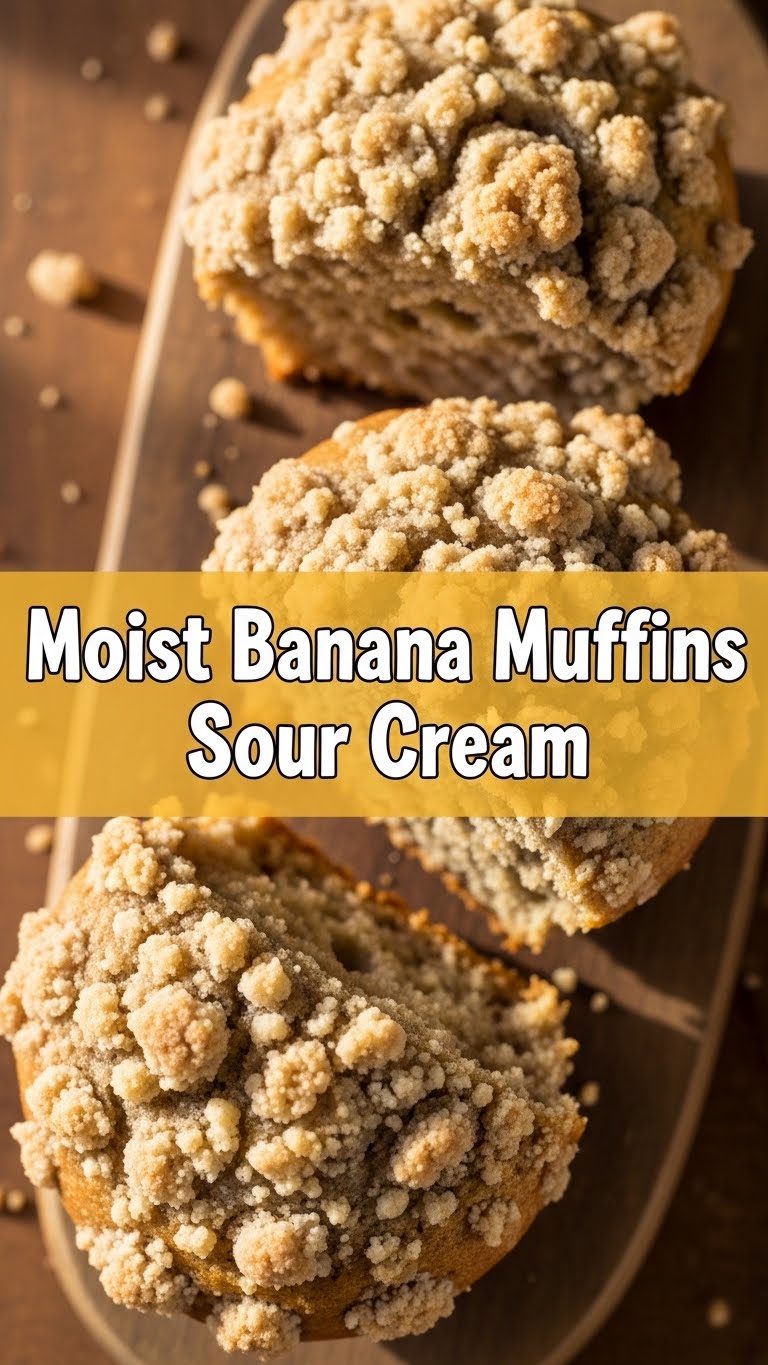
I’m talking about the kind of muffin that makes you wonder why you ever bought those dry, sad bakery imposters. We’re diving into the glorious world of Moist Banana Muffins, with a little secret weapon: sour cream! Get ready, because your kitchen is about to smell like pure happiness.
Why This Recipe is Awesome
Okay, let’s be real. We all want impressive results without, like, *actual* effort. And this recipe? It’s basically a culinary cheat code. First off, it’s practically **idiot-proof**. Seriously, if you can stir, you can make these. I, for one, have made some questionable kitchen choices in my time, and even I didn’t mess these up. That’s a ringing endorsement, if you ask me.
But the real magic lies in the sour cream. It’s not just a fancy addition; it’s the secret ingredient that transforms these muffins from “good” to “OMG, give me another one right now.” It adds a tang that perfectly balances the sweetness of the bananas and, most importantly, keeps them incredibly moist. No dry, crumbly sadness here, my friend. Just pure, fluffy, banana-y joy.
Ingredients You’ll Need
Gather your troops! Here’s what you’ll need to make these beauties:
- **1 ½ cups all-purpose flour:** The backbone of our muffin empire.
- **1 teaspoon baking soda:** Our leavening MVP, making things rise like magic.
- **½ teaspoon salt:** Just a pinch to make all the flavors sing.
- **½ cup (1 stick) unsalted butter, melted:** Because everything is better with butter. Melt it, but let it cool a smidge so it doesn’t scramble your eggs.
- **¾ cup granulated sugar:** Sweetness for your soul.
- **1 large egg:** The binder that holds it all together.
- **½ cup sour cream:** **The star of the show!** Full-fat, please. This is not the time for calorie-counting; it’s the time for moisture!
- **1 teaspoon vanilla extract:** A little splash of liquid gold for that cozy, warm flavor.
- **3-4 ripe bananas, mashed:** We’re talking *really* ripe. Brown, spotty, practically black. The uglier, the sweeter and more flavorful they are. Don’t be shy with the mashing; lumps are fine, but aim for mostly smooth.
Step-by-Step Instructions
- **Preheat Power:** First things first, get your oven ready. Preheat it to **400°F (200°C)**. And don’t forget to grease and flour or line a 12-cup muffin tin with paper liners. You don’t want these beauties sticking around forever.
- **Dry Mix Magic:** In a medium bowl, whisk together your flour, baking soda, and salt. Give it a good whisk to make sure everything is evenly distributed. This ensures consistent rising.
- **Wet Mix Wonders:** In a separate, larger bowl, pour in your cooled melted butter and sugar. Whisk them together until combined. Then, crack in your egg and beat until it’s light and fluffy-ish.
- **The Sour Cream Secret:** Stir in the sour cream and vanilla extract into your wet mixture. Give it a good mix until everything is just combined.
- **Banana Time:** Now, fold in your mashed bananas. Don’t overmix; just gently incorporate them.
- **Combine & Conquer:** Add the dry ingredients to the wet ingredients. **Mix until just combined.** Seriously, stop mixing the second you don’t see any streaks of dry flour. Overmixing is the enemy of moist muffins! Lumps are totally okay; they’ll bake out.
- **Fill ‘Em Up:** Divide the batter evenly among your 12 muffin cups. They should be about two-thirds full.
- **Bake Off!** Pop that muffin tin into your preheated oven. Bake for **5 minutes at 400°F (200°C)**, then **reduce the temperature to 375°F (190°C)** (without opening the oven door!) and continue baking for another 13-17 minutes, or until a toothpick inserted into the center of a muffin comes out clean or with just a few moist crumbs. The initial high heat gives them a beautiful domed top!
- **Cool Down:** Let your glorious muffins cool in the tin for a few minutes before transferring them to a wire rack to cool completely. Or, you know, eat one while it’s still warm. I won’t tell.
Common Mistakes to Avoid
- **Overmixing the Batter:** This is the #1 muffin killer! Overmixing develops gluten, leading to tough, chewy muffins. Mix until *just* combined. Lumps are your friends.
- **Using Under-Ripe Bananas:** Seriously, those pretty yellow bananas aren’t going to cut it. You need the brown, spotty, almost-ready-for-the-compost-bin ones. They’re sweeter and more flavorful.
- **Forgetting to Preheat the Oven:** Rookie mistake! A hot oven is crucial for that initial rise and beautiful dome.
- **Skipping the Sour Cream (or using low-fat):** Why hurt your soul like that? The full-fat sour cream is essential for that unparalleled moisture and subtle tang. Don’t skimp!
- **Opening the Oven Door Too Early:** Resist the urge to peek! Especially during the first 10-15 minutes, you’re letting all that glorious heat escape, which can cause your muffins to fall flat.
Alternatives & Substitutions
Feeling adventurous? Or maybe you’re just out of an ingredient? No stress, here are some ideas:
- **No Sour Cream?** **FYI, Greek yogurt** (plain, full-fat) is an excellent substitute. It’ll give you a similar tangy moistness. But seriously, go get some sour cream next time. It’s worth it.
- **Add-ins:** Chocolate chips (dark, milk, white – whatever your heart desires!), chopped nuts (walnuts or pecans are classic!), shredded coconut, or a swirl of cinnamon sugar before baking are all fantastic additions. Don’t go overboard, though; about ½ to ¾ cup of total add-ins is usually a good amount.
- **Gluten-Free Flour:** You can usually substitute a 1:1 gluten-free baking blend for the all-purpose flour. Just make sure it contains xanthan gum.
- **Brown Sugar:** You can swap out up to half of the granulated sugar for packed light brown sugar for a deeper, more caramel-y flavor. Yum!
FAQ (Frequently Asked Questions)
Got questions? I’ve got (casual) answers!
- **Can I use frozen bananas?** Absolutely! Thaw them completely, drain any excess liquid (don’t skip this!), and then mash them. They’ll be extra mushy, which is perfect!
- **How do I store these muffins?** Keep them in an airtight container at room temperature for up to 3 days. If you want them to last longer, pop ’em in the fridge for up to a week, or freeze them for up to 3 months. Just make sure they’re completely cool before storing.
- **My muffins didn’t get a nice dome on top, what happened?** You might not have had your oven hot enough, or you opened the door too early. **The initial blast of high heat is crucial for that bakery-style dome!**
- **Can I make these into a loaf cake instead?** You betcha! Just pour the batter into a greased loaf pan and bake at 350°F (175°C) for about 50-60 minutes, or until a toothpick comes out clean. Adjust baking time as needed!
- **What if I don’t have vanilla extract?** While it adds a lovely depth of flavor, it’s not a deal-breaker. Your muffins will still be delicious, just missing that extra little oomph. But really, go get some.
- **Are these healthy?** Well, they have bananas in them, so that’s fruit, right? Let’s just say they’re *soul-healthy*. Everything in moderation, including self-control around these muffins!
Final Thoughts
So there you have it, your new go-to recipe for banana muffins that are so moist, they’ll make you question all your previous baking endeavors. These aren’t just muffins; they’re little portable bundles of comfort, perfect for breakfast, a snack, or, let’s be honest, a midnight treat.
Go ahead, whip up a batch (or two, IMO you’ll thank me). Now go impress someone—or yourself—with your new culinary skills. You’ve earned it!


