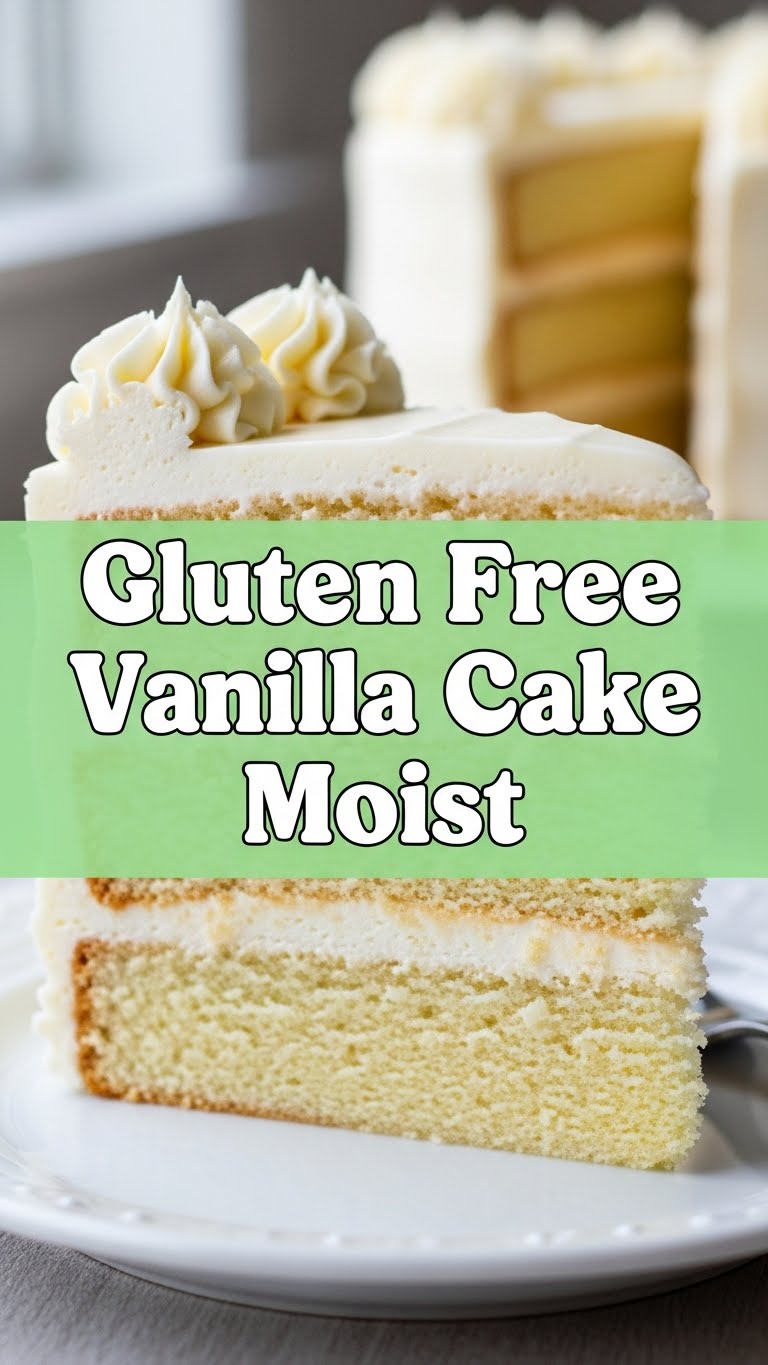
Okay, friend, let’s talk cake. Specifically, that fluffy, vanilla-scented hug of a cake that makes you forget all your woes. But wait, it’s gotta be *gluten-free* and *moist* (yes, I said the M-word) without tasting like cardboard. Impossible? Nah, hold my spatula. This isn’t some science experiment, it’s a delicious reality, and we’re about to make it happen!
Why This Recipe is Awesome
This isn’t your grandma’s dry, crumbly, “health food” gluten-free cake. Oh no. This is the real deal! It’s ridiculously easy, shockingly moist, and so delish, even your gluten-loving pals will be asking for seconds (and possibly the recipe, *muahaha*). Plus, it’s pretty much **fail-proof** if you follow the simple steps. I mean, if I can do it without setting off the smoke alarm, you totally can too. Get ready for applause, friend!
Ingredients You’ll Need
- Gluten-Free All-Purpose Flour Blend: About 1 ½ cups (180g). *Crucial! Look for one with xanthan gum already in it, or add 1/2 tsp if it doesn’t. We want structure, not crumble.*
- Granulated Sugar: 1 cup (200g). *For sweetness, obviously. Don’t skimp unless you’re a masochist.*
- Baking Powder: 1 ½ teaspoons. *Our lift-and-fluff partner.*
- Baking Soda: ½ teaspoon. *The other half of our dynamic duo!*
- Salt: ½ teaspoon. *A pinch to make everything else sing a little louder.*
- Unsalted Butter: ½ cup (113g), softened to room temperature. *Soft, not melted! Unless you’re aiming for a buttery pancake. We’re going for cake, people.*
- Large Eggs: 2, also at room temperature. *Helps everything emulsify beautifully. No cold eggs straight from the fridge, please!*
- Vanilla Extract: 2 teaspoons. *Use the good stuff. This is a vanilla cake, after all. Don’t be shy!*
- Milk (Dairy or Non-Dairy): ½ cup (120ml), at room temperature. *Full-fat for maximum moistness, IMO. Almond or oat milk works great too.*
- Sour Cream or Plain Greek Yogurt: ½ cup (120g), at room temperature. *This is our secret weapon for moisture and a slight tang! Don’t skip this; it’s what makes it divine.*
Step-by-Step Instructions
- Pre-Party Prep! Preheat your oven to 350°F (175°C). Grease and “flour” (using your GF flour!) a 9-inch round cake pan. You can also line the bottom with parchment paper for extra non-stick insurance. Smart move!
- Dry Mix Magic: In a large bowl, whisk together your GF flour blend, sugar, baking powder, baking soda, and salt. Make sure there are no lumpy bits lurking in there.
- Wet Mix Wonders: In a separate medium bowl, cream together the room temperature butter and eggs until light and fluffy. Stir in the vanilla extract, milk, and that glorious sour cream (or yogurt).
- Marry the Mixtures: Gradually add the dry ingredients to the wet ingredients, mixing on low speed (or by hand) until *just* combined. **Don’t overmix!** Overmixing is the enemy of tender gluten-free cakes. A few small lumps are totally okay.
- Bake It Up: Pour your beautiful batter into the prepared cake pan. Smooth the top with a spatula. Bake for 30-35 minutes, or until a wooden skewer or toothpick inserted into the center comes out clean.
- Cool Down Time: Let the cake cool in the pan for about 10-15 minutes before carefully inverting it onto a wire rack to cool completely. Patience is a virtue, especially when cake is involved. Once cool, frost it with your favorite vanilla buttercream (or just eat it plain, no judgment here!).
Common Mistakes to Avoid
- Cold Ingredients: Seriously, I mentioned it like three times. Cold butter, eggs, and milk can make your batter curdle and won’t emulsify properly, leading to a denser, less uniform cake. **Room temp, people!**
- Overmixing the Batter: This is a biggie for GF baking! Overmixing develops gluten (even in GF flours to some extent) and can make your cake tough and dry. Mix until *just* combined, then stop. Walk away from the mixer.
- Not Greasing/Flouring Properly: Ever had half your cake stuck to the pan? Yeah, not fun. Take an extra minute to grease and flour thoroughly, or use parchment paper. Your future self will thank you.
- Poking the Cake Too Soon/Too Much: Don’t constantly open the oven door or poke your cake every five minutes. Let it bake! Only check for doneness when it’s almost time, or you’ll deflate your beautiful creation.
Alternatives & Substitutions
- Dairy-Free: Easy peasy! Swap butter for a good quality dairy-free butter stick (like Miyoko’s Kitchen or Earth Balance sticks), and use your favorite non-dairy milk and sour cream/yogurt alternative.
- Different Flour Blends: While I recommend a GF blend with xanthan gum, if yours doesn’t have it, add about 1/2 teaspoon per cup of flour. Different brands behave differently, so *always use a kitchen scale for accuracy* when measuring GF flour!
- Flavor Boosts: Feeling fancy? Add a teaspoon of almond extract for an almond-vanilla vibe, or a pinch of cardamom for something a little exotic. **You’re the boss!**
- Sour Cream Alternative: If you don’t have sour cream, plain Greek yogurt (full-fat is best) is an excellent substitute. Same moist-making magic!
FAQ (Frequently Asked Questions)
- Q: Can I use margarine instead of butter? A: Well, technically yes, but why hurt your soul and the flavor of your cake like that? Butter just tastes better, period. Trust me on this.
- Q: My cake turned out dense. What happened? A: Did you overmix? Or were your ingredients cold? Those are the usual culprits. Next time, be gentle and bring everything to room temp. Patience is key!
- Q: How long does this cake last? A: If stored in an airtight container at room temperature, it’s good for 3-4 days. In the fridge, maybe a day or two longer, but it’s always best fresh, right?!
- Q: Can I make cupcakes instead? A: Absolutely! Fill cupcake liners about two-thirds full and bake for 18-22 minutes. Just keep an eye on them, as oven temps vary.
- Q: What if I don’t have xanthan gum? A: Most GF all-purpose blends include it. If yours doesn’t, you *really* should add 1/2 tsp. It’s vital for binding and structure in GF baking; otherwise, you might end up with a crumbly mess. **FYI, it’s a game-changer!**
- Q: Can I freeze this cake? A: Yes, you can! Wrap unfrosted cake layers tightly in plastic wrap and then foil. Freeze for up to 2-3 months. Thaw in the fridge before frosting.
Final Thoughts
So there you have it, folks! Your new go-to recipe for a **ridiculously moist and delicious gluten-free vanilla cake**. No more sad, crumbly imposters! Now go forth, bake with joy, and maybe share a slice (or five) with someone you like. You’ve earned those bragging rights! Happy baking, superstar!

