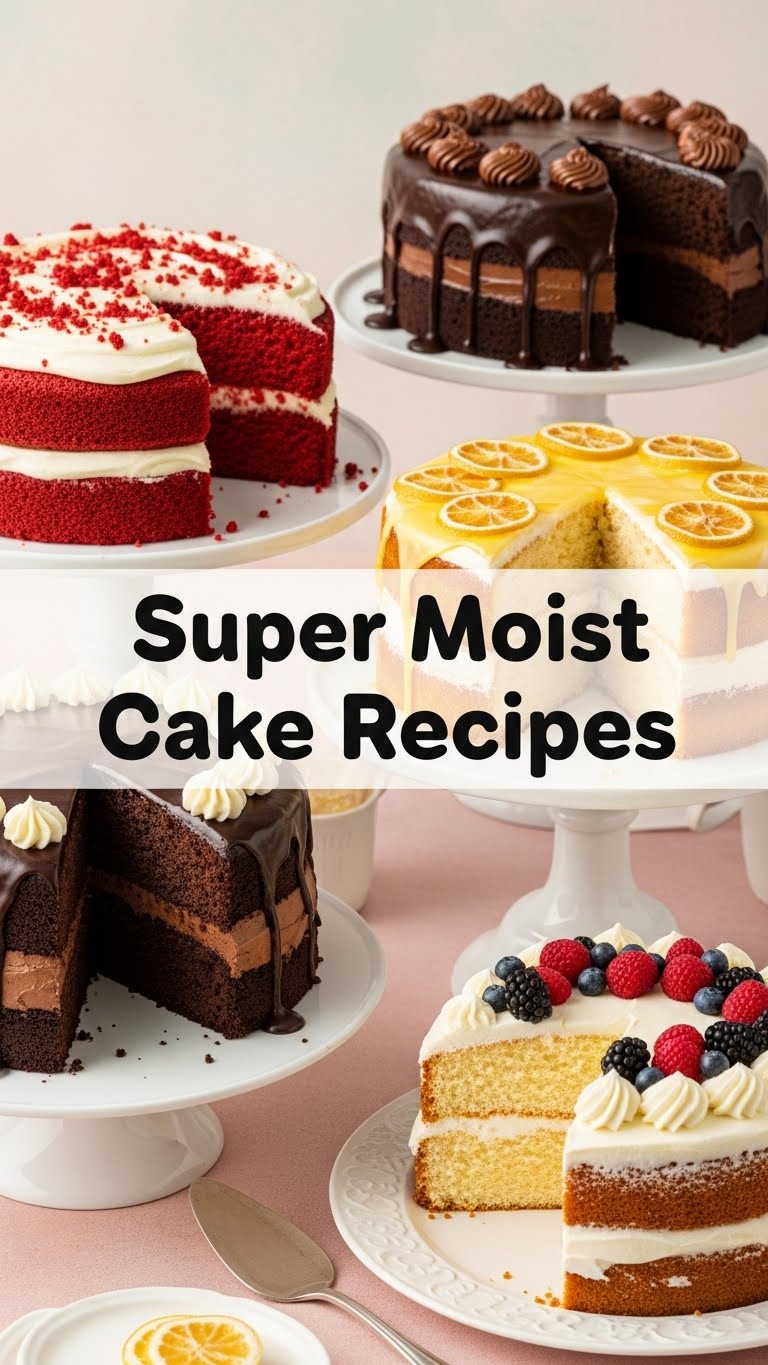
So, you’re looking for a cake recipe that’s so moist it basically melts in your mouth, but also one that doesn’t demand you sell a kidney for ingredients or dedicate your entire weekend to baking? My friend, you’ve come to the right place. We’re about to dive into the magical world of cakes so impossibly moist, they should come with a warning label: *May cause extreme happiness and a sudden urge to share… or not!* Let’s get baking!
Why This Recipe is Awesome
Okay, let’s get real. This isn’t just *a* moist cake recipe; it’s *the* moist cake recipe. Why? Because it’s practically **fail-proof**. Seriously, even if your baking skills are usually on par with a toddler finger painting, you can nail this. It uses simple ingredients, comes together faster than you can say ‘OMG, is that cake?’, and the result? A cake so unbelievably tender and moist, you’ll wonder if you secretly became a pastry chef overnight. Plus, it’s easily adaptable, meaning you can whip it up for a fancy dinner party or just a Tuesday night craving when sweatpants are your uniform. No judgment here!
Ingredients You’ll Need
For this super moist chocolate cake (because chocolate makes everything better, IMO), gather these goodies:
- All-purpose flour: Just your regular floury goodness. No need for fancy stuff.
- Granulated sugar: Because life’s sweet, and so should your cake be.
- Unsweetened cocoa powder: The darker, the better. Get the good stuff!
- Baking soda: Our little magic leavening agent.
- Salt: Don’t skip it; it brings out all the flavors!
- Large eggs: Room temp is best, but if you forget, just pretend you didn’t.
- Buttermilk: The MVP for moisture. Trust me on this one.
- Vegetable oil: Or any neutral oil. Another moisture secret weapon!
- Vanilla extract: A splash of pure joy.
- Hot water or hot coffee: Yes, coffee! It deepens the chocolate flavor without making it taste like coffee. Mind blown, right?
Step-by-Step Instructions
- Get Ready: Preheat your oven to 350°F (175°C). Grease and flour a 9×13 inch baking pan (or two 8 or 9-inch round pans if you’re feeling fancy).
- Dry Mix Fun: In a large bowl, whisk together the flour, sugar, cocoa powder, baking soda, and salt. Make sure there are no lumpy bits.
- Wet Mix Magic: In a separate medium bowl, whisk the eggs, buttermilk, oil, and vanilla until well combined.
- Combine Forces: Pour the wet ingredients into the dry ingredients. Mix with a spatula or whisk until *just* combined. Don’t overmix, unless you want a tough cake (you don’t).
- The Hot Touch: Slowly pour in the hot water (or coffee!) while mixing. The batter will be thin – don’t panic, that’s what we want!
- Bake It Up: Pour the batter into your prepared pan(s). Bake for 30-35 minutes for a 9×13 pan, or 25-30 minutes for round pans, or until a wooden skewer inserted into the center comes out clean or with moist crumbs.
- Cool Down: Let the cake cool in the pan for about 10-15 minutes before inverting it onto a wire rack to cool completely. Patience is a virtue, especially when cake is involved.
Common Mistakes to Avoid
- Thinking you don’t need to preheat the oven: Rookie mistake! Your cake won’t rise properly if it goes into a cold oven.
- Overmixing the batter: This is probably the number one sin in cake baking. It develops the gluten too much, resulting in a dense, dry cake. Mix until *just* combined, then stop. Seriously.
- Opening the oven door too early: Every time you peek, you let out heat and risk your cake collapsing. Hold your horses for at least 20-25 minutes!
- Not measuring properly: Baking is a science, people! Eyeballing ingredients is a recipe for disaster (and dry cake). Use proper measuring cups and spoons.
Alternatives & Substitutions
- No buttermilk? No problem! You can totally make your own. Just add 1 tablespoon of white vinegar or lemon juice to a measuring cup, then fill the rest with regular milk until it reaches 1 cup. Let it sit for 5 minutes. Boom, DIY buttermilk!
- Oil vs. Butter: While butter adds flavor, oil is often the secret to a super moist cake because it stays liquid at room temperature. But if you *really* want that buttery flavor, you can swap half the oil for melted butter. Just know it might be *slightly* less moist. Your call!
- Hot water vs. Hot coffee: The coffee really enhances the chocolate, but if you’re caffeine-averse or just don’t have it, hot water works perfectly fine. Don’t sweat it!
- Flavor Boosts: Feel free to swap vanilla extract for almond extract for a nutty twist, or even a dash of espresso powder (in addition to or instead of coffee) for more intense chocolate.
FAQ (Frequently Asked Questions)
- “Can I use margarine instead of butter?” Well, technically yes, but why hurt your soul like that? Butter just tastes better, and for a truly rich, moist cake, it’s worth the splurge.
- “My cake cracked on top, what happened?” Don’t fret, it usually means your oven was a *tad* too hot, or the pan was a bit too full. Nothing a good frosting can’t fix, right?
- “How do I know if my cake is perfectly baked?” A wooden skewer or toothpick inserted into the center should come out clean, or with a few moist crumbs attached. No wet batter, please!
- “Can I make this cake gluten-free?” You bet! Swap the all-purpose flour for a good quality 1:1 gluten-free baking blend. You might need to adjust baking time slightly.
- “How long does this super moist cake last?” If stored properly (airtight container, room temp for unfrosted, fridge for frosted), it can last 3-4 days. But let’s be real, it’ll probably be gone much faster!
- “Can I freeze it?” Absolutely! Wrap cooled, unfrosted cake layers tightly in plastic wrap, then foil. It’ll keep for up to 2-3 months. Thaw at room temp.
Final Thoughts
There you have it, folks! Your new go-to super moist cake recipe that’s guaranteed to impress everyone, including yourself. No more dry, crumbly disappointments in this kitchen, not on our watch! So, grab your apron, crank up some tunes, and get baking. You’ve totally got this. Now go impress someone—or just yourself, FYI—with your new culinary skills. You’ve earned it! Happy baking!


