So you’re craving something sweet, delightfully moist, and utterly delicious, but the mere mention of “gluten-free cake” conjures up images of dry, crumbly bricks? Been there, done that, accidentally choked on the evidence. But guess what? We’re about to change your entire GF cake-making world. Prepare yourself for a cake that’s so good, your gluten-loving friends will be asking for the recipe, completely unaware of its secret identity. You’re welcome.
Why This Recipe is Awesome
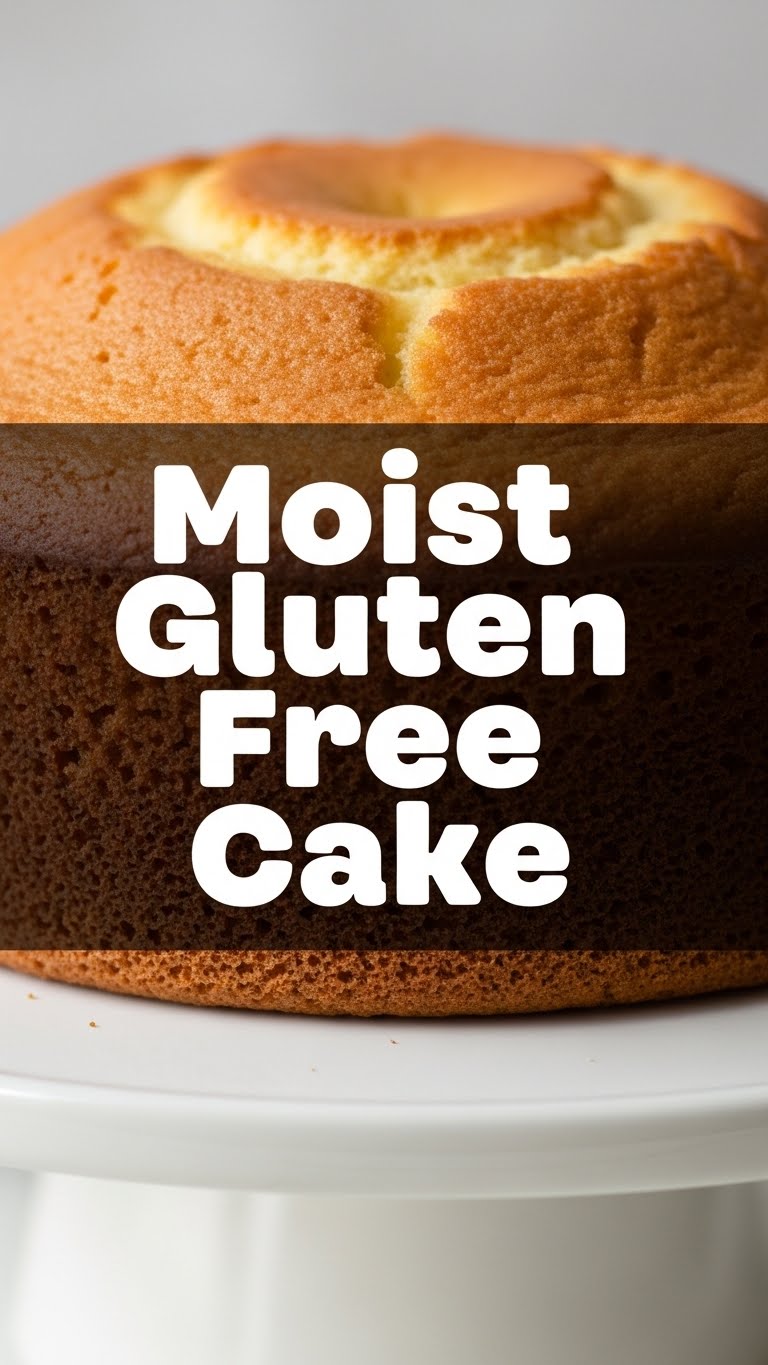
Okay, let’s be real. Most gluten-free cakes have a reputation for being… well, *not* awesome. They’re often dry, they fall apart if you look at them funny, and they sometimes taste like disappointment. But this recipe? Oh no, my friend. This recipe laughs in the face of dry gluten-free stereotypes. It’s so moist, it practically melts in your mouth. And the best part? It’s **idiot-proof**. Seriously, I’ve made this on a Tuesday night after a long day, and it came out perfect. No complex steps, no obscure ingredients, just pure, unadulterated cake joy. It’s the kind of cake that makes you wonder if you accidentally used a magic wand instead of a whisk. (Spoiler: you didn’t, it’s just that good.)
Ingredients You’ll Need
Gather your troops! Here’s what you’ll need to make this glorious creation:
- **1 ½ cups (3 sticks) unsalted butter**, softened (the good stuff, obvs – no sad, hard butter here!)
- **2 cups granulated sugar** (because life is sweet, and so should your cake be)
- **4 large eggs** (room temperature, please! They mix better when they’re not shivering)
- **1 teaspoon vanilla extract** (go for pure vanilla, your taste buds will thank you)
- **1 ½ cups gluten-free all-purpose flour blend** (make sure it’s a good one with xanthan gum, or add ½ tsp separately if it doesn’t have it)
- **½ cup almond flour** (adds a lovely texture and extra moistness – don’t skip this gem!)
- **1 teaspoon baking powder** (for that perfect lift!)
- **½ teaspoon baking soda** (our other leavening hero)
- **¼ teaspoon salt** (just a pinch to balance all that sweetness)
- **1 cup sour cream or plain full-fat Greek yogurt** (this is our secret weapon for *ultimate* moisture!)
- **Optional: Zest of one lemon or orange** (for a little zing, if you’re feeling fancy)
Step-by-Step Instructions
- **Preheat Your Oven & Prep Your Pan:** First things first, get that oven nice and hot. Preheat to **350°F (175°C)**. Grab a 9×13 inch baking pan or two 8 or 9-inch round cake pans. **Grease and flour (with GF flour!)** them really well, or line with parchment paper. Trust me, you don’t want your beautiful cake stuck to the bottom.
- **Cream the Butter & Sugar:** In a large bowl, or the bowl of your stand mixer, cream the softened butter and granulated sugar together until they’re light, fluffy, and look like a cloud. This usually takes about 3-5 minutes. Don’t rush this step; it’s crucial for the cake’s texture!
- **Add Eggs & Vanilla:** Crack in the eggs one at a time, beating well after each addition. Scrape down the sides of the bowl to make sure everything’s incorporated. Stir in that vanilla extract. If you’re using citrus zest, add it now too!
- **Whisk Dry Ingredients:** In a separate medium bowl, whisk together the GF all-purpose flour blend, almond flour, baking powder, baking soda, and salt. Make sure there are no lumps.
- **Alternate Dry & Wet:** Now, we’re going to add the dry ingredients and the sour cream (or yogurt) to the butter mixture in alternating additions. Start and end with the dry ingredients. Add about a third of the dry mix, gently mix until just combined, then half the sour cream, mix, another third of dry, the rest of the sour cream, and finally the last third of dry. **Do not overmix!** Mix until just combined. Overmixing develops toughness, even in GF cakes.
- **Pour & Bake:** Pour the batter evenly into your prepared pan(s). Smooth out the top with a spatula. Pop it into your preheated oven.
- **Bake Until Golden:** If using a 9×13 pan, bake for about **30-35 minutes**. For round pans, it might be closer to **25-30 minutes**. The cake is done when a wooden skewer or toothpick inserted into the center comes out clean or with a few moist crumbs attached.
- **Cool It Down:** Let the cake cool in the pan for about 10-15 minutes before inverting it onto a wire rack to cool completely. Patience is a virtue, especially when a delicious cake is involved.
Common Mistakes to Avoid
Even the best of us make silly mistakes. Here are a few to steer clear of:
- **Thinking you don’t need to preheat the oven:** Rookie mistake! An oven that’s not up to temperature means your cake won’t rise properly, leading to a dense, sad cake. Don’t do it.
- **Overmixing the batter:** This is probably the biggest culprit for tough cakes, even with GF flour. Once you add the flour, mix until *just* combined. Stop when you no longer see streaks of dry flour.
- **Ignoring ingredient temperatures:** Cold eggs and butter are stubborn. Room temperature ingredients emulsify better, giving you a smoother, more uniform batter and a finer crumb. Plan ahead!
- **Opening the oven door constantly:** Resist the urge to peek! Especially in the first 20 minutes, opening the door can cause your cake to sink. Trust the process.
- **Not greasing your pan properly:** You’ll cry. Your cake will cry. It’s a sad, stuck mess. **Generously grease and flour**, or use parchment paper.
Alternatives & Substitutions
Feeling adventurous? Or just missing an ingredient? Here are some ideas:
- **Flour Power:** While I highly recommend the combination of GF blend and almond flour for this specific recipe, if you *really* only have one type of GF all-purpose blend, you can use 2 cups of it. Just know the texture might be slightly different. **IMO**, the almond flour is key for that extra tenderness.
- **Dairy-Free Dream?** You can definitely try a good quality dairy-free butter substitute (like Miyoko’s Kitchen) and a dairy-free sour cream or full-fat coconut cream (the thick part from a can of chilled coconut milk). Results may vary slightly, but it should still be delicious.
- **Flavor Boosts:** Instead of vanilla, try almond extract for a marzipan-like vibe. Add a tablespoon of espresso powder for a mocha cake, or some shredded coconut for a tropical twist. The world is your oyster… or, rather, your cake!
- **Sugar Swap:** You can experiment with different sugars, but I’d stick with granulated for this one to maintain the texture. Brown sugar would add moisture but also change the flavor profile quite a bit.
FAQ (Frequently Asked Questions)
- **Can I use margarine instead of butter?** Well, technically yes, but why hurt your soul like that? Butter just tastes better and contributes to a superior texture. Treat yourself!
- **My cake sank in the middle! What happened?** Usually, this is due to either too much leavening (baking powder/soda), opening the oven door too early, or the oven temperature being too low (or uneven). Double-check your measurements and try to resist peeking!
- **What kind of gluten-free flour blend should I use?** Look for a reputable brand that explicitly states “all-purpose gluten-free flour blend” and ideally includes xanthan gum. Brands like Bob’s Red Mill 1-to-1 or King Arthur Measure for Measure are usually great.
- **How do I store this cake?** Once completely cooled, store it in an airtight container at room temperature for up to 3 days, or in the fridge for up to a week. It also freezes beautifully for longer storage!
- **Can I make this into cupcakes?** Absolutely! Divide the batter into a lined cupcake pan. Baking time will be shorter, around 18-22 minutes. Keep an eye on them!
Final Thoughts
There you have it, folks! A moist, delicious gluten-free cake recipe that’s so easy, it’s practically illegal. You no longer have an excuse to suffer through dry, crumbly GF baking disasters. Go forth and conquer your cravings! Now go impress someone—or yourself—with your new culinary skills. You’ve earned it!


