So you’re craving something tasty but too lazy to spend forever in the kitchen, huh? Same. We’ve all been there: it’s 9 PM, the sweet tooth monster is roaring, and the thought of dirtying multiple bowls (let alone turning on the oven) sends shivers down your spine. Fear not, my friend! I’m here to introduce you to your new best friend: the Moist Mug Cake. It’s quick, it’s easy, and it basically begs you to make it.
Why This Recipe is Awesome
Listen, if I can make this without setting off the smoke detector, *anyone* can. This recipe is the ultimate low-effort, high-reward situation. It’s literally a single-serving slice of heaven that comes together faster than you can decide what to watch on Netflix. No complicated steps, minimal cleanup (just one mug!), and instant gratification. It’s perfect for those sudden cravings, a quick dessert for one, or when you just want to feel like a domestic goddess (or god) without actually doing much work. It’s practically idiot-proof. You’re welcome.
Ingredients You’ll Need
Get ready for a shockingly short list. Most of these are probably chilling in your pantry already. No fancy trips to specialty stores, promise!
- 3 Tablespoons All-Purpose Flour: The basic building block. Don’t overthink it.
- 3 Tablespoons Granulated Sugar: For that essential sweetness. Adjust to your personal sweet-o-meter.
- 1 Tablespoon Unsweetened Cocoa Powder: The MVP for our chocolatey dreams. Don’t use hot cocoa mix – it’s already sweetened and will mess things up.
- 1/4 Teaspoon Baking Powder: This is our magic ingredient for fluffiness. Don’t skip it unless you like dense pucks.
- Pinch of Salt: Just a tiny bit to balance everything out and make the chocolate pop.
- 3 Tablespoons Milk: Any kind works – dairy, almond, oat, soy. Whatever’s in your fridge!
- 1 Tablespoon Vegetable Oil (or Melted Coconut Oil): For ultimate moisture. Trust me, it makes a difference.
- 1/4 Teaspoon Vanilla Extract (Optional, but highly recommended): Elevates the flavor. Go on, treat yourself.
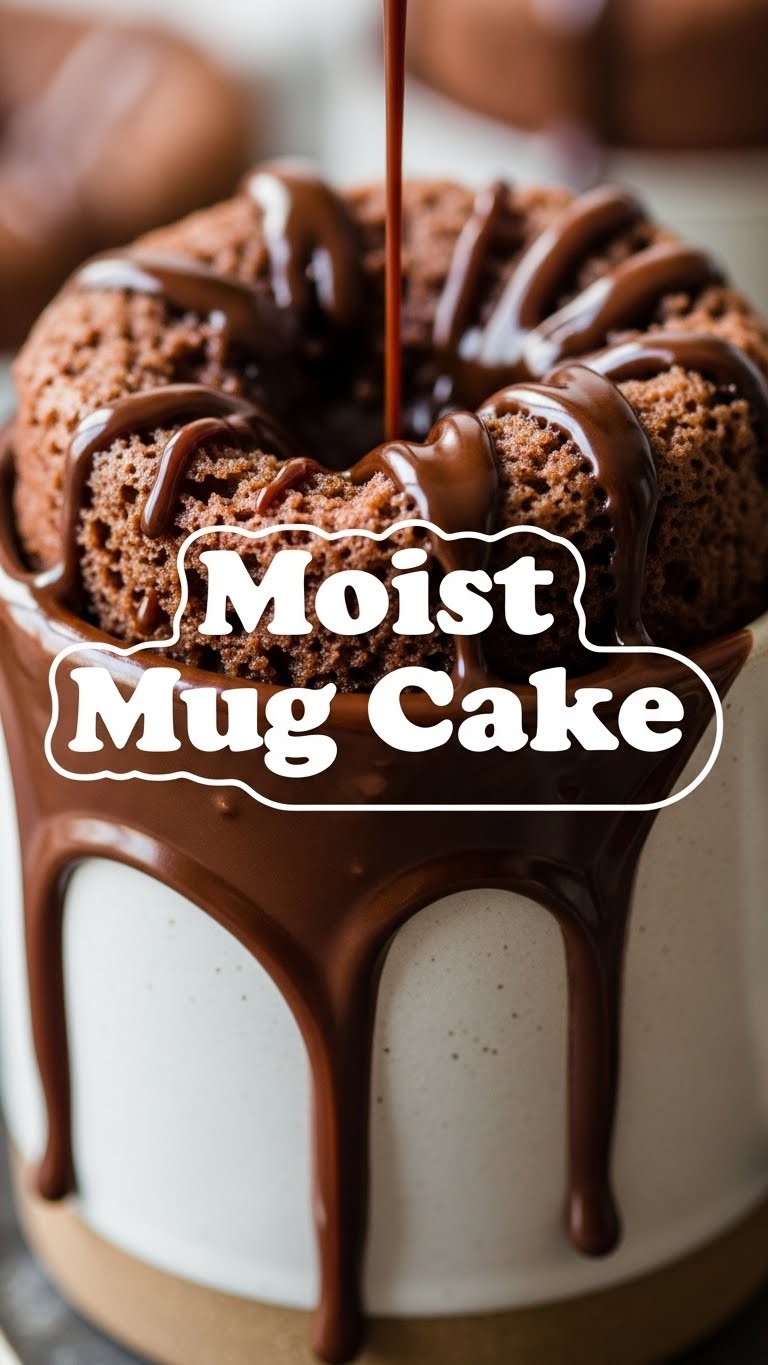
- 1-2 Tablespoons Chocolate Chips: Totally non-negotiable, IMO. Sprinkle ’em in!
Step-by-Step Instructions
Alright, let’s get this party started! Seriously, these steps are so simple you could probably do them in your sleep.
Grab Your Mug: Find your favorite microwave-safe mug (about 10-12 oz is ideal). Don’t pick one too small unless you want a chocolatey eruption in your microwave. Fun for a second, messy forever.
Whisk the Dry Stuff: Dump the flour, sugar, cocoa powder, baking powder, and salt right into your mug. Grab a small fork or mini whisk and mix them thoroughly. You want to break up any lumps and ensure everything is evenly distributed. This is crucial for a smooth cake.
Add the Wet Wonders: Pour in the milk, oil, and vanilla extract (if using). Now, gently mix everything together with your fork. Be careful not to overmix! Mix just until there are no dry streaks of flour left. A few small lumps are okay; we’re making a cake, not a soufflé.
Chocolate Chip Dive: Stir in your chocolate chips. You can press a few extra on top for a melty surprise if you’re feeling extra fancy (you are, aren’t you?).
Microwave Magic: Place your mug in the microwave. Cook on high for **60-90 seconds**. Start with 60 seconds, then check it. If it still looks very wet in the center, microwave for another 10-15 seconds. Every microwave is different, so watch it closely! The cake should look set and slightly springy to the touch. It might even be a little gooey in the middle – that’s perfection!
Cool Down (or Don’t): Carefully remove the hot mug from the microwave. Let it cool for a minute or two before digging in, unless you enjoy molten lava mouth. You can eat it straight from the mug, or if you’re feeling adventurous, gently tip it out onto a plate. Top with ice cream, whipped cream, or more chocolate chips. Go wild!
Common Mistakes to Avoid
Even though this recipe is super easy, there are a few pitfalls that can turn your dreamy mug cake into a mug… uh… disaster. Learn from my errors, friends!
- The Overmix Massacre: Don’t whisk this batter like you’re trying to win a culinary competition. Overmixing develops the gluten in the flour, leading to a tough, rubbery cake. Mix until just combined, a few lumps are totally fine!
- Microwave Madness (Overcooking): This is the number one culprit for a dry mug cake. Microwaves are powerful beasts. Start with less time (60 seconds) and add in short bursts (10-15 seconds) until it’s just set. An extra 15 seconds can turn moist into sawdust.
- Forgetting Baking Powder: Seriously, don’t do it. Your cake will not rise, and you’ll end up with a sad, dense, flat chocolate brick. Not delicious.
- Too Small a Mug: Using a tiny coffee mug for this recipe is asking for a messy microwave. The cake rises, so give it some space! Aim for a 10-12 oz mug.
- Skipping the Oil: The oil is key for moisture. If you replace it with something like applesauce, you might get a good flavor, but the texture won’t be as delightfully moist.
Alternatives & Substitutions
Feeling adventurous? Or just missing an ingredient? Here are some ways to shake things up!
- No Cocoa Powder? No Problem! You can totally make a vanilla mug cake. Just omit the cocoa powder and add an extra tablespoon of flour. Maybe throw in some sprinkles or a pinch of cinnamon for a different vibe.
- Dairy-Free? You Bet! Any plant-based milk (almond, soy, oat) works perfectly fine here. For the oil, vegetable oil, melted coconut oil, or even melted vegan butter will do the trick.
- Oil Alternatives: If you’re out of oil, melted butter (dairy or plant-based) can be used. It might give it a slightly richer flavor, which is never a bad thing, right?
- Flavor Boosters: A tiny pinch of instant coffee powder (about 1/4 tsp) mixed with the dry ingredients will deepen the chocolate flavor beautifully. You could also add a tiny bit of peppermint extract for a festive twist, or a dollop of peanut butter for a PB&J-esque experience.
- Topping Galore: This is where you can really shine. A scoop of vanilla ice cream, a dollop of whipped cream, a drizzle of fudge sauce, sprinkles, chopped nuts, fresh berries… the world is your oyster!
FAQ (Frequently Asked Questions)
Got questions? I’ve got (casual) answers!
- Can I use margarine instead of butter/oil? Well, technically yes, but why hurt your soul like that? Margarine tends to have more water, which can affect the texture. Stick to oil or real butter for the best results, trust me.
- My cake is super dry! What did I do wrong? Ah, the classic overcook. Your microwave is probably a beast, or you left it in too long. Next time, try cooking in 10-15 second increments after the first minute until it’s just set. FYI, a slightly undercooked, gooey center is the goal!
- What if I don’t have baking powder? You could try a tiny pinch of baking soda mixed with a teaspoon of vinegar (it’ll react and create lift), but honestly, it’s best to use baking powder. Your cake will be very dense without it. Go to the store, it’s worth it!
- Can I make this ahead of time? You *can*, but it’s best eaten immediately. Mug cakes tend to dry out quickly. This recipe is designed for instant gratification, so enjoy it fresh!
- Can I double the recipe and use a larger mug? You can, but it’s often better to make two separate mug cakes. Larger cakes in the microwave cook unevenly, and you might end up with dry edges and a raw middle.
- Can I bake this in a regular oven? You sure can! Pour the batter into an oven-safe ramekin and bake at 350°F (175°C) for about 12-15 minutes, or until a toothpick inserted comes out with moist crumbs. But, like, then it’s not a *mug cake*, is it?
Final Thoughts
And there you have it! Your passport to quick, delicious, and utterly satisfying dessert. The moist mug cake is a game-changer for anyone who loves sweets but hates fuss. It’s an easy win, a mood booster, and proof that good things (and delicious cakes) can come in small, single-serving packages. Now go impress someone—or yourself—with your new culinary skills. You’ve earned it!


