So, your sweet tooth is screaming, but your motivation is whispering “nap time,” right? Been there, baked that.
Today, we’re making muffins so moist, they practically apologize for being so delicious and easy. Forget those dry, crumbly hockey pucks you sometimes encounter; we’re going for fluffy, tender, and downright dreamy. And trust me, if I can do it without setting off the smoke detector, you totally can too. Let’s get baking!
Why This Recipe is Awesome
Seriously, this isn’t just a recipe; it’s a life hack disguised as a baked good. It’s so foolproof, even if you usually burn toast *and* water, you’ll nail these. We’re talking one bowl (mostly), minimal dishes, and maximum yum factor. Plus, it’s super versatile, so you can adapt it to whatever random bits you have lurking in your pantry. No fancy equipment needed, just your lovely self and a craving for something ridiculously good. Consider this your new go-to for instant gratification. You’re welcome.
Ingredients You’ll Need
Gather your troops, fellow lazy-chef-extraordinaire!
- 1 ½ cups All-Purpose Flour: The basic building block of happiness. Nothing fancy, just the regular stuff.
- ½ cup Granulated Sugar: Because life’s too short for unsweetened baked goods. For a slightly chewier texture, use brown sugar!
- 2 teaspoons Baking Powder: Our little magic puff-upper. **Check its expiry date!** Old baking powder leads to flat muffins.
- ¼ teaspoon Salt: Just a pinch, to balance the sweetness and your life choices.
- 1 large Egg: Our binder buddy, ideally at room temperature (but who has time for that? Just use it straight from the fridge if you’re in a hurry).
- ½ cup Milk: Any kind will do! Dairy, almond, oat, soy – whatever floats your boat (or makes your muffins moist).
- ¼ cup Vegetable Oil or Melted Butter: For that glorious moisture. Oil gives a lighter, more consistent crumb, but melted butter adds incredible flavor. **Don’t skimp here!** This is key to moisture.
- 1 teaspoon Vanilla Extract: Because everything is better with a dash of magic.
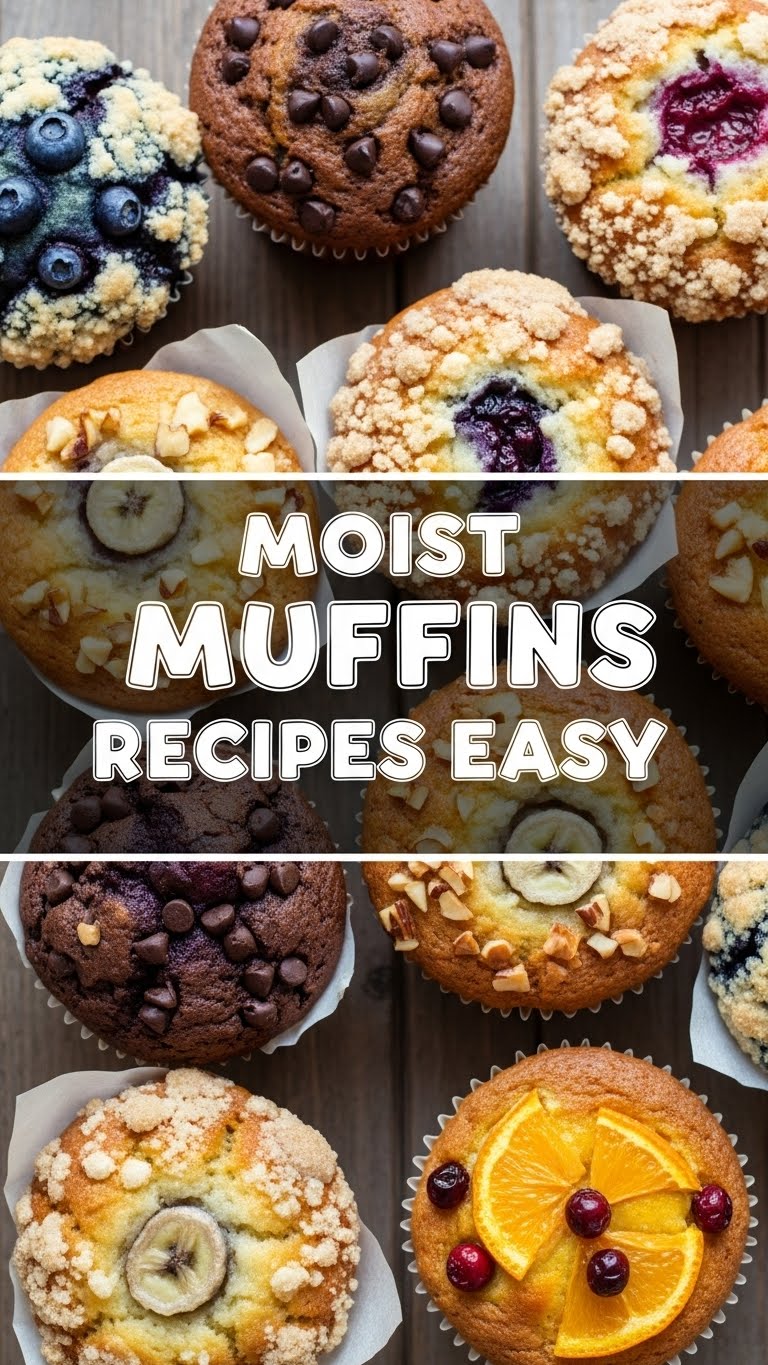
- ½ cup Optional Mix-ins: Chocolate chips (my personal fave), fresh or frozen blueberries, chopped nuts, a dash of cinnamon. Go wild, or keep it plain!
Step-by-Step Instructions
Okay, deep breaths. You’ve got this. Follow these ridiculously simple steps.
- Preheat & Prep: First things first, get that oven nice and toasty. Preheat it to 400°F (200°C). While it’s warming up, line a 12-cup muffin tin with paper liners or grease it well. Nothing’s worse than a muffin stuck in its tin.
- Dry Mix Magic: In a large bowl (see, I told you one bowl!), whisk together the flour, sugar, baking powder, and salt. Make sure there are no lumpy bits. This is the foundation of your future muffin empire.
- Wet Mix Wonders: In a separate, smaller bowl, gently whisk the egg, milk, oil (or melted butter), and vanilla extract. Just enough to combine; don’t go full-on arm workout here.
- Combine & Conquer: Pour the wet ingredients into the dry ingredients. Now, here’s the crucial part: **Mix just until barely combined.** A few lumps are totally fine, even desirable! Overmixing is the enemy of moist, tender muffins, turning them tough and chewy. We’re aiming for happy, lumpy batter.
- Fold in the Fun: Gently fold in your chosen mix-ins (chocolate chips, blueberries, etc.). Don’t stir vigorously, just a few gentle turns. You want them distributed, not smashed.
- Fill ‘Em Up: Divide the batter evenly among the 12 muffin cups. For those beautiful domed tops, you can fill them almost to the brim.
- Bake It ‘Til You Make It: Pop that muffin tin into your preheated oven. Bake for about 18-22 minutes, or until the tops are golden brown and a toothpick inserted into the center comes out clean.
- Cool Down: Let the muffins cool in the tin for a few minutes before transferring them to a wire rack. Try to wait before devouring, but no judgment if you can’t. They’re best warm!
Common Mistakes to Avoid
Don’t be *that* person. Learn from others’ past muffin failures.
- Overmixing the Batter: This is the cardinal sin of muffin-making. Seriously, stop stirring when you still see a few streaks of flour. Lumpy batter is happy batter; smooth batter is tough batter. You want tender, not tire-like.
- Overfilling Muffin Cups: Unless you’re going for muffin volcanoes (which, honestly, could be cool but messy), don’t overfill. Aim for about two-thirds full for nicely domed, but contained, muffins.
- Not Preheating the Oven: Rookie mistake! Your oven needs a warm-up, just like you on a Monday morning. A hot oven helps the muffins rise quickly and get those beautiful tops.
- Opening the Oven Door Too Soon: Patience, young grasshopper. Resist the urge to peek during the first 10-12 minutes. Opening the door can cause your muffins to collapse. Let them rise in peace.
- Baking Too Long: Dry muffins are sad muffins. Keep an eye on them towards the end of the baking time. Ovens vary, so trust your eyes and the toothpick test.
Alternatives & Substitutions
Feeling adventurous or just missing an ingredient? No stress!
- Flour Power: You can swap out half of the all-purpose flour for whole wheat flour for a slightly nuttier, healthier muffin. For gluten-free, use a 1:1 gluten-free baking blend (but results might vary slightly).
- Sugar Swaps: As mentioned, brown sugar can replace granulated sugar for a deeper, more molasses-y flavor. Maple syrup or honey can also work, but you might need to slightly reduce the milk to maintain the right batter consistency.
- Milk Magic: No milk? No problem. Yogurt or sour cream can be used in a pinch; just aim for the same liquid volume. Buttermilk works wonders for extra tenderness and a slight tang (if using buttermilk, consider adding ½ tsp baking soda for extra lift).
- Oil Alternatives: Applesauce can be swapped for some of the oil or butter for a lower-fat option, though it might change the texture a bit (think denser, cake-like).
- Mix-in Mania: The world is your oyster! Try lemon zest, orange zest, dried cranberries, chopped nuts (walnuts, pecans), poppy seeds, cinnamon sugar swirl, or even a dollop of jam in the center. Get creative!
FAQ (Frequently Asked Questions)
Got questions? I’ve got (casual, opinionated) answers!
Q: My muffins came out dry! What went wrong?
A: Ah, the tragedy of the dry muffin. Most likely culprits: **overmixing** the batter (turns on the gluten, making it tough) or **overbaking** (sucks out all the moisture). Keep an eye on the clock and those mixing hands!
Q: Can I make these dairy-free?
A: Absolutely! Use your favorite plant-based milk (almond, soy, oat) and ensure you’re using oil instead of butter, or a plant-based butter alternative. Easy peasy!
Q: How long do these delicious muffins last?
A: At room temperature in an airtight container, they’ll be fantastic for 2-3 days. Pop them in the fridge, and they’ll last a bit longer, maybe 4-5 days. For longer storage, freeze them for up to 2-3 months! Just thaw and maybe give them a quick zap in the microwave.
Q: Can I use frozen fruit, like blueberries, instead of fresh?
A: You betcha! **Do not thaw them first.** Toss frozen berries directly into the batter. For best results, I’d recommend tossing them with about a tablespoon of flour before adding to the batter. This helps prevent them from sinking to the bottom and bleeding too much color.
Q: My muffins didn’t rise and are kind of flat. Why?
A: Hmm, a flat muffin is a sad muffin. The most common reasons are expired baking powder (FYI, it loses potency over time!) or opening the oven door too early, which can make them deflate. Make sure your leavening is fresh!
Q: Can I use margarine instead of butter?
A: Well, technically yes, but why hurt your soul like that? 😉 Butter generally offers superior flavor and texture. Margarine can work, but for the best, most delicious, moist muffins, stick with butter or a good quality oil. IMO, it’s worth it!
Final Thoughts
See? You’re practically a pastry chef now! You just whipped up a batch of glorious, moist muffins without breaking a sweat (or your sanity). Go forth and conquer your cravings. Share ’em, hoard ’em, whatever your heart desires. Just remember who taught you all your muffin magic. 😉 Now go impress someone—or yourself—with your new culinary skills. You’ve earned it!


