So you’re craving something tasty but too lazy to spend forever in the kitchen, huh? Same. And honestly, who needs another complicated recipe when you just want a slice of heaven that looks fancy but requires zero advanced degrees? Precisely! Today, we’re diving headfirst into the glorious world of **the best moist marble cake**, and trust me, it’s a game-changer.
Why This Recipe is Awesome
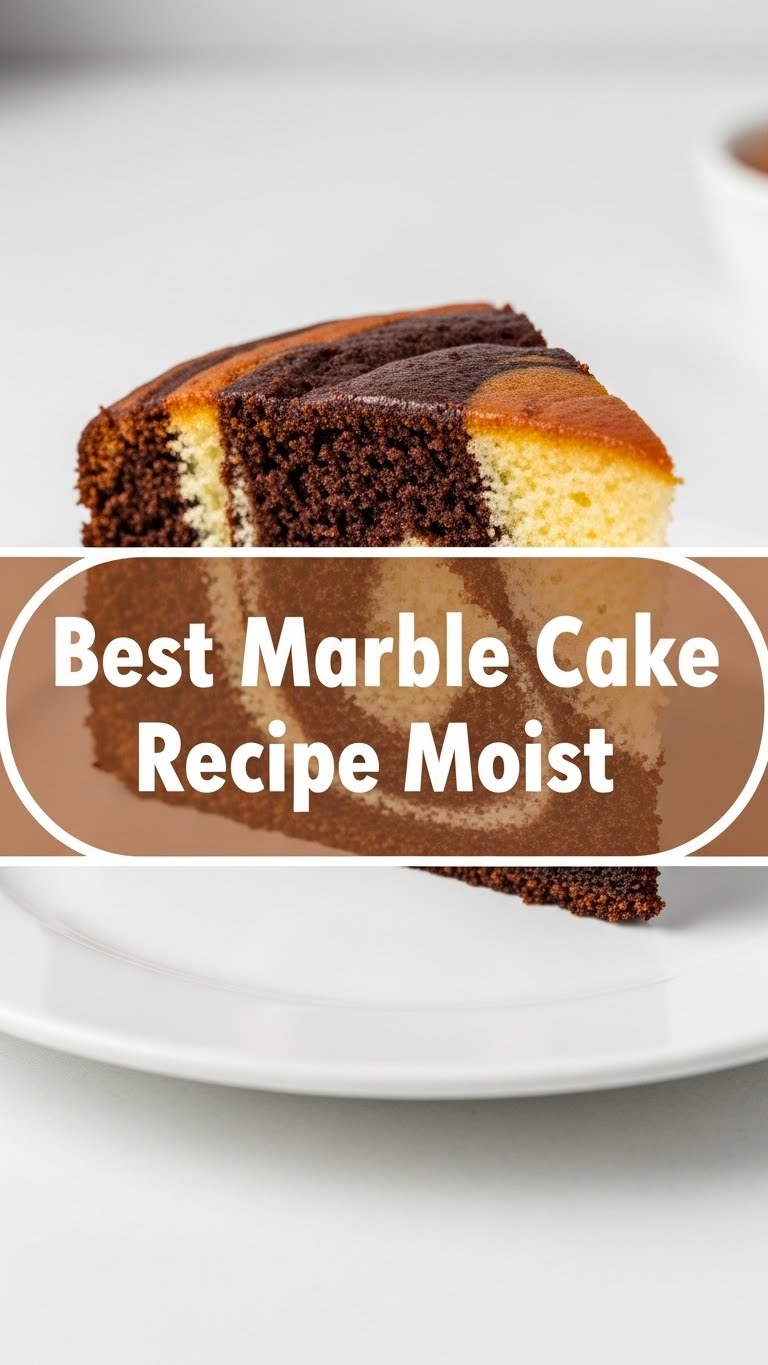
Because let’s be real, life’s too short for dry cake. This isn’t just a marble cake; it’s the marble cake. It’s so unbelievably moist, it practically melts in your mouth, and it’s so easy, even your perpetually-stressed self can nail it. Seriously, I’m pretty sure I could bake this with my eyes closed after a particularly long Tuesday.
Plus, it looks like you actually tried, which is a bonus, right? People will be asking for your secret, and you can just smirk knowingly. It’s idiot-proof, even I didn’t mess it up, and that’s saying something!
Ingredients You’ll Need
Gather ’round, fellow bakers! Here’s your shopping list for marble cake domination:
- 2 ½ cups (300g) All-Purpose Flour: Your basic cake building block. Don’t worry, we’re not getting fancy with special flours here.
- 2 teaspoons Baking Powder: For that beautiful lift! We don’t want a flat cake, do we?
- ½ teaspoon Salt: Just a pinch to make everything pop and balance the sweetness.
- 1 cup (226g) Unsalted Butter: The good stuff. Make sure it’s at room temperature! Don’t be a hero and try to microwave it into submission; patience is a virtue here.
- 1 ¾ cups (350g) Granulated Sugar: Sweetness incarnate.
- 4 Large Eggs: Room temperature again! Trust me on this one, it makes a difference in emulsion and overall texture.
- 1 cup (240ml) Whole Milk: The richer, the better for that ultimate moistness.
- 2 teaspoons Vanilla Extract: Don’t skimp on this, it’s the soul of the cake. Pure vanilla, please!
- ⅓ cup (30g) Unsweetened Cocoa Powder: For the chocolatey swirl magic. Dutch-processed is great if you have it, but regular works just fine.
Step-by-Step Instructions
Alright, let’s get this delicious show on the road! Follow these super simple steps:
- Preheat & Prep: First things first, crank your oven to 350°F (175°C). Then, grab a 9×13 inch baking pan (or two 8-inch round pans) and grease it thoroughly, then dust with flour or line with parchment paper. No stickage allowed!
- Cream the Dream Team: In a large bowl, using an electric mixer, beat the room temperature butter and granulated sugar together until it’s light, fluffy, and looks like a cloud. This usually takes about 3-5 minutes. Don’t rush it!
- Egg-cellent Addition: Add the eggs one at a time, beating well after each addition. Make sure each egg is fully incorporated before adding the next. Scrape down the sides of the bowl as needed.
- Dry Mix Magic: In a separate bowl, whisk together your flour, baking powder, and salt. Give it a good whisk to make sure everything is evenly distributed.
- Alternate & Combine: Now, we’re going to add the dry ingredients and milk alternately to the butter mixture, starting and ending with the dry. Add about a third of the flour mixture, mix until just combined, then half the milk, mix, then another third of flour, mix, remaining milk, mix, and finally the last third of flour. **Mix until just combined; don’t overmix!** Stir in the vanilla extract.
- Divide & Conquer (Cocoa Style): Divide the batter evenly into two separate bowls. Into one bowl, sift in the cocoa powder and mix gently until just combined. You now have vanilla and chocolate batter!
- Swirl It Up: Spoon alternate dollops of vanilla and chocolate batter into your prepared baking pan. Once all the batter is in, take a butter knife or a skewer and gently swirl it through the batters 2-3 times to create that beautiful marble effect. **Don’t overswirl!** Less is more for a defined marble.
- Bake to Perfection: Pop your masterpiece into the preheated oven and bake for 30-35 minutes for round pans, or 35-45 minutes for a 9×13 pan. It’s done when a toothpick inserted into the center comes out with moist crumbs (not wet batter).
- Cool Down: Let the cake cool in the pan for about 10-15 minutes before inverting it onto a wire rack to cool completely. Patience is tough, I know, but trust the process!
Common Mistakes to Avoid
Nobody’s perfect, but we can avoid these rookie blunders together!
- Thinking you don’t need to preheat the oven: Rookie mistake! Your cake needs that consistent heat from the get-go.
- Using cold ingredients: Seriously, room temperature butter and eggs make a HUGE difference in texture. **Don’t skip this step!**
- Overmixing the batter: The moment you add the flour, mix only until just combined. Overmixing develops gluten, which leads to a tough, dry cake. Nobody wants that.
- Overbaking: This is the #1 culprit for dry cakes. Start checking for doneness a few minutes before the minimum bake time. A toothpick should come out with moist crumbs, not wet batter, but definitely not completely clean either.
- Cutting the cake while it’s still hot: I get it, the smell is intoxicating. But please, let it cool. It continues to set as it cools, and cutting it hot can make it crumble or fall apart.
Alternatives & Substitutions
Feeling adventurous? Here are a few tweaks you can make:
- Milk Swap: Not a fan of whole milk? You can use buttermilk for a slightly tangier cake (and extra moistness, IMO!). Just reduce the baking powder by about a quarter teaspoon if using buttermilk as it reacts with the acidity.
- Extract Extravaganza: While vanilla is classic, feel free to swap a teaspoon of it for almond extract or even a touch of orange zest in the vanilla batter for a fun twist.
- Chocolate Boost: For an even richer chocolate swirl, melt 2 ounces of unsweetened chocolate and mix it into the cocoa batter instead of (or in addition to, if you’re feeling wild!) the cocoa powder.
- Fancy Frosting: This cake is amazing on its own, but a simple chocolate ganache, vanilla buttercream, or even a dusting of powdered sugar takes it up a notch.
FAQ (Frequently Asked Questions)
Got questions? I’ve got (casual) answers!
- Can I use margarine instead of butter? Well, technically yes, but why hurt your soul like that? Butter is key for that rich, moist texture and flavor. Margarine is… fine, I guess, if you’re out of butter and *really* desperate, but don’t expect the same results.
- My cake is dry! What went wrong? Probably overbaked, friend. Keep an eye on it next time. **A toothpick inserted should come out with moist crumbs, not wet batter.** Also, ensure your ingredients were at room temperature.
- How do I get a good swirl? Don’t overmix! Just one or two gentle swoops with a knife or skewer is plenty. You’re going for marbling, not a muddy, uniform mess. Less is more, FYI.
- Can I make this gluten-free? You *can* try a 1:1 gluten-free flour blend, but I haven’t personally tested it. Results may vary, so don’t come crying to me if it doesn’t turn out identical!
- How long does it last? About 3-4 days at room temperature in an airtight container. But honestly, it rarely makes it past 24 hours in my house. You’ve been warned!
- Can I add coffee to the chocolate batter? Oh, absolutely! A teaspoon of instant espresso powder dissolved in a tiny bit of hot water (or just directly added) with the cocoa powder will deepen that chocolate flavor beautifully.
Final Thoughts
Alright, my fellow kitchen wizard (or aspiring one)! You now have the power to create a marble cake that will make people question if you secretly went to culinary school. Go forth, bake, and most importantly, enjoy every single moist, delicious crumb. Whether you share it or hoard it (no judgment here!), you’ve earned it!


