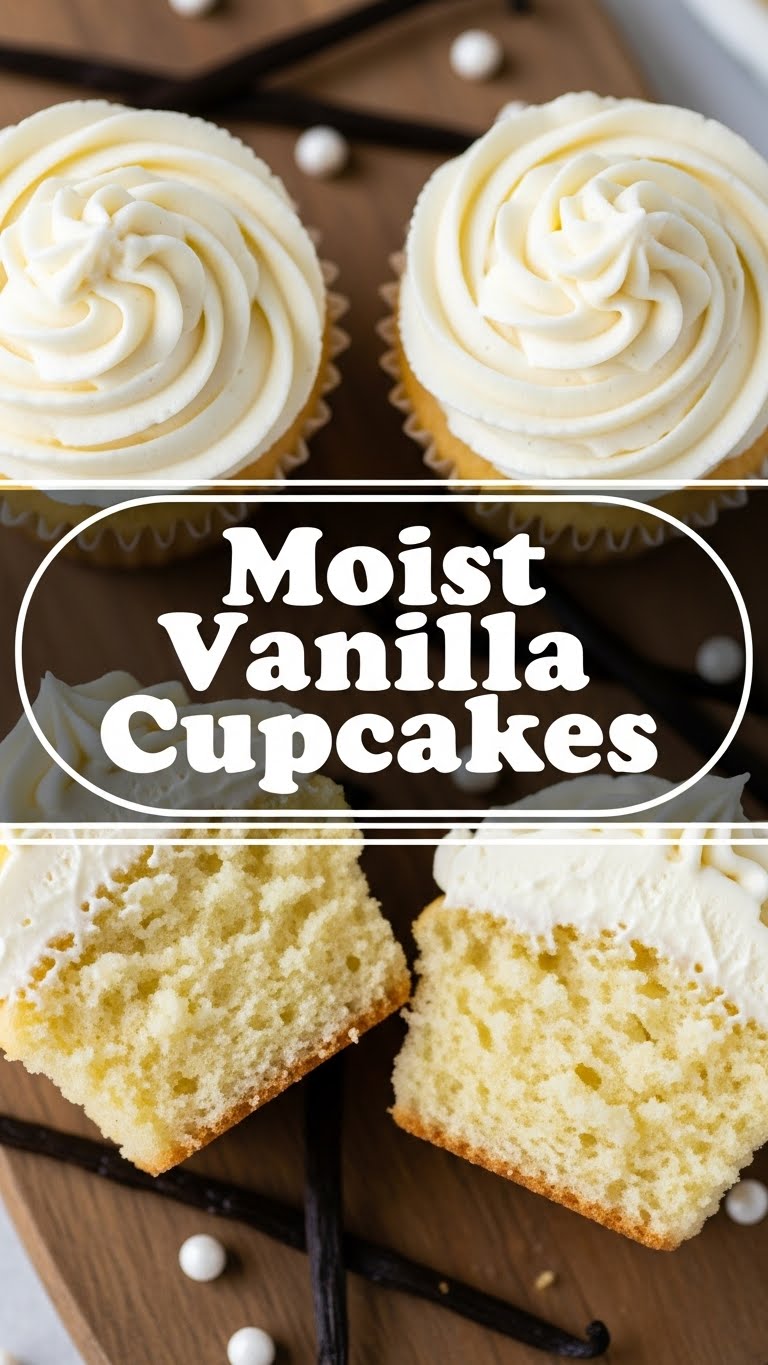
So you’re craving something tasty but too lazy to spend forever in the kitchen, huh? Same. Like, why can’t deliciousness just appear? While I haven’t mastered teleportation of baked goods (yet!), I *do* have the next best thing: a super easy, ridiculously moist vanilla cupcake recipe that’ll make you look like a baking wizard without actually having to cast any complex spells. Get ready to ditch those dry, crumbly imposters and embrace pure, vanilla bliss!
Why This Recipe is Awesome
Okay, let’s be real. There are a million vanilla cupcake recipes out there. So why this one? Because it’s **idiot-proof, even I didn’t mess it up** (and trust me, my kitchen has seen some things). This isn’t just a moist cupcake; it’s practically a *hydration station* for your taste buds. We’re talking fluffy, tender, and bursting with that classic vanilla goodness that just screams “comfort.” Plus, it’s quick! You’ll be devouring these beauties before you can even properly procrastinate on doing the dishes. Seriously, if you can stir, you can bake these.
Ingredients You’ll Need
Gather your baking squad! Here’s what you’ll need to create pure magic:
- 1 ½ cups (190g) All-Purpose Flour: The MVP of baking, duh.
- 1 ½ teaspoons Baking Powder: Our little lift-off agent for ultimate fluffiness.
- ½ teaspoon Salt: Don’t skip it! It balances everything and makes the flavors pop.
- ½ cup (113g) Unsalted Butter: Room temperature, please! Because we control the salt, thank you very much!
- 1 cup (200g) Granulated Sugar: Sweetness central.
- 2 Large Eggs: Also room temperature for happy emulsion.
- 2 teaspoons Pure Vanilla Extract: Go for good quality! This is a vanilla cupcake, after all.
- ½ cup (120ml) Whole Milk: Room temperature again! For that perfect moistness.
Step-by-Step Instructions
- Preheat & Prep: Preheat your oven to a cozy 350°F (175°C). Line your 12-cup muffin pan with paper liners. **Don’t skip the preheat, seriously!**
- Dry Mix: In a medium bowl, whisk together the flour, baking powder, and salt. Set aside. This ensures everything is evenly distributed.
- Cream the Butter & Sugar: In a large bowl, using an electric mixer (or a strong arm!), cream together the room-temperature butter and granulated sugar until it’s light, pale, and fluffy. This usually takes about 2-3 minutes.
- Add Eggs & Vanilla: Beat in the eggs, one at a time, mixing well after each addition. Scrape down the sides of the bowl as needed. Then, stir in the glorious vanilla extract.
- Alternate Wet & Dry: Now for the alternating! Gradually add about a third of the dry ingredient mixture to the wet ingredients and mix on low speed until *just* combined. Then, pour in half of the milk and mix again. Repeat this process, ending with the dry ingredients. **Remember to only mix until just combined!**
- Fill ’em Up: Divide the batter evenly among your prepared cupcake liners, filling each about two-thirds full. Don’t overfill, or you’ll have muffin tops that refuse to stay in their cups.
- Bake Time!: Bake for 18-22 minutes, or until a toothpick inserted into the center of a cupcake comes out clean. They should be lightly golden and spring back when gently touched.
- Cool Down: Let the cupcakes cool in the muffin pan for a few minutes before transferring them to a wire rack to cool completely. Patience, grasshopper! Don’t frost warm cupcakes unless you want a melted mess.
Common Mistakes to Avoid
Nobody’s perfect, but we can avoid these rookie blunders:
- Cold Ingredients: Using cold butter, eggs, or milk? You’re asking for a denser, less fluffy cupcake. **Room temperature is key for a smooth, cohesive batter.** Plan ahead!
- Overmixing the Batter: Say hello to tough, sad cupcakes. Once you add the flour, mix until *just* combined, then stop. Overmixing develops the gluten too much.
- Opening the Oven Door: Resist the urge to peek! Especially in the first 15 minutes. This can cause your cupcakes to collapse. Your oven light is there for a reason.
- Not Leveling Flour: Scooping flour directly from the bag can compact it, leading to too much flour. **Spoon flour into your measuring cup, then level off with a knife.** Trust me on this one.
Alternatives & Substitutions
Life’s too short not to experiment a little, right? Here are some easy swaps:
- Milk: Any dairy milk works. If you’re feeling fancy or dairy-free, oat milk or almond milk can totally sub in, though it might change the texture *slightly*. For a richer cupcake, use buttermilk (just reduce the baking powder slightly, or check a specific buttermilk cupcake recipe).
- Butter: For a dairy-free option, a good quality plant-based butter substitute can work. However, **IMO, real butter gives the best flavor and texture.**
- Sugar: If you’re out of granulated, caster sugar (superfine sugar) works perfectly. Brown sugar would give a different, more caramel-y flavor profile, but still delicious!
- Flour: You can try a 1:1 gluten-free baking blend if you’re GF. The texture might be a little different, but still enjoyable!
FAQ (Frequently Asked Questions)
Got questions? I probably have answers (or at least educated guesses!):
- Can I use margarine instead of butter? Well, technically yes, but why hurt your soul like that? Butter truly gives the best flavor and texture. Margarine will work, but don’t expect the same richness.
- How long do these cupcakes last? Stored in an airtight container at room temp, they’re best for 2-3 days. If you’re planning on keeping them longer, pop ’em in the fridge for up to 5 days, or freeze them (unfrosted) for a month!
- My cupcakes are sinking in the middle, what gives? Usually, this means they’re underbaked or you opened the oven door too early. Make sure that toothpick comes out *completely* clean!
- Can I add sprinkles to the batter? Absolutely! Stir them in gently at the very end, right before dividing the batter into cups. Just be aware that some colors might bleed slightly.
- What kind of frosting should I use? A classic vanilla buttercream is perfect! Or, if you’re feeling wild, a chocolate fudge frosting or even a cream cheese frosting would be divine. Your call, chef!
Final Thoughts
See? You just whipped up a batch of delicious, moist vanilla cupcakes without breaking a sweat (or a panic attack). Now go impress someone—or yourself—with your new culinary skills. You’ve earned it! Grab a cupcake, kick back, and enjoy the sweet, sweet taste of success. You’re basically a professional baker now, FYI. Don’t let anyone tell you otherwise.
