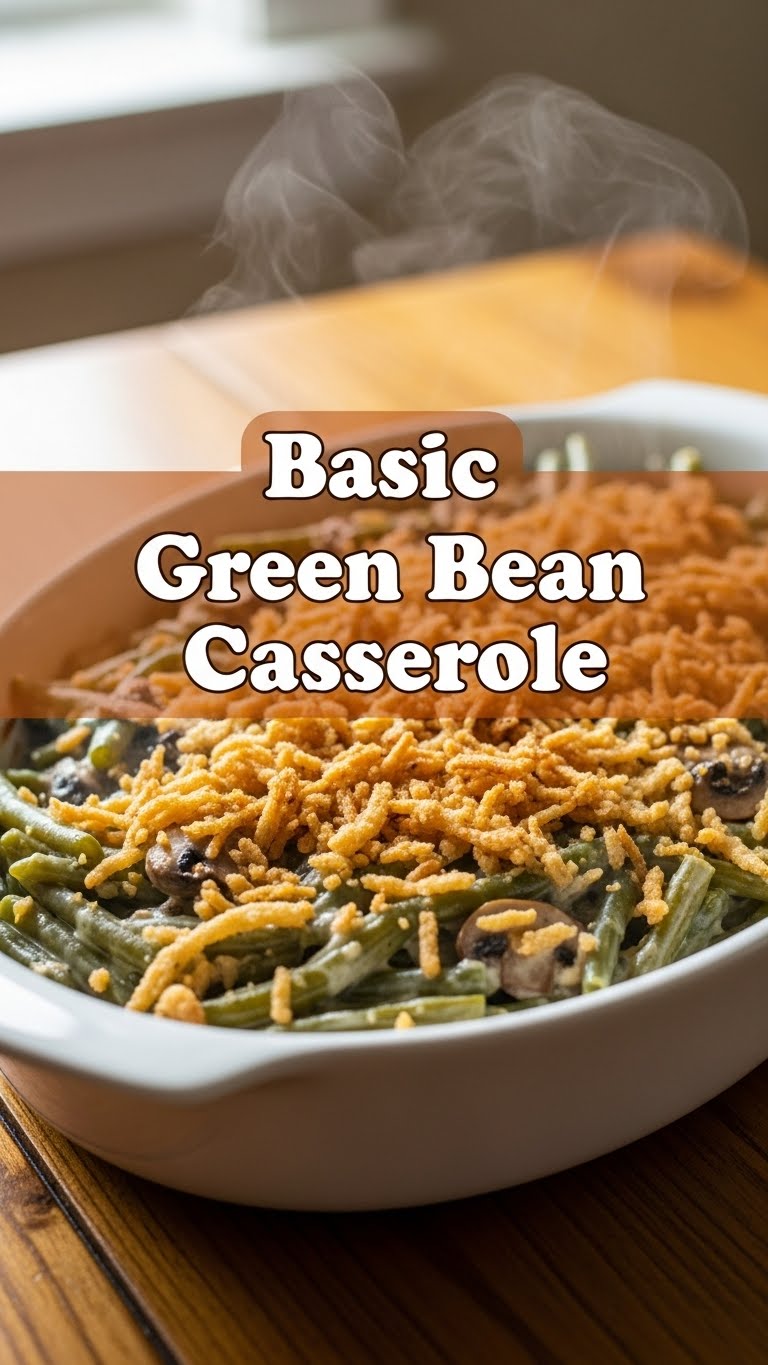
So you’re staring into the abyss of your fridge, wondering what gloriousness you can whip up without, you know, actually *trying* too hard? And suddenly, a vision appears: crispy onions, creamy sauce, tender green beans. Yep, we’re talking about the OG comfort food: Basic Green Bean Casserole. It’s like a warm hug for your taste buds, and honestly, it practically makes itself. Let’s do this!
Why This Recipe is Awesome
Okay, let’s be real. This isn’t just a recipe; it’s a life hack. Why is it so awesome, you ask?
- It’s basically idiot-proof. Seriously, if you can open a can and stir, you’re golden. Even *I* can’t mess this up, and that’s saying something.
- Minimal effort, maximum deliciousness. We’re talking superstar status at potlucks without breaking a sweat.
- Nostalgia factor through the roof. It tastes like childhood, holidays, and pure unadulterated comfort.
- It uses canned green beans. Yes, I said it. No fancy blanching needed. We’re keeping it real and easy here, folks.
Ingredients You’ll Need
Gather your troops! Here’s what you’ll need for this culinary triumph:
- Green Beans: Two 14.5-oz cans, French style (or cut, whatever floats your boat). Drained, obvi.
- Cream of Mushroom Soup: One 10.5-oz can. The OG secret weapon. Don’t knock it ’til you’ve tried it (again).
- Milk: Half a cup. Any kind works, but whole milk makes it extra creamy, just sayin’.
- Black Pepper: Half a teaspoon. Freshly ground if you’re feeling fancy, otherwise shaker works just fine!
- Soy Sauce: One tablespoon. Trust me on this one. It adds a mysterious umami kick that makes people ask, “What *is* that?!” Don’t skip!
- Fried Onions: One 6-oz can (you know the ones). Crispy, crunchy goodness. The absolute best part, IMO.
Step-by-Step Instructions
Alright, apron on (or not, no judgment), let’s get cooking!
- Preheat the oven: Get that bad boy heated to 350°F (175°C). Don’t skip this; patience is a virtue, especially for baked goods.
- Mix it up: In a large bowl, combine your thoroughly drained green beans, cream of mushroom soup, milk, pepper, and soy sauce. Give it a good stir until everything is best friends and well combined.
- Fold in the crunch: Gently fold in about two-thirds of the fried onions into the green bean mixture. Save the rest for glorious topping later. We’re building layers of flavor and texture here!
- Bake time! Pour your glorious mixture into a 1.5-quart baking dish. Pop it into your preheated oven and bake for 25 minutes. You’re looking for bubbly edges and general warmth.
- The Grand Finale: Take the casserole out, sprinkle the remaining fried onions evenly over the top. Return it to the oven for another 5-10 minutes, or until those onions are perfectly golden and even crispier. Keep an eye on them!
- Serve and bask: Let it cool for a few minutes (if you can resist!), then scoop and enjoy. Prepare for compliments and requests for the recipe!
Common Mistakes to Avoid
Even though this recipe is practically foolproof, there are a few rookie errors to dodge:
- Forgetting to drain the green beans: Unless you’re going for a soupy casserole, drain ’em! Nobody wants watery beans diluting the creamy goodness.
- Skipping the soy sauce: I told you, don’t do it! It’s the secret ingredient that elevates it from “good” to “OMG, what’s in this?!” Seriously, try it.
- Burning the crispy onions: Those little beauties go from perfectly golden to charred bits surprisingly fast. Keep a hawk-eye on them during the final bake.
- Not preheating the oven: Seriously, just do it. It helps things cook evenly and quickly. Don’t be a rebel here; follow the rules for optimal deliciousness.
Alternatives & Substitutions
Feeling a little adventurous, or just out of one particular ingredient? No stress, we got you:
- Fresh or Frozen Beans: Go for it! Blanch fresh beans until tender-crisp or cook frozen according to package directions. Just make sure they’re not mushy before adding to the mix.
- Different Cream Soup: Cream of chicken, celery, or even cheddar works if mushroom isn’t your jam. It’ll change the flavor profile, but still be delicious!
- No Milk? You can sub in chicken or veggie broth for a slightly savory kick, or even heavy cream for ultimate decadence.
- Homemade Crispy Onions: Feeling ambitious? Slice some onions thin, dredge in flour, and deep fry. Or just buy the can. No judgment here; the canned ones are iconic for a reason.
- Cheese, anyone? A sprinkle of shredded cheddar, Gruyere, or even Parmesan in the mix or melted on top during the last few minutes? Chef’s kiss!
FAQ (Frequently Asked Questions)
- Can I make this ahead of time? Absolutely! Assemble everything (minus the top layer of crispy onions) and refrigerate for up to 24 hours. Add the onions just before the final bake. Pro tip: Let it come to room temp for 30 mins before baking for even cooking.
- What if I don’t like mushrooms? No worries! The cream of mushroom soup mainly provides creaminess and umami without a strong mushroom taste. But if you’re truly anti-fungi, see the “Different Cream Soup” alternative above.
- Is it better with fresh green beans? Honestly, for *this* classic recipe, canned beans are traditional and give it that specific nostalgic texture. Fresh is great too, but it’s a different vibe.
- Can I add cheese to this? Uh, YES! A little cheddar, Gruyere, or even a fancy blend melted on top during the last few minutes is a game-changer. Why wouldn’t you?
- My casserole is too runny! What went wrong? Did you drain your green beans thoroughly? That’s usually the culprit. Also, make sure your milk isn’t *too* thin (like skim milk can sometimes make it runnier). Baking it a little longer can also help it thicken.
- Can I double the recipe? You betcha! Just use a larger baking dish (like a 9×13 inch) and add a few extra minutes to the baking time. More casserole, more happiness!
Final Thoughts
See? I told you this was easy peasy lemon squeezy. You just created a masterpiece of comfort food, probably without even breaking a sweat. Now go impress someone—or yourself—with your new culinary skills. You’ve earned it! Seriously, pat yourself on the back. And maybe make another batch, because this stuff disappears fast. Happy eating, friend!


