So, You’re Ready to Conquer Dinner Without Losing Your Mind? Let’s Talk Beef Casserole!
Alright, listen up, buttercup! Ever have those days where your stomach is rumbling, your brain is fried, and the thought of complex cooking sends shivers down your spine? Yeah, me too. We’ve all been there, hovering over the fridge, wondering if a cheese string and existential dread count as dinner. Well, fear not, my culinarily curious friend, because today we’re diving headfirst into the glorious world of Beef Casserole! It’s the ultimate hug in a bowl, and trust me, it’s easier than convincing your pet to take a bath.
Why This Recipe is Awesome (And Why You’ll Love Me For It)
Look, I get it. “Casserole” can sometimes sound like something your grandma made, involving canned soup and questionable textures. But hold your horses! This isn’t *that* casserole. This is the glow-up version. Why is it awesome? Let me count the ways:
- It’s practically fool-proof. Seriously, if I can do it without setting off the smoke alarm, you’re golden.
- One pot wonder (mostly). Less washing up means more couch time. You’re welcome.
- Flavor explosion! Rich, hearty, savory goodness that warms you from your toes to your nose. It’s comfort food on steroids.
- It makes leftovers legendary. This stuff often tastes even better the next day. Hello, easy lunch!
- Highly customizable. Got some random veggies lurking in your fridge? Throw ’em in! It’s like a culinary free-for-all, but in a good way.
Ingredients You’ll Need (The Fun Bits!)
Gather ’round, gather ’round! Here’s your shopping list. Don’t stress too much; most of this stuff you probably already have, or can grab super easily.
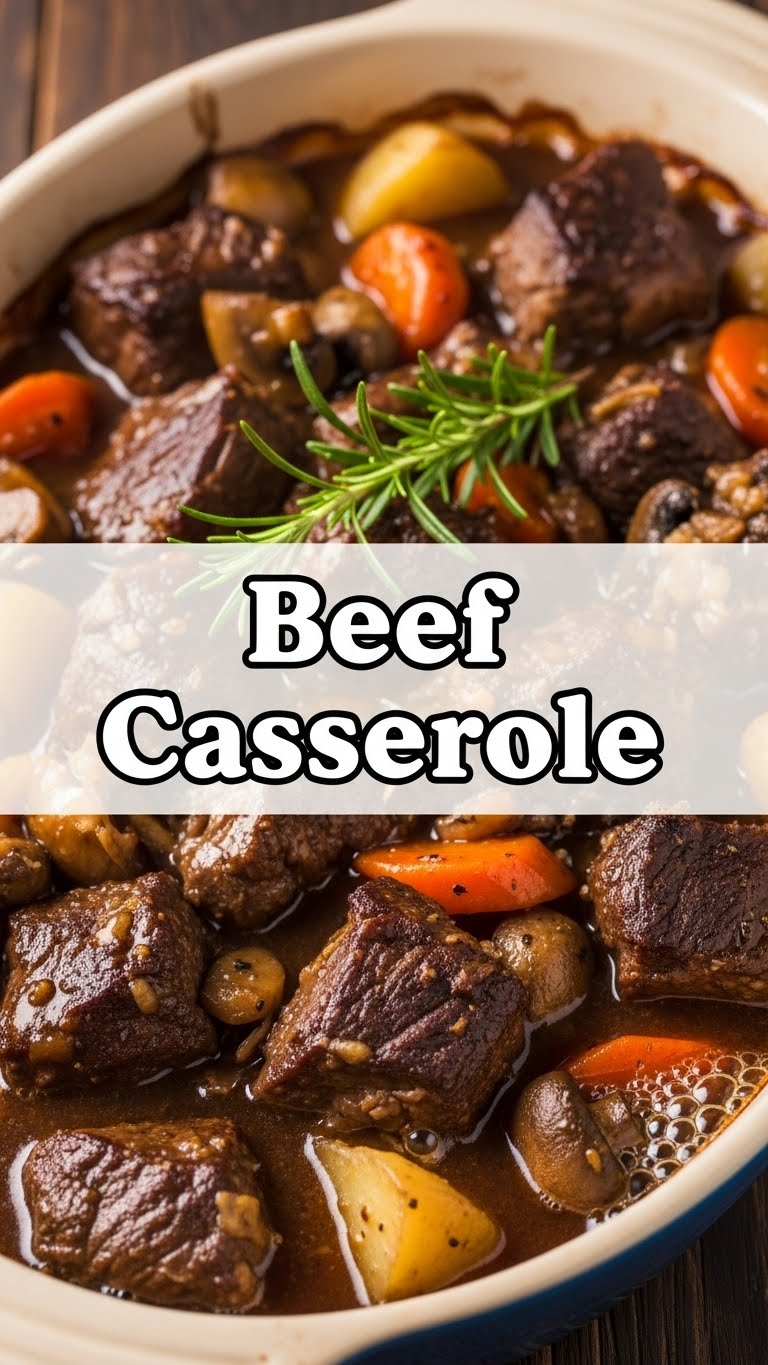
- 500g (about 1.1 lbs) Beef Stewing Steak: Cut into nice chunky cubes. Think “bite-sized, but hearty.”
- 2 tbsp Olive Oil: Or whatever cooking oil you prefer. Just don’t use motor oil, okay?
- 1 Large Onion: Chopped. Brace yourself for the tears; it’s a rite of passage.
- 2 Carrots: Peeled and chopped into rounds or chunks. Because veggies are good for you, allegedly.
- 2 Celery Stalks: Chopped. Adds a little something-something.
- 2-3 Potatoes: Peeled and cubed. Choose your favorite starchy friend.
- 2 cloves Garlic: Minced. The more the merrier, IMO.
- 2 tbsp Tomato Paste: The secret weapon for depth of flavor.
- 500ml (2 cups) Beef Broth: Or stock. Good quality makes a difference!
- 1 Bay Leaf: For that fancy, subtle aroma. Don’t eat it though!
- 1 tsp Dried Thyme: Or a sprig of fresh if you’re feeling extra.
- Salt and Black Pepper: To taste. Don’t be shy! Seasoning is key.
- Optional: A splash of Red Wine: If you’re feeling sophisticated and have some open (and not just for drinking, you lush!).
Step-by-Step Instructions (Let’s Get Cooking!)
Alright, apron on, “Eye of the Tiger” playing in the background (optional, but highly recommended). Let’s make some magic!
- Prep Your Beef: Pat those beef cubes dry with a paper towel. This is super important for browning! Season them generously with salt and pepper. Don’t skip this step, folks.
- Brown the Beef: Heat half the olive oil in a large oven-safe pot or Dutch oven over medium-high heat. Brown the beef in batches until nicely seared on all sides. Don’t overcrowd the pot, or your beef will steam instead of brown. Remove the beef and set it aside.
- Sauté the Veggies: Add the remaining oil to the pot. Toss in the chopped onion, carrots, and celery. Cook for about 5-7 minutes until they start to soften. Add the minced garlic and cook for another minute until fragrant.
- Build the Flavor Base: Stir in the tomato paste and cook for 1-2 minutes, stirring constantly. If you’re using red wine, pour it in now and let it bubble away for a minute or two, scraping up any delicious browned bits from the bottom of the pot. This is called deglazing, and it’s where the flavor party starts!
- Combine and Simmer: Return the browned beef to the pot. Pour in the beef broth, add the bay leaf and thyme. Bring everything to a gentle simmer.
- Add Potatoes & Bake: Stir in the cubed potatoes. Cover the pot with a lid and transfer it to your preheated oven. Bake for about 1.5 to 2 hours, or until the beef is fork-tender and practically melts in your mouth. Check it occasionally to make sure it’s not drying out; add a splash more broth if needed.
- Rest and Serve: Once cooked, remove the bay leaf (please don’t forget it!). Let the casserole rest for 10-15 minutes before serving. This allows the flavors to meld and the sauce to thicken slightly. Serve hot with some crusty bread for dipping, because, why not?
Common Mistakes to Avoid (Learn from My Boo-Boos)
Nobody’s perfect, especially in the kitchen. But here are a few things to keep an eye on so your casserole journey is smooth sailing:
- Not browning your beef properly: This is a cardinal sin! Browning creates incredible flavor. Don’t rush it; get a good sear on all sides. Seriously, don’t skip the sear!
- Forgetting to season: Bland food is sad food. Season your beef *before* browning, and taste and adjust seasoning throughout. Salt and pepper are your best friends.
- Overcrowding the pot: When browning beef or sautéing veggies, do it in batches if your pot isn’t huge. Too much stuff means things steam, not brown, and we want brown, baby!
- Under-cooking the beef: Casserole beef should be fall-apart tender, not chewy. If it’s still tough, it just needs more time in the oven. Patience is a virtue here.
- Not preheating the oven: Rookies! Your oven needs to be at temperature to cook evenly. Plan ahead!
Alternatives & Substitutions (Get Creative!)
This recipe is super flexible, like a yoga instructor on a good day. Feel free to play around!
- Veggies Galore: No potatoes? Use sweet potatoes! Want more green? Add peas, green beans, or mushrooms in the last 30 minutes of cooking. Bell peppers work great too!
- Herb Power: Don’t have thyme? Rosemary or a “Herbes de Provence” blend would be fantastic. Fresh herbs at the end are always a win too.
- Broth Boost: Out of beef broth? Vegetable broth can work in a pinch, though the beefy flavor won’t be as intense.
- Thicken It Up: If your sauce isn’t as thick as you like at the end, remove some liquid, mix with a tablespoon of cornstarch, then stir back into the pot and simmer for a few minutes. Or, frankly, just embrace the saucy goodness!
- Different Cuts: Chuck roast or even short ribs can be used instead of stewing steak. Just adjust cooking time until tender.
FAQ (Frequently Asked Questions – Because You Know You’re Wondering)
- Can I make this ahead of time? Absolutely! It’s actually one of those dishes that tastes even better the next day. Cook it, let it cool, then refrigerate. Reheat gently on the stovetop or in the oven. Pro tip: make a double batch!
- Is it freezer-friendly? You betcha! Once completely cooled, portion it into freezer-safe containers. It’ll last about 3 months. Thaw in the fridge overnight and reheat. Your future self will thank you.
- What if I don’t have an oven-safe pot? No worries! You can do all the stovetop steps in a large pot, then transfer everything to an oven-safe casserole dish for baking. Easy peasy.
- My sauce is too thin! Help! See the “Thicken It Up” tip above in Alternatives. Or honestly, just embrace it and serve it with extra crusty bread for dipping. It’s still delicious, trust me.
- Can I add spice? Yes, please! A pinch of red pepper flakes with the garlic, or a dash of hot sauce at the end, will give it a nice kick if that’s your jam. Don’t be afraid to experiment.
- Can I use cheaper cuts of beef? This recipe is perfect for cheaper, tougher cuts like chuck steak, as the slow cooking breaks down all that connective tissue, making them incredibly tender. Stewing steak is often exactly this type of cut.
Final Thoughts (Go Forth and Conquer!)
So there you have it, my friend! Your new go-to recipe for when you want something hearty, delicious, and relatively low-fuss. Beef casserole is not just a meal; it’s an experience. It’s the culinary equivalent of a warm hug from someone who actually likes you. Now go forth, preheat that oven, and make some magic happen in your kitchen. You’ve got this! And hey, if you mess up, there’s always takeout, right? Just kidding… mostly. Now go impress someone—or yourself—with your new culinary skills. You’ve earned it!


