So, you’re dreaming of a fancy brunch but the thought of actual cooking before coffee has even touched your soul is, well, frankly, exhausting? Been there, done that, bought the T-shirt. But what if I told you there’s a way to wake up to a glorious, warm, gooey, French toast masterpiece without setting an alarm for pre-dawn prep? Enter the superhero of lazy weekend mornings: Overnight French Toast Casserole! Get ready to level up your breakfast game with minimal effort.
Why This Recipe is Awesome (AKA Why You Need It In Your Life, Like, Yesterday)
Let’s be real, who actually wants to stand over a hot stove flipping individual slices of French toast when you could be, oh, I don’t know, *sleeping*? This recipe is basically your culinary fairy godmother. It’s **idiot-proof** (even for those of us who once burnt water), ridiculously delicious, and the best part? Almost all the work happens the night before. You literally just pop it in the oven in the morning. Seriously, that’s it.
It’s perfect for impressing guests without breaking a sweat, or, let’s be honest, for treating yourself like the brunch royalty you are. Plus, it fills your whole house with the most incredible smell, making everyone think you’re a domestic goddess (or god). Don’t tell them your secret; I won’t either.
Ingredients You’ll Need (The Fun Bits)
- **1 loaf of sturdy bread (like Challah, Brioche, or a day-old French baguette):** Don’t skimp here! This is the foundation of your delicious dreams. A good, slightly stale bread soaks up all that custardy goodness without turning to mush. Think of it as your carb canvas.
- **8 large eggs:** The glue that holds your breakfast empire together.
- **2 cups whole milk (or half-and-half for extra decadence):** Go big or go home, right?
- **1/2 cup granulated sugar:** Sweetness is next to godliness, especially on a Sunday morning.
- **2 teaspoons vanilla extract:** Because everything is better with vanilla. It’s like a warm hug.
- **1 teaspoon ground cinnamon:** The official scent of cozy mornings.
- **1/4 teaspoon nutmeg:** Cinnamon’s sassy sidekick.
- **Pinch of salt:** Don’t skip it! It actually makes everything taste sweeter and more balanced. Trust me on this.
For the Topping (Because we’re fancy, but still lazy):
- **1/1 cup packed light brown sugar:** Caramelized crunch, anyone?
- **1/2 cup all-purpose flour:** Helps make that crumbly deliciousness.
- **1/2 cup cold unsalted butter, cut into small pieces:** You gotta have butter for that crumbly perfection. Cold is key here, folks!
- **1 teaspoon ground cinnamon (optional, but highly recommended):** More cinnamon? Always.
Step-by-Step Instructions (You Got This!)
- **Prep the Bread:** First things first, get that bread ready. Tear or cut your loaf into 1-inch cubes. You want about 8-10 cups worth. Spread them out evenly in a lightly greased 9×13 inch baking dish.
- **Whisk the Wet Stuff:** In a large bowl, whisk together the eggs, milk (or half-and-half), granulated sugar, vanilla extract, cinnamon, nutmeg, and that all-important pinch of salt until everything is beautifully combined.
- **Soak it Up:** Pour this glorious egg mixture evenly over your bread cubes in the baking dish. Make sure every piece of bread gets a good bath. Use a spatula to gently press down on the bread so it really soaks up the liquid.
- **Topping Time (Optional, but seriously, do it):** In a separate medium bowl, combine the brown sugar, flour, and cinnamon (if using) for the topping. Cut in the cold butter using a pastry blender or your fingertips until the mixture resembles coarse crumbs. This is the fun part, get a little messy!
- **Cover & Chill:** Sprinkle that crumbly goodness evenly over the bread. Cover the dish tightly with plastic wrap and pop it in the fridge. Let it chill out for **at least 8 hours, or preferably overnight**. This is where the magic happens, giving the bread ample time to soak up all that custardy goodness.
- **Morning Glory:** When you’re ready for breakfast, pull the casserole out of the fridge about 30 minutes before baking to let it come to room temperature. While it’s chilling, preheat your oven to **350°F (175°C)**.
- **Bake It Off:** Remove the plastic wrap and bake for 45-55 minutes, or until the top is golden brown, the center is set (no jiggle!), and your kitchen smells like heaven.
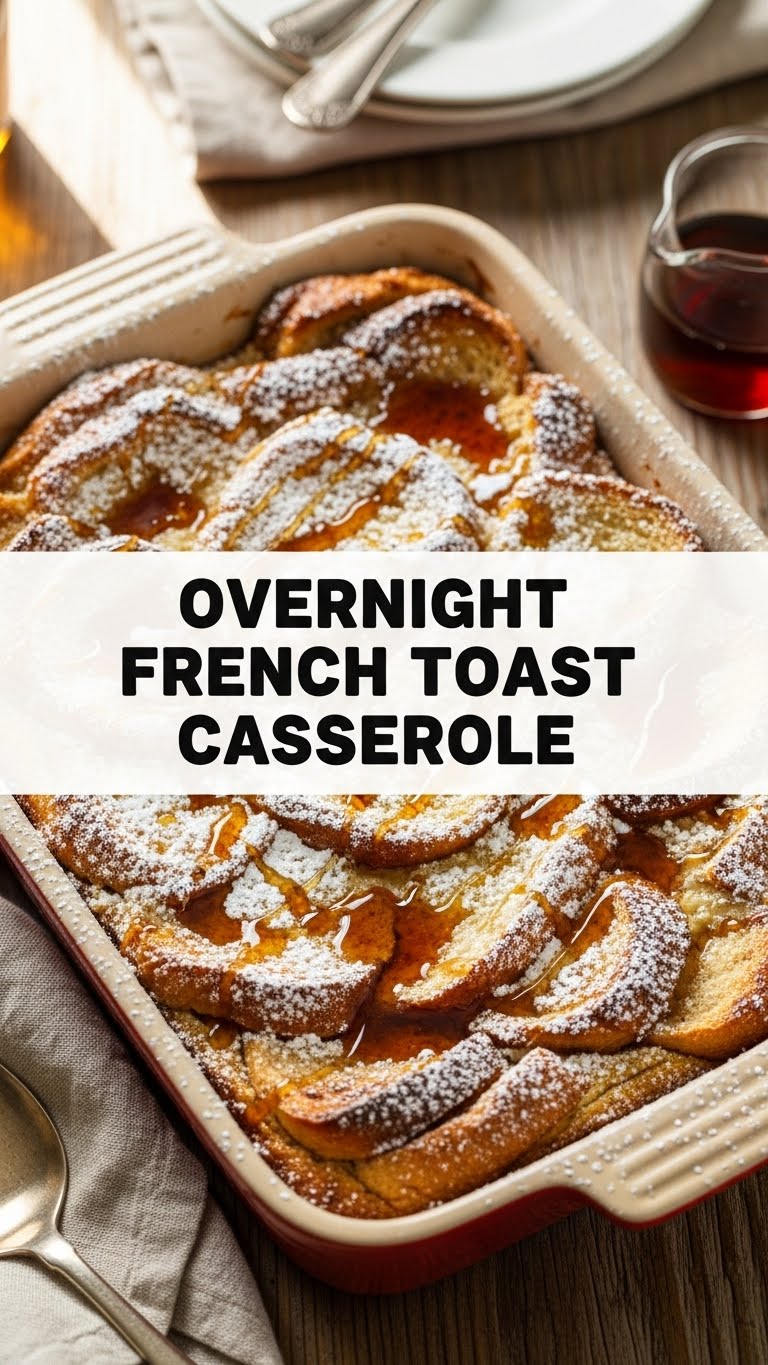
- **Serve and Devour:** Let it cool for a few minutes before serving. Drizzle with maple syrup, sprinkle with powdered sugar, or add some fresh berries. Congrats, you just made brunch history!
Common Mistakes to Avoid (So You Don’t End Up Crying Over Burnt Toast)
- **Using Fresh, Soft Bread:** Rookie mistake! Fresh bread turns to mush. You need slightly stale, sturdy bread so it holds its shape and soaks up the custard properly. Think of it as a sponge, not a cloud.
- **Not Soaking Long Enough:** Patience, my friend, is a virtue, especially here. If you don’t let it soak overnight, you’ll end up with dry bread in the middle and watery edges. Nobody wants that. **Seriously, soak it!**
- **Over-Whisking the Eggs:** You want them combined, not frothy. Over-whisking can lead to a tougher, rubbery texture. Keep it chill.
- **Forgetting the Topping:** Okay, not a “mistake” per se, but missing out on that buttery, sugary, crumbly top? That’s just a sad missed opportunity for textural bliss. **Don’t skip it!**
- **Thinking you don’t need to preheat the oven:** A truly disastrous thought. Always preheat! Otherwise, your baking times will be off, and your casserole won’t cook evenly.
Alternatives & Substitutions (Get Creative, You Culinary Genius!)
Feeling adventurous or just missing an ingredient? No worries, we can totally wing this!
- **Bread Swap:** No Challah? No problem! A good quality white bread, sourdough, or even croissants (oh la la!) can work. Just make sure it’s a bit stale. If it’s too fresh, just tear it up and let it sit out for an hour or two.
- **Milk Options:** While whole milk is king for richness, you can absolutely use 2% milk. Almond or oat milk can also work for a dairy-free version, but the texture might be slightly different (still tasty, though!).
- **Spice it Up:** Not a nutmeg fan? Leave it out! Add a pinch of cardamom for an exotic twist, or a tiny bit of allspice. Lemon zest can also brighten things up if you’re feeling zesty.
- **Fruity Fun:** Want to add fruit? **Do it!** Blueberries, raspberries, sliced bananas, or even diced apples (toss them with a little lemon juice first) are fantastic. Add them to the bread layer before pouring the custard.
- **Nutty Crunch:** Sprinkle some chopped pecans or walnuts on top with the crumb topping for extra crunch and flavor. Toasted nuts are even better, **FYI**.
- **Syrup Swaps:** Maple syrup is classic, but chocolate sauce, caramel sauce, or a fruit compote would also be divine. Be your own breakfast boss!
FAQ (Frequently Asked Questions, Because We All Have Them)
- **Q: Can I assemble it and bake it immediately?**
A: Technically, yes, but why rush perfection? The “overnight” part isn’t just a suggestion, it’s a promise of superior texture and flavor. **Don’t skip the soak if you can help it!** - **Q: What if my bread isn’t stale enough?**
A: No stress! You can quick-stale it. Spread the bread cubes on a baking sheet and bake at 300°F (150°C) for 10-15 minutes until lightly toasted. Let them cool completely before soaking. - **Q: Can I use margarine instead of butter for the topping?**
A: Well, technically yes, but why hurt your soul like that? Butter just tastes better, and gives a superior crumb. Life’s too short for mediocre toppings, **IMO**. - **Q: How do I know when it’s fully cooked?**
A: Look for a beautiful golden-brown top and edges. The center shouldn’t jiggle when you gently shake the dish. If you have a thermometer, it should read around 175-180°F (79-82°C) in the center. - **Q: Can I freeze leftovers?**
A: Absolutely! Once cooled, cut into individual portions, wrap them tightly, and freeze for up to 1-2 months. Reheat in the microwave or oven until warm. - **Q: Is this only for breakfast?**
A: Pfft, is pizza only for dinner? This is an all-day, anytime kind of treat. Brunch, dessert, or a midnight snack — no judgment here!
Final Thoughts (You’re Basically a Chef Now)
See? I told you this was easy peasy. You’ve just unlocked the secret to stress-free, outrageously delicious French toast. No more slaving over a skillet, no more sad, soggy slices. Just pure, unadulterated brunch bliss, all thanks to a little planning and a whole lot of delicious ingredients. So go ahead, whip this up, make your house smell amazing, and impress someone (or just yourself, because you deserve it!). You’ve earned those bragging rights. Now go forth and conquer the breakfast world!


