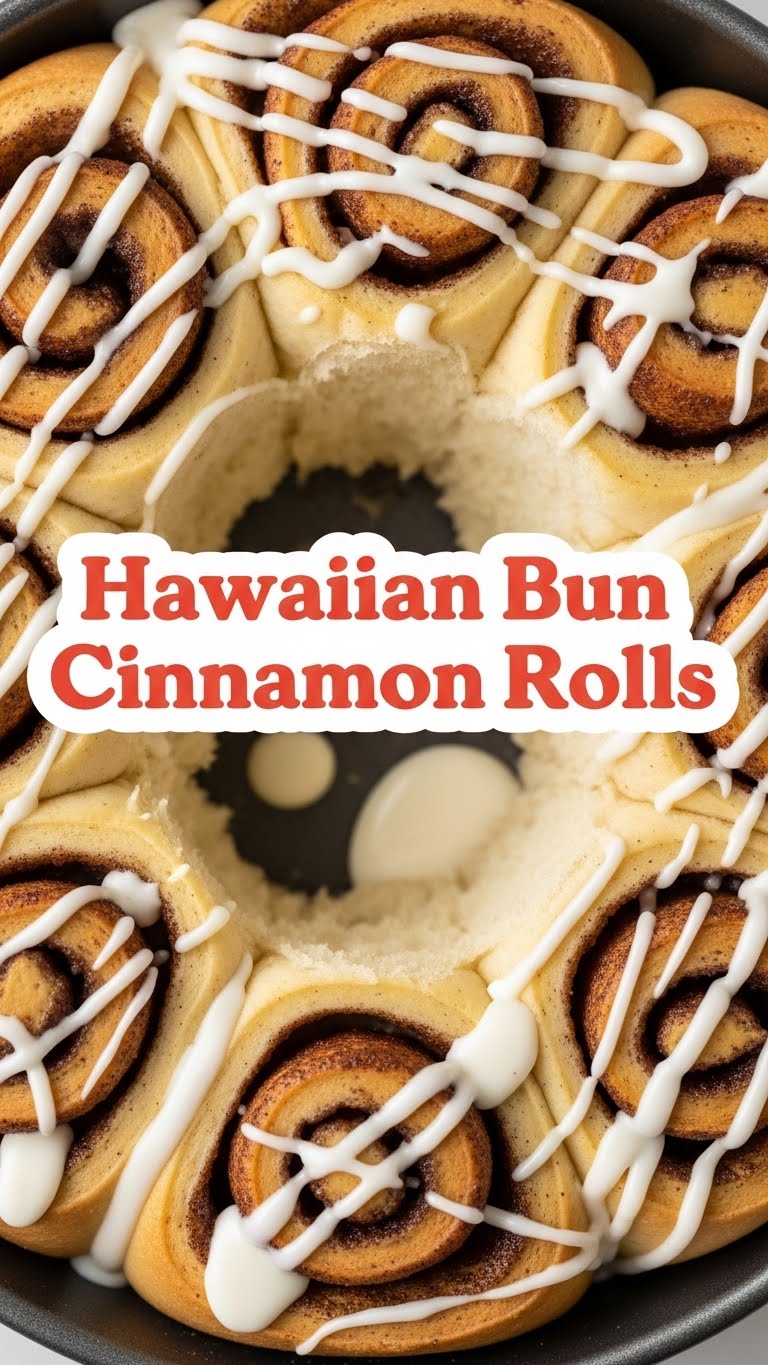
Short, Catchy Intro
So you’re craving something warm, gooey, and utterly delicious but the thought of spending hours proofing dough makes you want to crawl back into bed, huh? Same, friend, same. We’ve all been there – staring into the pantry, wishing a tray of perfect cinnamon rolls would magically appear. Well, guess what? We’re about to conjure up something pretty darn close, using a little culinary wizardry and a major shortcut: those dreamy Hawaiian sweet rolls. Get ready for Hawaiian Bun Cinnamon Rolls that are so easy, you’ll wonder why you ever bothered with yeast.
Why This Recipe is Awesome
Let’s be real, time is precious. And sometimes, so is our patience for complicated baking projects. This recipe? It’s the culinary equivalent of a warm hug when you’re feeling lazy. It’s **stupidly simple**, almost impossible to mess up (and trust me, I’ve tried to mess things up in the kitchen before). You get all the comfort and joy of homemade cinnamon rolls – the gooey centers, the sticky glaze, that amazing cinnamon-sugar aroma – without the commitment of making dough from scratch. Plus, those Hawaiian buns bring an extra layer of sweet, fluffy perfection that standard cinnamon rolls just can’t compete with. It’s a game-changer, I tell ya!
Ingredients You’ll Need
Gather ’round, butterfingers! Here’s your shopping list. Don’t worry, it’s short and sweet, just like these rolls will be.
- One 12-count pack of Hawaiian Sweet Rolls: The unsung hero of this entire operation. Don’t cheap out; get the real deal.
- 1/2 cup (1 stick) Unsalted Butter: Because everything’s better with butter. We’ll be melting some, so don’t worry about it being rock hard.
- 1/2 cup Brown Sugar (packed): Light or dark, your call. It’s for that glorious, gooey filling.
- 1 tablespoon Ground Cinnamon: Make sure it smells good! Old, dusty cinnamon is a sin.
- 1/2 cup Powdered Sugar (Confectioners’ Sugar): For our ridiculously easy glaze.
- 1-2 tablespoons Milk (or Cream): To bring that glaze to life. Any milk will do, dairy or non-dairy.
- 1/2 teaspoon Vanilla Extract: Pure vanilla, please. It adds that little *oomph* to the glaze.
- Pinch of Salt: Just a tiny bit, to balance out all that sweetness.
Step-by-Step Instructions
Alright, apron on (or not, we’re not fancy here). Let’s get baking!
- First things first: **preheat your oven to 350°F (175°C)**. While it’s heating up, lightly grease an 8×8 or 9×9 inch baking dish. You want to make sure those rolls don’t stick.
- Grab your Hawaiian rolls. Don’t separate them! Carefully slice the entire block of rolls in half horizontally, like you’re making a giant, sweet sandwich. The top half will be your ‘lid’, and the bottom half will be your ‘base’.
- In a microwave-safe bowl (or small saucepan), melt 1/4 cup (half a stick) of your butter. Once melted, stir in the brown sugar and cinnamon until it forms a thick, glorious paste. This is our magical filling!
- Spread that cinnamon-sugar goodness evenly over the bottom half of the Hawaiian rolls in your baking dish. Make sure every little nook and cranny gets some love.
- Carefully place the top half of the rolls back on top, like you’re reuniting long-lost lovers. Gently press down so the filling is nicely sandwiched.
- Now, melt the remaining 1/4 cup of butter. Pour this melted butter evenly over the top of the rolls. This helps create that irresistible crispy-chewy crust.
- Bake for 15-20 minutes, or until the rolls are golden brown and the filling is bubbly and aromatic. **Keep an eye on them** to prevent burning!
- While your rolls are baking, let’s make the glaze. In a small bowl, whisk together the powdered sugar, 1-2 tablespoons of milk (start with one, add more if needed for desired consistency), vanilla extract, and that tiny pinch of salt. You’re aiming for a smooth, pourable but not watery glaze.
- Once the rolls are out of the oven, let them cool for just a few minutes – maybe 5-10. Then, generously drizzle that dreamy glaze all over the warm rolls. The warmth will help it melt and seep into all the crevices.
- Serve immediately and prepare for compliments! Seriously, these are best warm and gooey.
Common Mistakes to Avoid
Even easy recipes have their pitfalls, usually involving impatience or a severe underestimation of how fast things burn. Don’t be *that* person.
- Not preheating the oven: Rookie mistake! It throws off baking times and can lead to uneven cooking. Just do it.
- Over-baking the rolls: Hawaiian buns are delicate. Too long in the oven, and they’ll go from fluffy to dry hockey pucks. 15-20 minutes is typically perfect. Watch for that golden brown color.
- Using stale Hawaiian buns: While the filling will moisten them, starting with fresh, soft buns makes a huge difference. Don’t use those ones that have been lurking in your pantry since last month’s BBQ.
- Skipping the grease in the baking dish: Unless you enjoy scraping delicious, sticky cinnamon buns off the bottom, give that dish a quick spray or butter rub. Trust me on this one.
- Pouring glaze on cold rolls: The magic of the glaze is when it melts and soaks in. If your rolls are cold, it’ll just sit on top, looking sad. Warm rolls are key!
Alternatives & Substitutions
No Hawaiian buns? No problem (well, maybe a small problem, but we can fix it).
- Other Sweet Buns: If you absolutely can’t find Hawaiian rolls, look for other sweet, soft dinner rolls. They won’t have quite the same signature sweetness, but they’ll still make a killer cinnamon roll.
- Spice it Up: Feel free to add a pinch of nutmeg or cardamom to your cinnamon-sugar filling for an extra layer of warmth. Or even a tiny bit of ginger if you’re feeling adventurous.
- Cream Cheese Glaze: If you’re feeling a bit extra (and have cream cheese on hand), you can absolutely whip up a traditional cream cheese frosting instead of the simple powdered sugar glaze. Just soften 2 oz cream cheese, 1/4 cup butter, 1 cup powdered sugar, 1 tsp vanilla, and a splash of milk. Whisk until smooth! OMG, yes.
- Add Nuts: A sprinkle of chopped pecans or walnuts in the filling would be divine, adding a lovely crunch.
FAQ (Frequently Asked Questions)
Got questions? I’ve got (mostly) sarcastic answers!
Q: Can I prepare these ahead of time?
A: Technically, you *could* assemble them the night before and bake them in the morning. But honestly, they’re so quick, why bother? You might lose a little freshness. Best served immediately, IMO.
Q: My glaze is too thick/thin! Help!
A: Too thick? Add a *tiny* splash more milk. Too thin? Whisk in a *tiny* bit more powdered sugar. It’s all about feel, like being a kitchen alchemist. Don’t overthink it, just adjust gradually.
Q: Can I use margarine instead of butter?
A: Well, technically yes, you *can*. But why hurt your soul (and your taste buds) like that? Butter just tastes better, and for a simple recipe like this, every ingredient matters. #butterislife
Q: What if I don’t have vanilla extract?
A: You’re really living life on the edge, aren’t you? It won’t be the end of the world, but the glaze will definitely be missing that lovely depth. If you have almond extract, a tiny drop could work as a substitute, but vanilla is always preferred.
Q: How long do these keep?
A: Keep? What’s “keep”? Hah! Seriously though, they are best eaten fresh on the day they’re made. If you have any miraculous leftovers (which I doubt), store them airtight at room temp for a day or two, and zap ’em in the microwave for a few seconds to warm them up.
Q: Can I use gluten-free Hawaiian rolls?
A: Absolutely! If you can find gluten-free sweet rolls, this recipe will work just as well. The magic is in the simplicity and the delicious filling, not the specific gluten content of the bun.
Final Thoughts
And there you have it! Delicious, warm, gooey Hawaiian Bun Cinnamon Rolls that will make you look like a baking superstar without breaking a sweat. Perfect for a lazy weekend morning, an unexpected guest, or just because you deserve something ridiculously tasty. So go on, get in that kitchen, whip up a batch, and bask in the glory of your effortless culinary genius. Now go impress someone—or yourself—with your new culinary skills. You’ve earned it!


