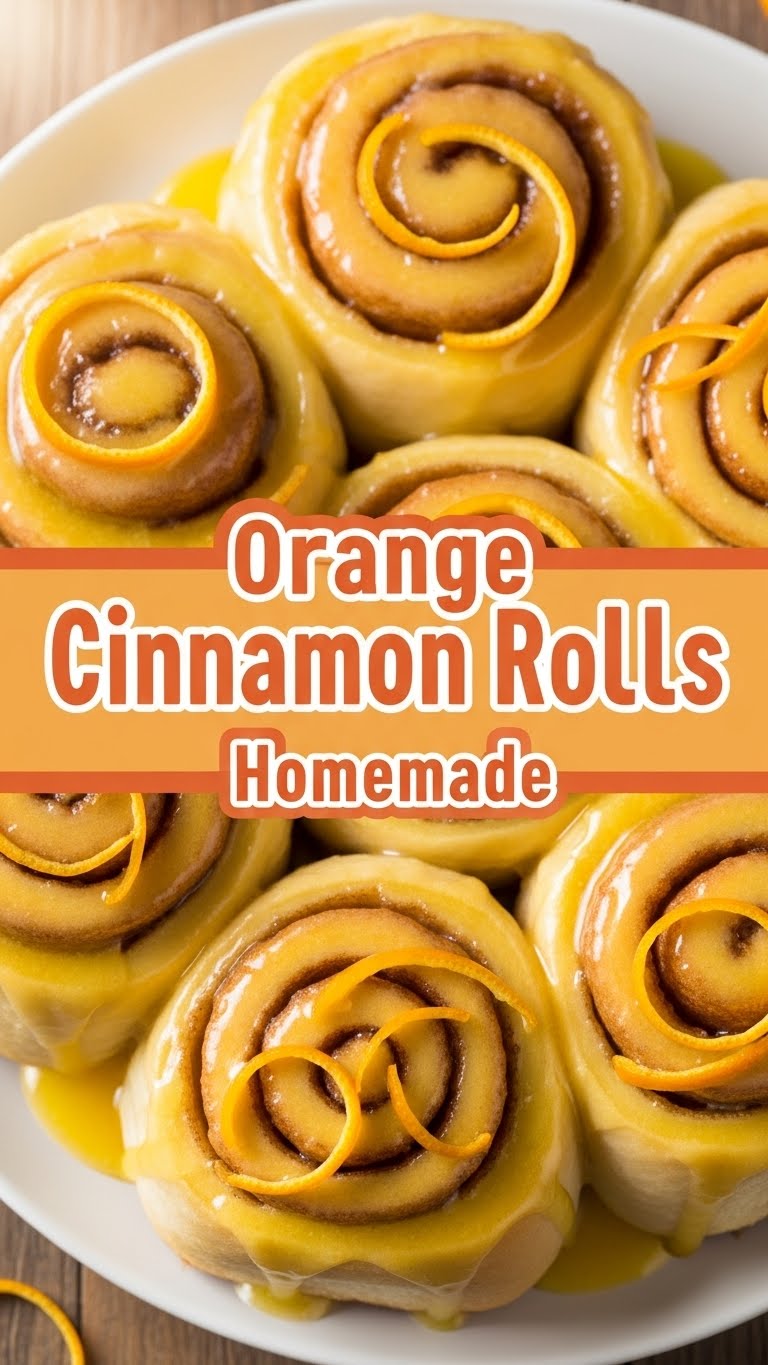
So, you’re scrolling through your feed, minding your own business, and BAM! A picture of some gloriously gooey, warm cinnamon rolls hits you right in the feels. And you think, “Ugh, I wish I could make those, but it looks like a whole *thing*.” Been there, friend, been there. But what if I told you we could make them, and they’d be infused with a bright, zesty orange kick that makes them feel fancy but are actually, like, super doable? Get ready to unleash your inner baking superstar because we’re diving into the delightful world of **Homemade Orange Cinnamon Rolls**!
Why This Recipe is Awesome
Okay, let’s be real. There are a million cinnamon roll recipes out there. So why *this* one? Because it’s a game-changer! First off, the orange zest in both the dough AND the filling? Genius, if I do say so myself. It cuts through the sweetness just enough to make you want another, and another, and… you get the idea. It’s like regular cinnamon rolls went on a tropical vacation and came back with a fabulous new tan and an even better personality. Plus, this recipe is surprisingly **stress-free**. We’re talking minimal drama, maximum deliciousness. Even if your yeast-proofing skills are currently “questionable,” you’ve got this. Seriously, it’s pretty **idiot-proof** – and coming from someone who once melted plastic wrap *into* a casserole, that’s high praise.
Ingredients You’ll Need
Time to gather our delicious arsenal! Don’t worry, nothing too wild here. Just good ol’ pantry staples with a couple of citrusy additions.
For the Dough:
- **1 cup (240ml) warm milk:** Not hot, not cold, but pleasantly warm. Think baby bathwater. **This is crucial for happy yeast!**
- **2 ¼ teaspoons active dry yeast (1 standard packet):** The little magic poof-makers.
- **¼ cup (50g) granulated sugar:** Just enough sweetness for our doughy base.
- **1 large egg:** Room temp is best, if you remember (but if not, no stress).
- **¼ cup (56g) unsalted butter, melted:** Liquid gold, basically.
- **½ teaspoon salt:** Don’t skip it; it brings out all the flavors.
- **3 cups (360g) all-purpose flour:** No fancy stuff needed, unless you want to get ~extra~.
- **1 tablespoon orange zest:** Our secret weapon for that sunshiney kick in the dough itself!
For the Filling:
- **½ cup (113g) unsalted butter, softened:** Like, really soft, but not melted.
- **¾ cup (150g) packed light brown sugar:** Caramel-y goodness right here.
- **2 tablespoons ground cinnamon:** The OG star of the show.
- **1 tablespoon orange zest:** Double the orange, double the fun!
For the Orange Glaze:
- **1 ½ cups (180g) powdered sugar:** Sift it if you’re feeling fancy, but I rarely do.
- **3-4 tablespoons fresh orange juice:** From the same orange you zested! No waste, yay!
- **½ teaspoon vanilla extract (optional):** A little extra somethin’-somethin’.
Step-by-Step Instructions
- **Activate the Yeast (Let’s Get Bubbly!):** In a large bowl (or stand mixer bowl), combine the warm milk, yeast, and a pinch of that granulated sugar. Give it a gentle stir and let it sit for about 5-10 minutes. It should get nice and foamy – that means your yeast is alive and ready to party! If it doesn’t foam, your yeast might be expired or your milk was too hot/cold. Start over.
- **Mix the Doughy Goodness:** To your foamy yeast mixture, add the rest of the granulated sugar, melted butter, egg, salt, and orange zest. Stir it all up. Gradually add the flour, mixing until a shaggy dough forms.
- **Knead, Knead, Knead:** If you have a stand mixer, use the dough hook and knead on medium-low for about 5-7 minutes until the dough is smooth and elastic. If you’re going old school (aka therapeutic kneading), turn the dough out onto a lightly floured surface and knead by hand for 8-10 minutes. **The dough should be slightly tacky but not sticky.**
- **First Rise (Patience, Grasshopper):** Lightly grease a clean bowl with oil. Place your beautiful dough in it, turning once to coat. Cover the bowl with plastic wrap or a clean kitchen towel. Let it rise in a warm, draft-free place for 1-1.5 hours, or until it has doubled in size.
- **Make the Filling (While You Wait):** In a small bowl, mix together the softened butter, brown sugar, cinnamon, and orange zest until well combined and spreadable.
- **Roll ‘Em Out:** Once the dough has doubled, punch it down gently to release the air. Turn it out onto a lightly floured surface and roll it into a large rectangle, about 12×18 inches.
- **Spread the Love:** Evenly spread your orange cinnamon filling all over the dough, making sure to go almost to the edges.
- **Roll and Slice:** Starting from one of the longer sides, tightly roll up the dough into a log. Pinch the seam closed. Using a sharp knife or unflavored dental floss, cut the log into 12 equal rolls (about 1.5 inches thick each).
- **Second Rise (Almost There!):** Lightly grease a 9×13-inch baking dish. Arrange the rolls snugly in the dish. Cover again with plastic wrap or a towel and let them rise for another 30-45 minutes, or until puffy and almost doubled. Meanwhile, preheat your oven to **375°F (190°C)**.
- **Bake ‘Em Up:** Pop the rolls into the preheated oven and bake for 20-25 minutes, or until golden brown and cooked through. If they’re browning too quickly, you can loosely tent them with foil.
- **Whip Up the Glaze:** While the rolls are cooling slightly (but still warm!), whisk together the powdered sugar, orange juice, and vanilla extract (if using) in a small bowl until smooth. Adjust juice as needed to get a drizzle-able consistency.
- **Glaze and Devour:** Drizzle or slather that glorious orange glaze all over your warm rolls. Serve immediately and bask in the glory of your homemade masterpiece!
Common Mistakes to Avoid
- **Killing the Yeast:** If your milk is too hot, it’ll kill the yeast. Too cold, and it won’t activate. Remember: baby bathwater!
- **Skipping the Rises:** “Ain’t nobody got time for that,” you might think. But trust me, the rises are what give you those impossibly fluffy, soft rolls. **Patience is a virtue here.**
- **Over-baking:** Dry rolls are sad rolls. Keep an eye on them; they should be golden brown, not dark brown.
- **Not Zesting Before Juicing:** Rookie mistake! It’s SO much harder to zest a juiced orange. Get that zest off first, then squeeze away.
- **Forgetting the Salt:** It might seem minor, but salt balances the sweetness and enhances all the other flavors. Don’t skip it!
Alternatives & Substitutions
Feeling a little rebellious? Here are some ways to shake things up:
- **Citrus Swap:** Not feeling orange? Try lemon or lime zest and juice instead for a different tangy twist.
- **Spice It Up:** Add a pinch of cardamom or nutmeg to the cinnamon filling for extra warmth and depth.
- **Cream Cheese Glaze:** For an even richer, tangier glaze, ditch the simple orange glaze and whip up a cream cheese frosting instead! Combine 4 oz softened cream cheese, ¼ cup softened butter, 1-2 cups powdered sugar, and 1-2 tablespoons orange juice or milk. Divine!
- **Dairy-Free Options:** You can easily swap out dairy milk for your favorite plant-based milk (almond or oat work great!) and butter for a good quality dairy-free butter.
- **Add-ins:** Feeling wild? Throw some chopped pecans or walnuts into the filling for a bit of crunch.
FAQ (Frequently Asked Questions)
Got questions? I’ve got (mostly) snarky answers!
**Q: Can I make these ahead of time?**
A: Heck yes! You can let the rolls do their second rise in the fridge overnight. Just pull them out about an hour before baking to come to room temp, then bake as usual. Overnight magic!
**Q: My yeast didn’t foam. What went wrong?**
A: Your yeast is probably taking a dirt nap. Or your milk was too hot/cold. Unfortunately, you’ll need to ditch it and start with fresh yeast and properly warmed milk. Don’t give up!
**Q: Do I really need to use fresh orange zest?**
A: You *could* use dried, but why hurt your soul like that? The fresh zest is where all that vibrant, bright flavor lives. It’s truly a game-changer. **Seriously, use fresh!**
**Q: How do I know when they’re perfectly baked?**
A: They’ll be gorgeously golden brown on top, and if you gently press one, it should spring back. No raw doughy centers, please!
**Q: Can I freeze these?**
A: Absolutely! You can freeze the unbaked rolls after their second rise (cover tightly). Thaw overnight in the fridge, then let them come to room temp before baking. Or, you can freeze fully baked and glazed rolls; just microwave or warm in the oven to revive.
**Q: My rolls are tough, not fluffy. What did I do wrong?**
A: Oh no! It’s usually a sign of either over-kneading (which develops too much gluten) or over-baking (drying them out). Try to be gentle with the dough and keep a close eye on the oven next time.
**Q: Can I use margarine instead of butter?**
A: Well, technically yes, you *could*. But why settle for ‘technically yes’ when you can have creamy, rich, full-flavor butter? IMO, butter is king for a reason!
Final Thoughts
And there you have it, folks! Your very own, incredibly delicious, ridiculously impressive Orange Cinnamon Rolls. You’ve navigated the mystical world of yeast, tamed the mighty rolling pin, and emerged victorious, smelling vaguely of sunshine and cinnamon. So go ahead, grab a warm roll (or three), brew some coffee, and pat yourself on the back. You’ve earned this moment of pure, unadulterated bliss. Now go impress someone—or yourself—with your new culinary skills. You’ve earned it!


