So you’re staring at that tube of canned cinnamon rolls, dreaming of something *more*, but also, like, can’t be bothered with a whole baking production? My friend, you’ve come to the right place. We’re about to elevate those humble rolls from ‘meh’ to ‘OMG, did *you* make these?!’ without breaking a sweat (or a budget). Get ready to feel like a culinary wizard with minimal effort. You’re welcome in advance. 😉
Why This Recipe is Awesome
Let’s be real, those canned cinnamon rolls are fine. They do the job. But we’re not aiming for “fine” today, are we? We’re aiming for “freaking amazing.” This recipe is awesome because:
- It’s practically **idiot-proof**. Seriously, even if your baking skills are limited to pressing “start” on the microwave, you got this.
- It takes about **five extra minutes** of your life but tastes like you spent an hour slaving away. Magic!
- Your house will smell like a gourmet bakery, instantly upping your cool factor by at least 10 points.
- That sad, thin glaze packet? We’re turning it into a rich, creamy dream. No more skimpy sweetness for us!
Ingredients You’ll Need
Gather your troops! Most of these are probably chilling in your pantry already.
- 1 tube of Canned Cinnamon Rolls: The classic kind, usually 8-count. Don’t go fancy, we’re building on a classic here.
- 3-4 tablespoons Unsalted Butter: The real stuff. Don’t skimp. Your taste buds will thank you.
- 1/4 cup Brown Sugar: Light or dark, your preference. Adds that cozy, caramel-y depth.
- 1 teaspoon Ground Cinnamon: Because more cinnamon is *always* the answer when it comes to cinnamon rolls.
- 1-2 tablespoons Milk or Cream: Just a splash to make that glaze legendary. Whole milk, 2%, almond milk – whatever you’ve got.
- 1/2 teaspoon Vanilla Extract: Optional, but highly recommended for that “I totally know what I’m doing” vibe.
- A tiny pinch of salt: Seriously, just a pinch. It makes the sweetness pop!
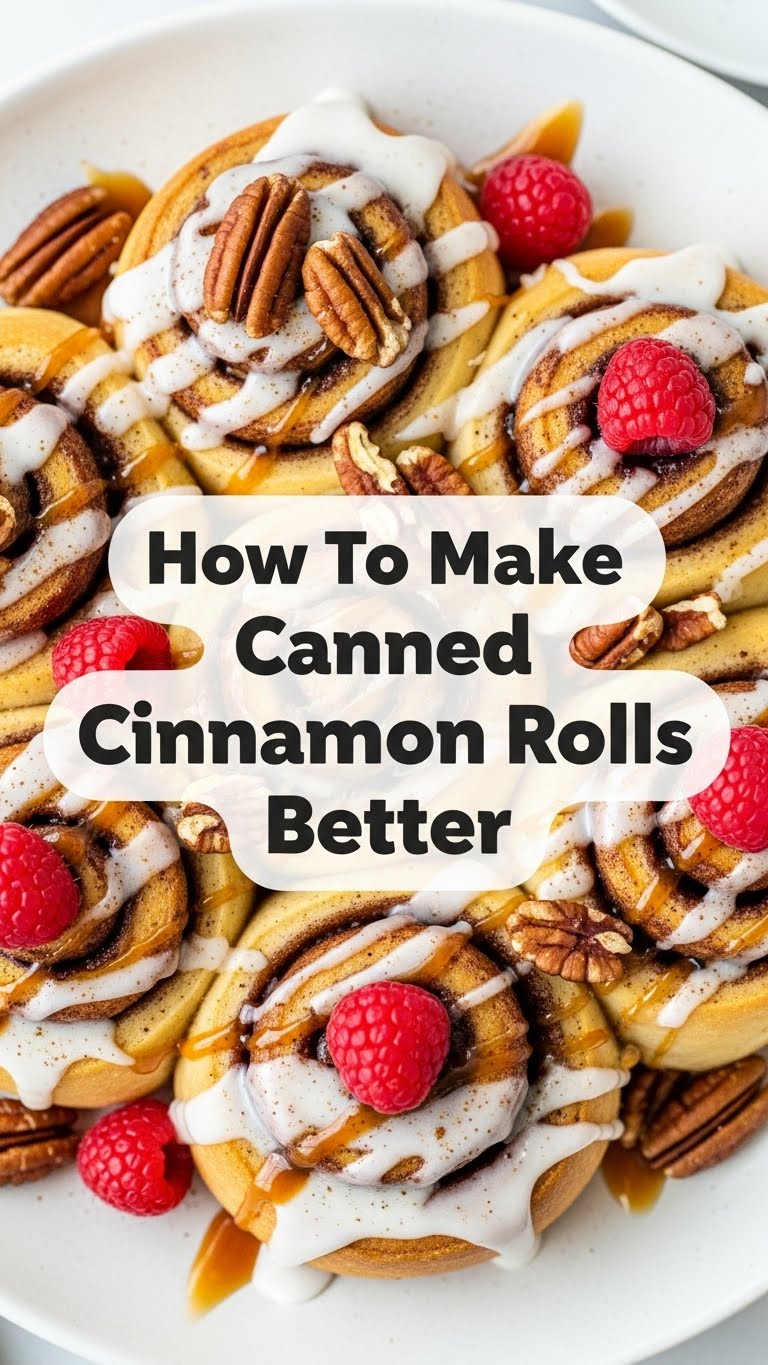
- Optional: Chopped Pecans or Walnuts: For crunch and a slightly sophisticated touch, if you’re feeling extra.
Step-by-Step Instructions
Alright, apron on (or not, no judgment here), let’s make some magic happen!
- Preheat Your Oven: Check the can for the exact temperature, usually 350-375°F (175-190°C). Don’t skip this; a hot oven is key for fluffy rolls.
- Prep Your Pan: Lightly grease a baking dish (an 8×8 or 9×9 inch pan works great). You want them to have enough room to puff up but also be cozy.
- Melt the Magic Mix: In a small microwave-safe bowl, melt your butter (about 30 seconds). Stir in the brown sugar and extra cinnamon until well combined. It should look like a delicious, sandy syrup.
- Unroll the Fun: Pop open that can of cinnamon rolls (try not to jump when it cracks!). Arrange them in your prepared baking dish. Don’t overcrowd them too much.
- Bathe Them in Goodness: Spoon that melted butter-sugar-cinnamon mixture evenly over the tops of your rolls. Make sure every roll gets some love!
- Bake ‘Em Up: Pop the dish into your preheated oven. Bake for the time recommended on the can, plus maybe an extra 2-5 minutes, until they’re golden brown and wonderfully puffy. **Keep an eye on them!** Ovens vary, and burnt rolls are sad rolls.
- Glaze Time! (The Upgrade): While your rolls are cooling slightly (but still warm!), grab that little plastic packet of glaze. Empty it into a small bowl. Add your splash of milk/cream, the vanilla extract, and that tiny pinch of salt. Whisk vigorously until smooth and creamy. If it’s too thick, add a tiny bit more liquid; if too thin, a tiny bit of powdered sugar (if you have it) will fix it.
- Drizzle and Devour: Generously drizzle your upgraded glaze over the warm rolls. If you’re using nuts, sprinkle them on now. Serve immediately and prepare for compliments. You’ve earned ’em!
Common Mistakes to Avoid
Nobody’s perfect, but we can avoid some major cinnamon roll faux pas, right?
- Thinking you don’t need to preheat the oven: Rookie mistake! That immediate heat helps the rolls rise beautifully. Don’t be that person.
- Overcrowding the pan: Give those rolls some space to expand and get golden. Too snug and they’ll steam instead of bake beautifully.
- Ignoring the timer (or your nose): Set a timer, but also trust your sense of smell. If it smells burnt, it probably is.
- Serving them cold: They’re okay cold, but **warm cinnamon rolls are a religious experience**. Seriously.
- Using the glaze straight from the packet: I mean, you *could*, but why are you even reading this if you’re not going for glorious?
Alternatives & Substitutions
Feeling creative? Or just missing an ingredient? No stress, here are some ideas!
- Butter: Can you use margarine? Well, technically yes, but why hurt your soul like that? IMO, butter is non-negotiable for this recipe.
- Brown Sugar: If you’re out, white granulated sugar works, but brown sugar really gives it that rich, toffee-like note that’s super delish.
- Milk/Cream: Any milk works – dairy, oat, almond. Even water in a pinch for the glaze, but cream gives it an extra lush mouthfeel.
- Vanilla Extract: Try almond extract for a different twist! Or skip it, no biggie.
- Add-ins: Get wild! Sprinkle some chocolate chips over the rolls before baking. Add a tiny sprinkle of sea salt after glazing for a sweet-salty combo. Shredded coconut? Go for it!
FAQ (Frequently Asked Questions)
Got questions? I’ve got (casual) answers!
- “Can I make these ahead of time?” Like, bake them and then warm them up later? Sure, but these are truly best served warm, straight out of the oven. You can prep the butter-sugar mix ahead, though!
- “My rolls aren’t rising properly, what gives?” Is your oven temperature accurate? Is the can expired? Sometimes you just get a dud batch, unfortunately. Don’t blame yourself!
- “Can I use less sugar?” You *can*, but this recipe is all about indulging. It’s a treat, so embrace the sweetness!
- “What if I don’t have extra cinnamon?” Just use the brown sugar-butter mix. It’ll still be a significant upgrade, FYI.
- “How do I store leftovers?” In an airtight container at room temperature for a day or two, or in the fridge for up to 4 days. Reheat gently in the microwave or oven for that fresh-baked feel.
- “Is it really *that* much better?” Oh honey, yes. Night and day. Try it. You’re welcome.
Final Thoughts
See? Told you it was easy! Now you’ve got yourself a batch of what feels like gourmet cinnamon rolls, all thanks to a few pantry staples and about five minutes of actual effort. Go forth and impress your significant other, your kids, your roommate, or just yourself. You totally deserve it. You’re basically a chef now. 😉 Enjoy your glorious, enhanced canned cinnamon rolls!


