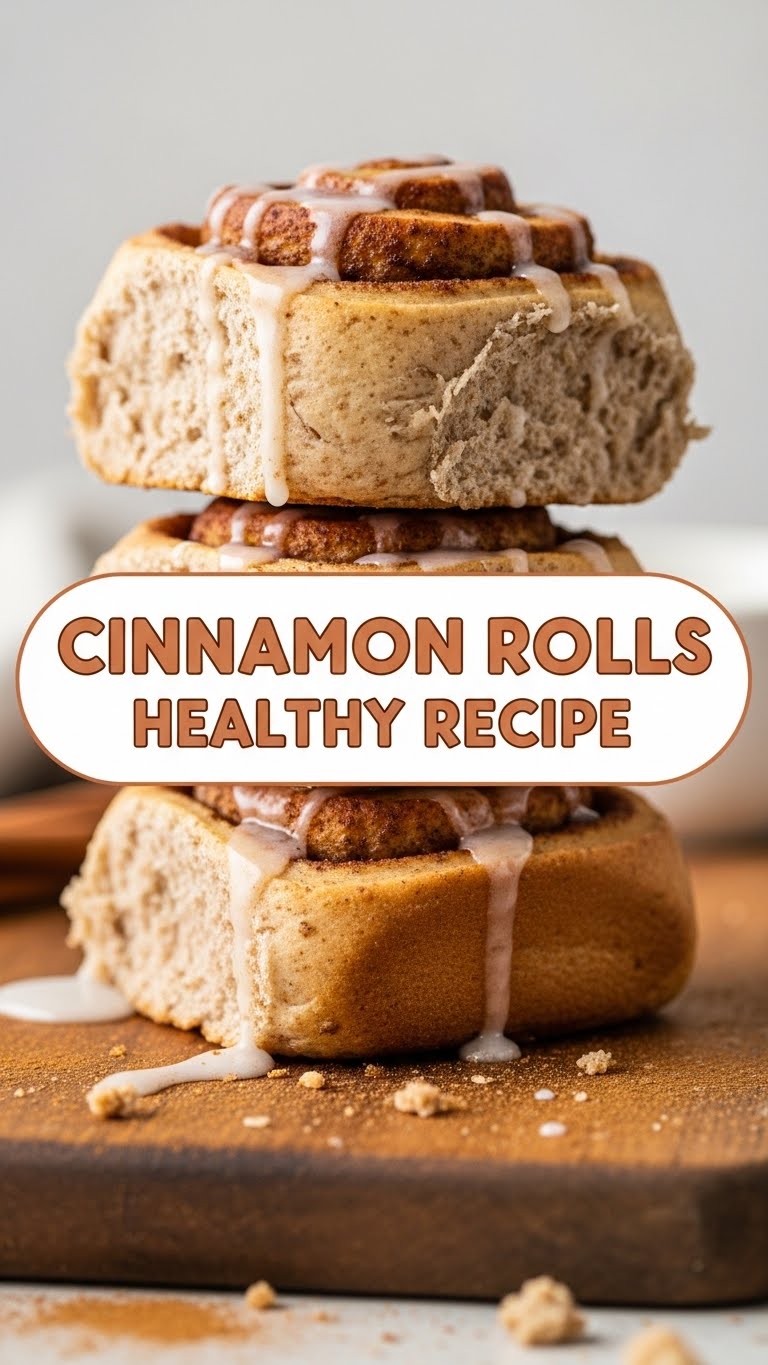
So, you woke up craving that warm, gooey hug of a cinnamon roll but also remembered your New Year’s resolution to, like, *not* eat an entire stick of butter for breakfast? Been there, bought the T-shirt. Good news: we’re making healthy-ish cinnamon rolls that are actually good. No, really! Get ready for some serious cozy vibes without the immediate regret.
Why This Recipe is Awesome
Alright, let’s be real. Most “healthy” recipes taste like sad cardboard and leave you wondering if joy is even allowed. This one? Nope! We’re talking fluffy, cinnamony goodness without the sugar crash or the feeling you need to run a marathon just to burn it off. It’s surprisingly **easy peasy**, even if your cooking skills are limited to microwaving popcorn. Plus, you get to tell people you “baked” without breaking a sweat. Chef’s kiss!
Ingredients You’ll Need
For the Dough:
- 1 ½ cups warm milk: Not too hot (you’ll kill the yeast!), not too cold. Think baby bathwater.
- 2 ¼ teaspoons instant yeast: One packet, usually. The magic dust that makes things rise. Don’t fear it!
- ¼ cup honey or maple syrup: Sweetness, but make it natural.
- ¼ cup melted coconut oil: Or light butter. Because *some* fat is good for the soul.
- ½ teaspoon salt: Flavor’s best friend. Don’t skip it!
- 4-4 ½ cups whole wheat flour: Because we’re fancy and slightly health-conscious.
For the Filling:
- ¼ cup melted coconut oil: The sticky glue for our cinnamon sugar.
- 2 tablespoons ground cinnamon: The star of the show. Don’t be shy!
- ½ cup brown sugar or coconut sugar: For that classic caramel-y sweetness, but a little less intense.
For the Glaze (Optional, but seriously, do it):
- 1 cup powdered erythritol: Or powdered sugar for a less “healthy” but still delicious option.
- 2-3 tablespoons milk (any kind): Just a splash to get the consistency right.
- ½ teaspoon vanilla extract: Makes everything smell and taste better.
Step-by-Step Instructions
- Activate the Yeast: In a large bowl, mix the warm milk, honey/maple syrup, and yeast. Let it hang out for 5-10 minutes until it gets foamy and bubbly. This means it’s alive! *Mwahahaha.*
- Make the Dough: Add the melted coconut oil, salt, and about 2 cups of the whole wheat flour to the yeast mixture. Mix well, then gradually add the rest of the flour, a little at a time, until a shaggy dough forms that’s not too sticky.
- Knead It Out: Turn the dough onto a lightly floured surface and knead for 5-7 minutes. It should become smooth and elastic. If your arms hurt, you’re doing it right!
- Rise and Shine: Lightly oil a clean bowl, place the dough in it, cover with a damp cloth or plastic wrap, and let it rise in a warm spot for about 1 hour, or until doubled in size. This is where the patience comes in.
- Roll It Out: Once risen, gently punch down the dough (satisfying!) and roll it into a large rectangle (approx. 12×18 inches) on a lightly floured surface. Think pizza-ish shape, but longer.
- Fill ‘Er Up: Brush the melted coconut oil evenly over the entire surface of the dough. In a small bowl, mix the cinnamon and brown sugar, then sprinkle this mixture generously over the oiled dough. Get into the corners!
- Roll and Slice: Tightly roll the dough from one long side to the other. Pinch the seam firmly to seal it. Use a sharp knife or even dental floss (weird, but effective!) to slice the roll into 12 equal pieces.
- Second Rise (Almost There!): Arrange the sliced rolls in a lightly greased 9×13-inch baking dish, leaving a little space between them. Cover again and let them rise for another 20-30 minutes. While they’re puffing up, **preheat your oven to 375°F (190°C)**.
- Bake ‘Em: Bake for 18-22 minutes, or until the tops are golden brown and your kitchen smells like heaven. Don’t overbake, or they’ll be dry!
- Glaze It Up: While the rolls are still warm, whisk together the powdered erythritol, milk, and vanilla extract until smooth. Drizzle generously over the warm rolls. Dig in!
Common Mistakes to Avoid
- Killing the Yeast: Water that’s too hot will murder your yeast and your dreams of fluffy rolls. Too cold, and it’ll just nap. Aim for lukewarm, like a cozy bath. **This is a crucial first step!**
- Not Kneading Enough: Your dough needs a good workout to develop gluten. Don’t skimp on the kneading, or your rolls will be dense and sad.
- Over-flouring: Adding too much flour makes your dough tough, dry, and generally unhappy. Add it gradually, only until the dough isn’t super sticky.
- Impatience: Rushing the rise times is like rushing a good conversation – you miss out on the good stuff. Let them do their thing. Good things come to those who wait!
- Ignoring Your Oven: Every oven is a unique snowflake with its own quirks. Keep an eye on your rolls, especially during the first bake. Don’t wander off to binge-watch Netflix!
Alternatives & Substitutions
- Flour Power: Not a whole wheat die-hard? You can use half all-purpose and half whole wheat, or even all all-purpose flour for a lighter texture (but, you know, slightly less “healthy”).
- Sweet Swaps: Instead of honey or maple syrup, a touch of agave nectar works. For the filling, you could use a sugar-free sweetener blend if you’re really watching your intake. But IMO, a little brown sugar gives the best flavor and texture.
- Dairy-Free Dream: Use almond milk, oat milk, or soy milk instead of regular milk, and a dairy-free butter alternative for the coconut oil if you prefer. Easy peasy to make it vegan!
- Glaze-less? If you’re really going minimalist, you can skip the glaze. But seriously, why would you? It’s the crown jewel!
FAQ (Frequently Asked Questions)
- Can I make these ahead of time? Absolutely! You can cover and refrigerate the assembled (unbaked) rolls overnight. Let them come to room temperature for 30-60 minutes before baking to ensure a good rise. **Hello, meal prep win!**
- My dough isn’t rising, what went wrong? Usually, it’s the yeast! Either your water was too hot/cold, or your yeast expired. Check the date on the packet – old yeast is just sad flour.
- Can I use margarine instead of butter/coconut oil? Well, technically yes, but why hurt your soul like that? Stick to coconut oil or actual butter for the best flavor and texture. Margarine just doesn’t hit the same.
- Are these *really* healthy? “Healthy-ish” is the vibe! They’re definitely a healthier alternative to traditional cinnamon rolls, with whole grains and less refined sugar. Everything in moderation, right? They’re better for you than their super-sugary cousins, FYI.
- How do I store leftovers? Keep them in an airtight container at room temperature for a day or two, or in the fridge for up to 4 days. Reheat gently in the microwave or oven for that fresh-baked feel.
Final Thoughts
Boom! You just made healthier cinnamon rolls. Go ahead, pat yourself on the back – you deserve it! These are perfect for a lazy weekend morning, a surprisingly impressive brunch item, or just because you felt like baking (and eating). Now go impress someone – or yourself – with your new culinary skills. You’ve earned it, chef!


