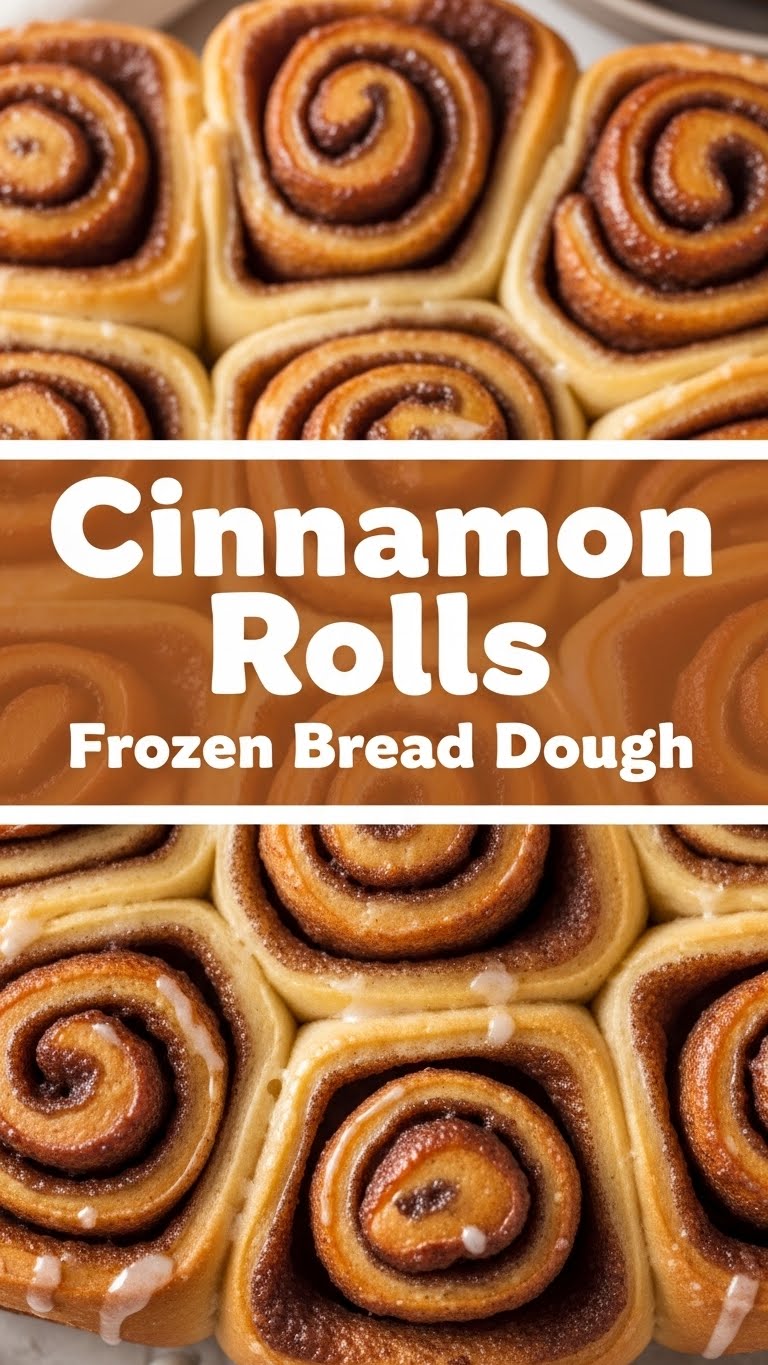
So you’re craving something warm, gooey, and smelling like a hug, but the thought of yeast and hours of proofing makes you want to curl up and cry? Been there, done that, bought the t-shirt. Good news, my friend: we’re about to make magic with minimal effort, thanks to our secret weapon: Rhodes Frozen Bread Dough. Get ready to fool everyone into thinking you spent hours slaving away. You’re welcome.
Why This Recipe is Awesome
Let’s be real, life is too short for overly complicated recipes when a shortcut tastes just as good, if not better. This cinnamon roll recipe is basically culinary deception at its finest. Here’s why it’s about to become your new best friend:
- It’s like cheating, but the delicious, guilt-free kind of cheating.
- Minimal effort, maximum reward. You get all the oohs and aahs without the sweat and tears.
- You can impress friends, family, or even just your cat, without actually breaking a culinary bone.
- It’s practically fool-proof. Seriously, if I can whip these up after a long day of adulting, you can too. No fancy skills required, just a desire for pure, unadulterated comfort food.
Ingredients You’ll Need
Gather your simple arsenal. We’re not doing anything crazy here, just the good stuff:
- 1 loaf (16 oz) Rhodes Frozen Bread Dough: Our unsung hero. Grab it from the freezer section.
- 1/2 cup (1 stick) unsalted butter: Softened, not melted. Real butter, people, don’t you dare skimp!
- 1/2 cup packed light or dark brown sugar: The darker, the richer, IMO. It gives that deep, caramel-y goodness.
- 1 tablespoon ground cinnamon: Duh, it’s in the name! Make sure it’s fresh for maximum impact.
- 1 cup powdered sugar: For that dreamy, irresistible glaze.
- 2-3 tablespoons milk: Any kind works, but whole milk makes the glaze extra creamy and decadent.
- 1/2 teaspoon vanilla extract: A tiny splash for flavor depth in the glaze. Trust me on this one.
Step-by-Step Instructions
Alright, apron on (or don’t, I’m not judging), let’s get rolling!
- First things first: Thaw that dough. You can do it overnight in the fridge (the easiest way), or let it sit on a lightly greased baking sheet at room temperature for 3-5 hours until it’s soft and pliable. Don’t rush perfection!
- Once thawed, lightly flour your countertop or a large cutting board. Roll out the dough into a nice big rectangle, roughly 12×18 inches. Don’t stress too much about exact measurements, just aim for a somewhat even shape.
- Now for the good stuff: Butter it up! Spread your softened butter evenly over the entire surface of the dough, leaving about a half-inch border on one of the long edges.
- In a small bowl, mix your brown sugar and cinnamon together. Then, sprinkle this glorious mixture generously over the buttered dough. Make sure every inch is covered!
- Time to roll ’em tight! Starting from the long edge *without* the border, carefully and tightly roll the dough into a log. Tight is key here for those beautiful, swirly cinnamon rolls.
- Slice and dice. Using a sharp knife or, my personal favorite, a piece of unflavored dental floss (seriously, it gives the cleanest cut!), slice the log into 12 equal rolls, about 1-1.5 inches thick.
- Arrange your soon-to-be masterpieces in a greased 9×13 inch baking dish. Leave a little space between each roll, as they’re about to get cozy and grow.
- Proof (the easy way). Cover the dish with plastic wrap or a clean kitchen towel. Place it in a warm spot (like a slightly warm oven that’s been turned off, or just on your counter on a warm day) and let them rise until they’re almost doubled in size and look puffy. This can take anywhere from 1-2 hours depending on how warm your kitchen is. Patience, young padawan!
- Preheat your oven to 375°F (190°C). Once your rolls are beautifully risen, pop ’em in the oven and bake for 20-25 minutes, or until they’re golden brown and smell absolutely heavenly.
- While your rolls are baking, whip up that glorious glaze! In a small bowl, whisk together the powdered sugar, milk, and vanilla extract until smooth. If it’s too thick, add a tiny bit more milk; too thin, add a touch more powdered sugar.
- The moment of truth: Once the rolls are out of the oven, let them cool for just 5-10 minutes. Then, generously drizzle that luscious glaze all over the warm rolls. Try not to eat the whole pan immediately. Or do. I’m not your boss.
Common Mistakes to Avoid
Nobody’s perfect, but we can avoid some common pitfalls that lead to less-than-stellar cinnamon rolls. Don’t say I didn’t warn you!
- Not letting the dough thaw properly: You’ll be wrestling with a frozen brick, not a pliable sheet. Trust me, it’s not fun.
- Skimping on the butter, sugar, or cinnamon: This is not the time to diet! These are cinnamon rolls, they thrive on indulgence.
- Not rolling the log tightly enough: Loose rolls result in sad, unfurling spirals. We want tight, happy swirls!
- Under-proofing the dough: Flat, dense rolls are a tragedy. Give them enough time to rise and get puffy. Seriously, **patience is a virtue here.**
- Over-baking: Dry, crumbly cinnamon rolls? No thank you! Keep an eye on them; once they’re golden brown, they’re usually done.
- Eating them straight out of the oven without cooling slightly: Yes, they smell amazing, but a burned tongue means you can’t fully enjoy the deliciousness.
Alternatives & Substitutions
Feeling adventurous? Or just missing an ingredient? Here are a few ways to tweak this recipe:
- No brown sugar? You can totally use white granulated sugar with a tablespoon of molasses mixed in for that brown sugar vibe. Not quite the same, but it works!
- Want extra flair? Add a pinch of nutmeg or cardamom to your cinnamon sugar filling. It adds a subtle warmth that’s divine.
- Cream Cheese Glaze instead? My personal fave, FYI! For a tangier, richer frosting, swap some of the milk for softened cream cheese. Mix 2 oz softened cream cheese with 1 cup powdered sugar, 1-2 tbsp milk, and 1/2 tsp vanilla. It’s a game-changer.
- Nutty rolls: Sprinkle some finely chopped pecans or walnuts over the butter and sugar mixture before rolling for a delightful crunch.
FAQ (Frequently Asked Questions)
Got questions? I’ve got (casual) answers!
- Can I make these ahead of time? Absolutely! You can assemble the rolls and place them in the baking dish, cover, and refrigerate overnight. In the morning, pull them out and let them come to room temperature and rise for 1-2 hours before baking. Brunch just got easier!
- How do I know when they’re properly proofed? They should look visibly puffy and almost doubled in size. A gentle poke with a finger should leave a slight indentation that slowly springs back, but not completely.
- Can I use a different kind of frozen dough? You bet! Any frozen white bread or dinner roll dough *should* work, but Rhodes is my personal go-to for its consistent texture and ease of use.
- What if my kitchen isn’t warm enough for proofing? Turn your oven to its lowest setting (or just on for 1-2 minutes, then off). Place a pan of hot water on the bottom rack, then put your covered rolls in there to rise. It’s like a spa day for your dough!
- My rolls came out flat, what happened? Likely under-proofed or didn’t rise enough. Give them more time next time! A cold kitchen can really slow things down.
- Can I freeze the baked cinnamon rolls? Yes! Once cooled, wrap individual rolls tightly in plastic wrap and then foil, and freeze for up to a month. Reheat in the microwave for a minute or in a preheated oven until warm.
- Do I *have* to use real butter? Well, technically yes, but why hurt your soul like that? Real butter makes them rich, glorious, and gives the best flavor. Margarine just doesn’t compare.
Final Thoughts
See? Told ya this was easy-peasy lemon-squeezy. You just transformed some humble frozen dough into a cinnamon-scented masterpiece that smells like pure joy. Now go impress someone—or just yourself—with your new culinary skills. You’ve earned those warm, gooey hugs. Don’t forget to share (or don’t, I won’t judge, I’d probably hoard them too). Happy baking!


