So, you’ve scrolled through Instagram for hours, drooling over those perfect, gooey, ridiculously aesthetic cinnamon rolls, right? And now you’re thinking, “I could totally make that… but also, I could totally just order pizza.” Trust me, friend, this recipe is for when your soul screams ‘bake!’ but your brain whispers ‘easy.’ Let’s get those aesthetic vibes without the existential baking dread.
Why This Recipe is Awesome
Okay, first off, it’s not some super secret ancient scroll recipe that requires you to sacrifice your firstborn (unless you count that last slice, *amirite*?). This bad boy is designed for maximum visual impact with minimum fuss. We’re talking fluffy, gooey, perfectly golden rolls that look like they came straight out of a fancy bakery window, but actually, they just came out of *your* oven. It’s so idiot-proof, even I didn’t mess it up on the first try, and my kitchen usually looks like a science experiment gone wrong. Plus, the smell alone is worth the ‘effort.’ Your neighbors will be *so* jealous.
Ingredients You’ll Need
- For the Dough:
- 1 cup Warm Milk (not hot, not cold; think spa-bath warm for your yeast babies)
- 2 ¼ teaspoons Active Dry Yeast (one standard packet, the magic fairy dust that makes things rise. Don’t use expired stuff unless you want flat sadness.)
- ½ cup Granulated Sugar (just enough to sweeten the deal and wake up that yeast)
- 2 Large Eggs (room temp, please. They’re like us, they perform better when they’re not shivering.)
- ½ cup Melted Unsalted Butter (because we’re controlling the salt here)
- 4-4 ½ cups All-Purpose Flour (the backbone of our doughy dreams)
- 1 teaspoon Salt (just a pinch to make everything taste *better*, not salty)
- For the Filling:
- ½ cup Melted Unsalted Butter (for spreading)
- 1 cup Packed Light Brown Sugar (dark or light, your call. It’s all gooey goodness.)
- 2 tablespoons Ground Cinnamon (go wild! This is the star of the show.)
- For the Cream Cheese Frosting:
- 4 oz Cream Cheese (softened, full fat, no wimps allowed)
- ¼ cup Unsalted Butter (softened)
- 2 cups Powdered Sugar (for that cloud-like sweetness)
- 1 teaspoon Vanilla Extract (a dash of fancy)
- 1-2 tablespoons Milk (or cream, if you’re feeling extra luxurious)
Step-by-Step Instructions
- Activate the Yeast: In a large bowl, whisk together the warm milk, a pinch of the granulated sugar, and the active dry yeast. Let it hang out for 5-10 minutes until it gets foamy. That’s your yeast saying, “I’m alive!”
- Make the Dough: Add the remaining granulated sugar, eggs, melted butter, 4 cups of the flour, and salt to the yeast mixture. Mix with a wooden spoon or a stand mixer with a dough hook until a shaggy dough forms.
- Knead It Out: Turn the dough out onto a lightly floured surface (use the remaining ½ cup flour as needed). Knead for about 5-8 minutes until it’s smooth, elastic, and springs back when you poke it. This is your arm workout for the day!
- First Rise: Place the dough in a lightly greased bowl, flip it once to coat, then cover with a clean kitchen towel or plastic wrap. Let it rise in a warm spot for 1-1.5 hours, or until doubled in size. Patience, grasshopper, this is crucial!
- Prep the Filling: While the dough rises, melt ½ cup butter for the filling. In a separate small bowl, mix together the brown sugar and cinnamon.
- Roll and Fill: Once risen, gently punch down the dough (so satisfying!). Roll it out onto a lightly floured surface into a large rectangle, roughly 12×18 inches. Spread the melted butter evenly over the dough, then sprinkle the cinnamon-sugar mix generously over the butter, leaving a small border on one long edge.
- Roll ’em Up: Tightly roll the dough from the long side into a snug log. The tighter the roll, the prettier the spirals! Seal the seam by pinching it gently.
- Slice and Arrange: Using a sharp knife or, even better, unflavored dental floss, slice the log into 12-14 equal pieces. Arrange them cut-side up in a greased 9×13 inch baking dish, leaving a little space between each roll.
- Second Rise: Cover the dish again and let them rise for another 30-45 minutes in a warm spot, until they look puffy and cozy, almost touching each other.
- Bake Time: Preheat your oven to 375°F (190°C). Bake the rolls for 20-25 minutes, or until they’re golden brown and cooked through. Keep an eye on them! Don’t overbake!
- Whip Up Frosting: While the rolls cool slightly, beat the softened cream cheese and butter together in a medium bowl until smooth. Gradually add the powdered sugar, then the vanilla extract and milk, beating until the frosting is light, fluffy, and spreadable.
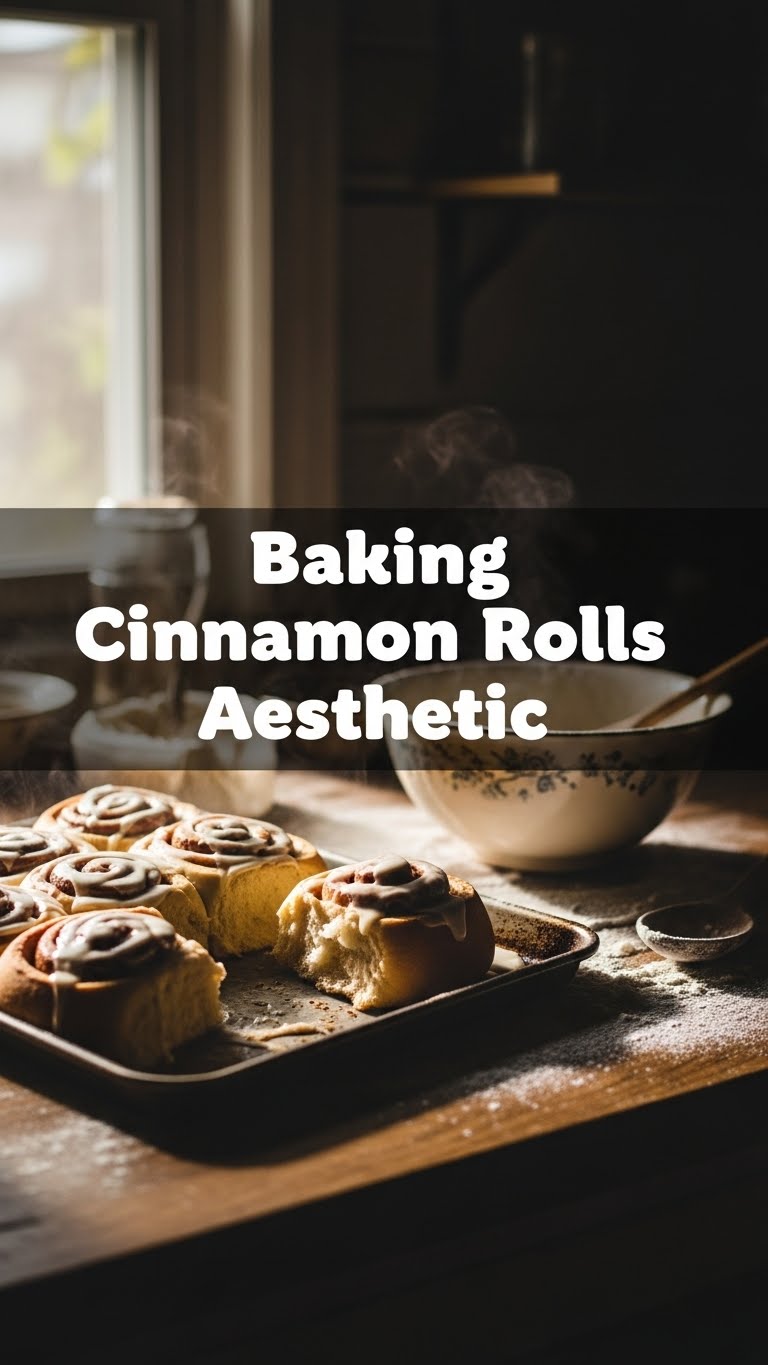
- Frost and Devour: Spread that glorious cream cheese frosting generously over the warm (but not piping hot!) cinnamon rolls. Take a picture for the ‘gram, then dive in!
Common Mistakes to Avoid
- Killing the Yeast: Water too hot? Yeast dies. Water too cold? Yeast sleeps. **Warm milk is key!** Aim for bathwater temp, around 105-115°F (40-46°C).
- Skipping the Kneading: Your arms might ache a little, but under-kneaded dough means tough, sad rolls. Knead like you mean it until it’s smooth and elastic!
- Not Letting it Rise Enough: Impatience is the enemy of fluffy. Let that dough do its thing; good things come to those who wait.
- Rolling Too Loosely: Loose rolls mean sad, floppy spirals that fall apart. **Tight is right** when it comes to rolling your log!
- Overbaking: Dry rolls are a tragedy. Pull them out when they’re golden and slightly soft. A little underbaked is better than a hockey puck, IMO.
- Frosting Hot Rolls: The frosting will melt into a sad, sugary puddle. Let them cool slightly, but still warm enough to be melty perfection.
Alternatives & Substitutions
- Butter: Can you use margarine? Technically, yes, but why hurt your soul like that? Butter tastes better, trust me. It’s worth the splurge.
- Milk: Any milk works, dairy or non-dairy (almond, oat, soy). Each might give a subtle flavor twist, but the structure will be fine.
- Flour: All-purpose is your best friend here. Whole wheat might make them a bit denser, but if you’re feeling adventurous, go for it (you might need a tad more liquid).
- Frosting: No cream cheese? A simple glaze of powdered sugar, a splash of milk, and a dash of vanilla works too, though it’s not the same creamy dream. You can also add a hint of orange zest to your cream cheese frosting for extra zing!
- Filling Add-ins: Feel free to sprinkle in some chopped pecans or walnuts with your cinnamon sugar for a nutty crunch. Or, if you’re feeling extra fancy, a swirl of espresso powder!
FAQ (Frequently Asked Questions)
- My dough isn’t rising, what gives? Probably your yeast. Was your milk too hot/cold, or is your yeast past its prime? **Always check yeast expiry!** If in doubt, test your yeast first by letting it foam in warm milk. No foam, no go.
- Can I make these ahead of time? Heck yes! Assemble and slice the rolls, arrange them in the baking dish, then cover tightly and refrigerate overnight. Let them come to room temp for 30-60 mins before baking, or pop them straight in the oven and add 5-10 mins to bake time (keep an eye on them!).
- How do I store leftovers? In an airtight container at room temp for a day or two, or in the fridge for up to a week. Reheat gently in the microwave (20-30 seconds) or oven (10-15 minutes at 300°F/150°C) for that fresh-baked feel.
- Is it okay if my rolls touch during the second rise? Absolutely! They’ll snuggle up and help each other rise, resulting in those soft, tear-apart edges. That’s part of the aesthetic, baby!
- Can I use gluten-free flour? You can try! But gluten-free baking can be tricky, and the texture might be different. Expect a less elastic dough and possibly a denser result.
- What if I don’t have a warm spot for rising? No problem! You can preheat your oven to its lowest setting (like 150°F/65°C), then turn it off. Place your covered dough in the slightly warm oven. Just make sure it’s not too hot!
Final Thoughts
Phew! You made it. Now you’re practically a professional cinnamon roll artist. Go on, take a million pictures, make your friends jealous, and then devour those warm, gooey masterpieces. You totally deserve it after all that ‘hard’ work (we’ll keep our little secret about how easy it actually was). Bake on, my friend! And remember, even if they’re not “perfect,” homemade cinnamon rolls are always perfect in taste. Now go impress someone—or yourself—with your new culinary skills. You’ve earned it!


