So, you’re craving something warm, gooey, and utterly delicious but also don’t want to spend your entire weekend playing baker, huh? Same, friend, *same*. Let’s be real, life’s too short for complicated recipes unless there’s a serious payoff. And trust me, these Cinnamon Pecan Rolls? They pay off in spades, and then some. Get ready to impress yourself, because we’re about to whip up some pure joy with minimal fuss.
Why This Recipe is Awesome
Okay, let’s talk about why this isn’t just *another* roll recipe. First off, it’s pretty much **idiot-proof**. And I say that with love, as someone who once set off a smoke alarm trying to make toast. This recipe is forgiving, yields incredibly soft, fluffy rolls, and smells like pure heaven while baking. Seriously, your neighbors will be knocking on your door. It’s the perfect blend of sweet cinnamon, crunchy pecans, and a buttery dough that practically melts in your mouth. Plus, the dough is ridiculously easy to work with – no wrestling matches required. Win-win-win!
Ingredients You’ll Need
Gather ’round, my fellow food enthusiasts! Here’s your shopping list for edible happiness:
For the Dough:
- 1 cup whole milk: Warmed slightly, like a cozy bath for your yeast. Not hot, or you’ll commit yeast-icide.
- 2 ¼ teaspoons active dry yeast: One packet usually does the trick. These tiny guys are the magic behind the fluff.
- ¼ cup granulated sugar: Just enough to make the yeast happy and add a whisper of sweetness.
- 1 large egg: Room temperature, please! Helps with richness and texture.
- ¼ cup unsalted butter: Melted and cooled a bit. Because you control the salt, not the dairy gods.
- ½ teaspoon salt: Don’t skip it! Balances the sweetness beautifully.
- 3 to 3 ½ cups all-purpose flour: The main event! Start with 3, add more as needed.
For the Filling:
- ½ cup unsalted butter: Softened to room temp. Your best friend for spreadability.
- ¾ cup packed light brown sugar: That caramel-y goodness we all adore.
- 2 tablespoons ground cinnamon: Fresh is best! Don’t use that sad, dusty jar from 2012.
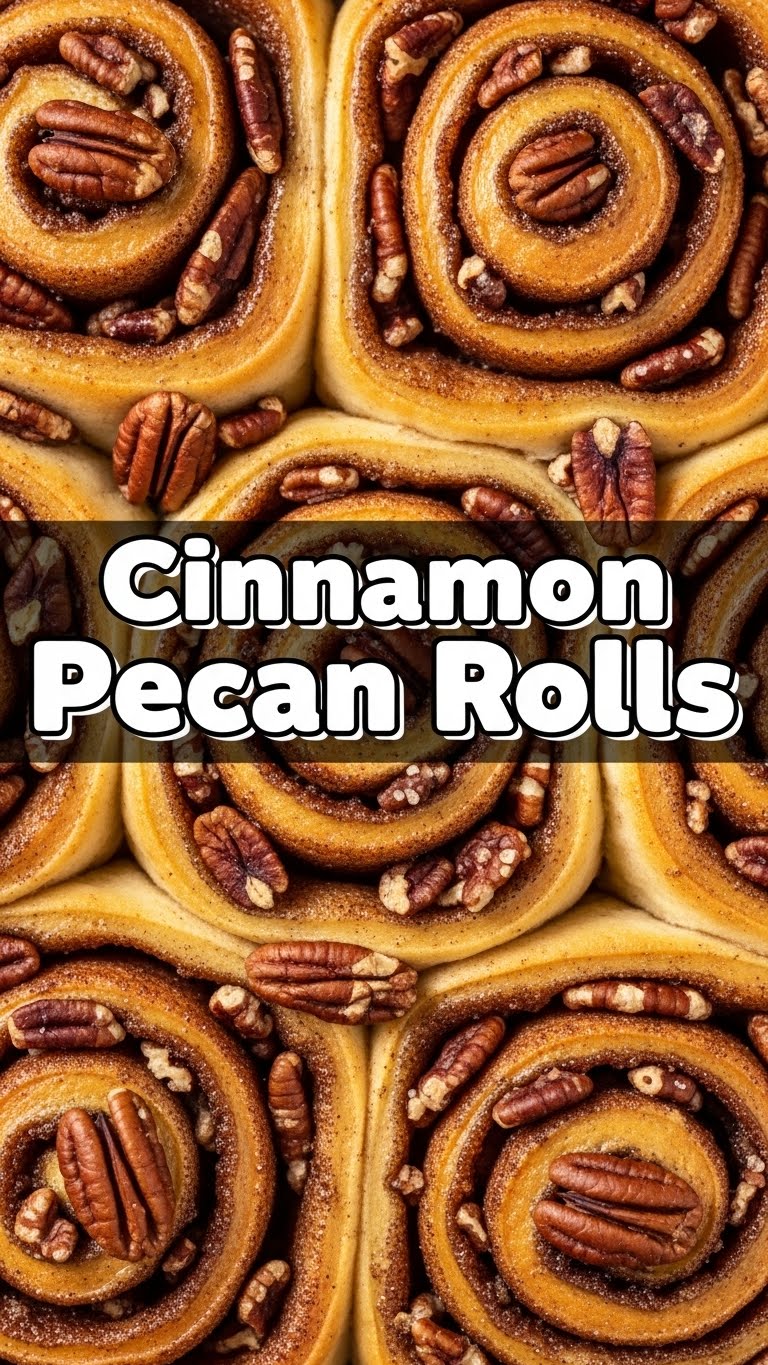
- 1 cup chopped pecans: Roughly chopped. For that essential crunch and nutty flavor.
For the Glaze:
- 1 ½ cups powdered sugar: Sifted, if you’re fancy and hate lumps.
- 2-3 tablespoons milk: Any kind! Start with 2, add more until it’s drizzly.
- ½ teaspoon vanilla extract: A little splash for that irresistible aroma.
Step-by-Step Instructions
Alright, apron on, game face ready! Let’s get baking!
- Activate the Yeast: In a large bowl (or stand mixer bowl), combine the warm milk, yeast, and a tablespoon of the granulated sugar. Stir gently and let it sit for about 5-10 minutes. It should get nice and foamy – that means your yeast is alive and ready to party!
- Mix the Dough: Add the remaining granulated sugar, egg, melted butter, and salt to the yeast mixture. Stir to combine. Gradually add the flour, about a cup at a time, mixing until a shaggy dough forms.
- Knead It Out: Turn the dough out onto a lightly floured surface. Knead for 5-7 minutes until it’s smooth and elastic. If you’re using a stand mixer, use the dough hook for about 4-5 minutes. The dough should be soft but not sticky.
- First Rise: Lightly grease a clean bowl with oil. Place the dough in the bowl, turning once to coat. Cover with plastic wrap or a clean kitchen towel. Let it rise in a warm place for 1-1.5 hours, or until doubled in size. This is where patience pays off!
- Make the Filling: While the dough is rising, combine the softened butter, brown sugar, and cinnamon in a small bowl. Stir until well combined and creamy. Set aside.
- Roll ‘Em Out: Once the dough has risen, punch it down gently to release the air. On a lightly floured surface, roll the dough into a large rectangle, roughly 12×18 inches. Don’t stress too much about perfection!
- Fill ‘Em Up: Spread the cinnamon-sugar filling evenly over the entire surface of the dough, leaving a small border (about ½ inch) along one of the longer edges. Sprinkle the chopped pecans over the filling.
- Roll and Slice: Starting from the longer edge opposite the border, tightly roll the dough into a log. Pinch the seam closed. Using a sharp knife or unflavored dental floss, cut the log into 12-15 even slices (about 1 ½ inches thick).
- Second Rise: Arrange the rolls in a lightly greased 9×13 inch baking dish. Cover loosely with plastic wrap or a towel. Let them rise again in a warm spot for another 30-45 minutes, or until puffy. While they’re rising, **preheat your oven to 375°F (190°C)**.
- Bake to Perfection: Bake for 20-25 minutes, or until golden brown on top and cooked through. If they start browning too quickly, you can loosely tent them with foil.
- Glaze ‘Em: While the rolls are cooling slightly, whisk together the powdered sugar, milk, and vanilla extract until smooth. Drizzle generously over the warm rolls.
- Devour! Serve warm and bask in the glory of your culinary triumph!
Common Mistakes to Avoid
We all make ’em, so let’s laugh about them now to prevent future kitchen meltdowns:
- Water too hot for yeast: Remember that warm bath analogy? Too hot, and you’ve boiled your little yeast friends. They won’t rise. Too cold, and they’ll be sleepy. Aim for lukewarm (105-115°F/40-46°C).
- Forgetting to proof yeast: If your milk/yeast/sugar mixture doesn’t get foamy after 10 minutes, your yeast might be dead. **Don’t proceed!** Get fresh yeast or you’ll end up with dense, sad hockey pucks instead of rolls.
- Over-flouring the dough: More flour seems like a good idea for sticky dough, but it often leads to tough, dry rolls. Add flour gradually and stop when the dough is soft and workable, not stiff.
- Skipping the second rise: Seriously, don’t. This is crucial for that light, fluffy texture. Impatience is a virtue, but not here.
- Thinking you don’t need to preheat the oven: Rookie mistake! A properly preheated oven ensures even baking from the start. Your rolls will thank you.
Alternatives & Substitutions
Feeling creative? Or just missing an ingredient? No worries, we’ve got options!
- Nut Swap: Not a pecan fan? Or just ran out? **Chopped walnuts or even slivered almonds** would be delicious. If you’re going nut-free, simply omit them!
- Spice It Up: Add a pinch of nutmeg or cardamom to your cinnamon filling for an extra layer of warmth.
- Cream Cheese Glaze: For an extra dose of decadence (and why not?!), swap the simple glaze for a cream cheese frosting. Beat 4 oz softened cream cheese with ¼ cup softened butter, then gradually add 1 ½ cups powdered sugar and ½ teaspoon vanilla, thinning with a tablespoon or two of milk.
- Dairy-Free Option: You can absolutely make these dairy-free! Use your favorite unsweetened dairy-free milk (almond, soy, oat), and substitute the butter with a good quality dairy-free butter alternative in both the dough and the filling.
FAQ (Frequently Asked Questions)
- Can I make the dough ahead of time? Absolutely! After the first rise, you can punch down the dough, wrap it tightly in plastic wrap, and refrigerate it for up to 24 hours. Let it come to room temp for about an hour before rolling and continuing with step 6.
- What if my rolls are dense? This usually means your yeast wasn’t active, or you added too much flour to the dough. Double-check your yeast’s expiry date and make sure your milk isn’t too hot or cold next time!
- Can I use margarine instead of butter? Well, technically yes, but why hurt your soul like that? Butter truly makes a difference in flavor and texture. If you must, use a high-quality margarine.
- How do I store leftover rolls? If there *are* any leftovers (a big IF), store them in an airtight container at room temperature for up to 2-3 days. Reheat briefly in the microwave for that fresh-baked feel.
- Can I freeze these? Yes! You can freeze the baked and cooled rolls (without glaze) for up to 1 month. Thaw at room temp, then warm gently and add fresh glaze. You can also freeze them unbaked after slicing – just let them thaw and rise at room temp for several hours before baking.
Final Thoughts
See? That wasn’t so scary, was it? You just brought a batch of warm, gooey, cinnamon-pecan perfection into existence! Go on, give yourself a pat on the back – or maybe just a roll. You’ve earned it! Now go impress someone—or yourself—with your new culinary skills. Happy baking!


