So you’re craving something warm, gooey, and probably covered in cream cheese frosting, but the thought of kneading dough by hand makes your arms ache just thinking about it? Yeah, me too. Enter: your bread machine, the unsung hero of lazy baking. We’re talking about making the most ridiculously easy (and delicious!) cinnamon roll dough right in your trusty machine. You’re welcome.
Why This Recipe is Awesome
Let’s be real, life’s too short for endless kneading and questioning if your dough is actually going to rise. This recipe? It’s like magic, but with less actual magic and more bread machine wizardry doing all the heavy lifting. Seriously, it takes the guesswork out of the most crucial part of baking cinnamon rolls: the dough itself.
It’s practically **idiot-proof**. Even for those of us who once burnt water (don’t ask). The dough comes out perfectly, every single time. You just dump, press a button, and then you’re just a roll, fill, and bake away from pure bliss. Easy peasy lemon squeezy… or rather, cinnamon sugary. Trust me, your kitchen will smell divine, and your effort will be minimal. Win-win!
Ingredients You’ll Need
Gather your troops! These are the simple, glorious components that will transform into heavenly dough. No fancy stuff required!
- 1 cup Warm Milk: Not hot, not cold. Think spa-bath temperature for your yeast friends. Too hot kills ’em, too cold they stay asleep. Just right, Goldilocks!
- 1/4 cup Granulated Sugar: Just enough to wake up that yeast and add a touch of sweetness to your dough. It’s not the main sweet event, but it’s important!
- 2 1/4 teaspoons Active Dry Yeast: The tiny heroes making your dough rise into fluffy perfection. Don’t skip these guys, and **make sure it’s not expired!**
- 1/4 cup Unsalted Butter, melted: Because everything’s better with butter, right? It adds richness and a beautiful tenderness to the dough.
- 1 Large Egg: One happy egg to bind it all together and give that dough some extra structure and richness.
- 3 cups All-Purpose Flour: The main event! Don’t overthink it, just regular flour. No need for fancy bread flour here unless you really want to experiment.
- 1 teaspoon Salt: A pinch to balance out all that sweetness. Crucial for flavor, trust me.
Step-by-Step Instructions
Alright, let’s get this bread machine party started! This is where your machine does all the hard work while you, well, chill.
- First things first, add your wet ingredients to your bread machine pan. That means the **warm milk, granulated sugar, melted butter, and the egg**. Make sure they’re all snuggled in there.
- Next, carefully add the all-purpose flour over the wet ingredients. Try to make a nice, even layer. This creates a barrier.
- Now, make a small well in the center of the flour, but don’t go all the way to the wet stuff. Gently pour your **active dry yeast** into that well. Then, sprinkle the **salt** in a separate corner of the pan, away from the yeast. This is super important; salt and yeast are not friends until they’re mixing!
- Close that lid and select the **”Dough” cycle** on your bread machine. This cycle usually includes mixing, kneading, and a full rise.
- Press start and then… go live your best life for the next hour and a half (or whatever your machine’s dough cycle duration is). Read a book, binge a show, practice your interpretive dance. The machine is handling it!
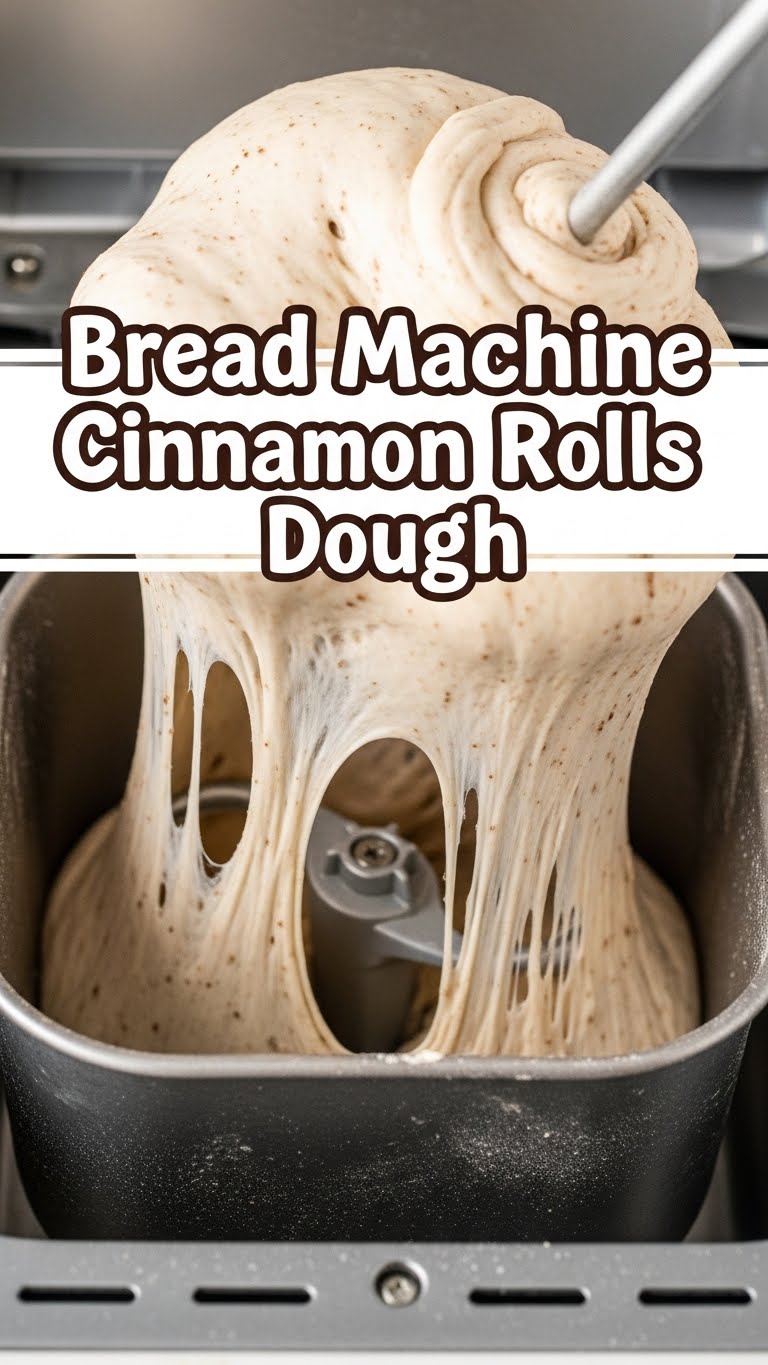
- Once the cycle finishes with a happy beep, gently remove the gloriously risen dough from the pan. It should be soft, supple, and oh-so-ready for action.
- Now, it’s time to punch it down lightly, roll it out, spread on that cinnamon-sugar filling, roll it up, slice it, and bake those beautiful rolls. But that’s a story for another day! For now, you’ve conquered the dough!
Common Mistakes to Avoid
Even though this is pretty foolproof, there are a few rookie errors that can derail your cinnamon roll dreams. Don’t be that person!
- Too Hot or Too Cold Milk: Seriously, this is the biggest culprit for flat dough. Remember the Goldilocks rule: not too hot (kills the yeast), not too cold (yeast stays asleep). **Just right (warm, like a baby’s bath)** is key.
- Yeast and Salt Touching Directly: As mentioned, salt is a yeast-killer if they meet naked. Keep them separated in the pan until the machine starts mixing. Trust the layers!
- Using Expired Yeast: Check that date, folks! Dead yeast equals flat, sad rolls, and nobody wants that kind of disappointment in their life.
- Opening the Lid Mid-Cycle: Patience, grasshopper. Let the machine do its thing. Peeking can drop the temperature inside the pan, which can mess with the rising process.
Alternatives & Substitutions
Life happens, and sometimes you don’t have exactly what the recipe calls for. Here are a few ways to pivot without totally ruining your day (or your dough).
- Milk: Any dairy or non-dairy milk can work, but for the richest, most tender dough, **whole milk is your MVP**. IMO, oat milk is a decent second, but it might change the texture ever so slightly.
- Butter: Margarine can be used in a pinch, but for that truly indulgent taste and tender crumb, stick to real butter. Your tastebuds (and your soul) will thank you.
- Egg: If you’re out of eggs, you *could* try a flax egg (1 tbsp ground flax + 3 tbsp water), but the texture might be a little different. For maximum fluff and richness, the real deal is best.
- Flour: While all-purpose is perfect, if you’re feeling adventurous, bread flour can be used for a chewier roll. Just be aware it might absorb a tiny bit more liquid.
FAQ (Frequently Asked Questions)
Got questions? I’ve got (casual) answers!
- Can I use instant yeast instead of active dry? Yup, same amount! Just mix it right in with the flour. No need for that little well trick.
- My dough isn’t rising, what gives? Likely suspects: dead yeast, milk too hot or cold, or you forgot the yeast entirely (it happens to the best of us!). Double-check those first!
- How long can I leave the dough in the bread machine after the cycle? Not too long! Maybe an extra 15-30 minutes if you’re delayed, but get it out before it over-proofs and gets too airy.
- Can I make this dough ahead of time? Absolutely! After the dough cycle, punch it down gently, cover it tightly with plastic wrap (or put it in a greased bowl with plastic wrap), and refrigerate overnight. Let it come to room temp for about 30 minutes before rolling.
- Is this just for cinnamon rolls, or can I use it for other things? Oh honey, this is a versatile queen! Sticky buns, orange rolls, even simple dinner rolls. The world is your oyster… or, well, your dough ball. Get creative!
- What if I don’t have a bread machine? Then you’re in the wrong article, friend! Kidding! But seriously, this recipe is tailored for the machine. Hand-kneading is a whole other adventure if you’re up for it.
Final Thoughts
See? Not so scary, right? You just dumped stuff in a machine, pressed a button, and now you’re basically a master baker. You’ve unlocked the secret to ridiculously easy, fluffy cinnamon roll dough. Go forth and create those gloriously gooey, frosting-covered spirals of happiness. You’ve earned every single bite.
Now go impress someone—or yourself—with your new culinary skills. You’ve earned it!


