So you’re scrolling through TikTok again, stomach rumbling, dreaming of something epically delicious but also… *easy*? My friend, I get it. We’ve all been there. You want to whip up something impressive, something that screams “I tried!” but secretly required minimal effort. Well, buckle up, buttercup, because today we’re making **Oreo Stuffed Cinnamon Rolls**, and your taste buds are about to throw a party.
Why This Recipe is Awesome
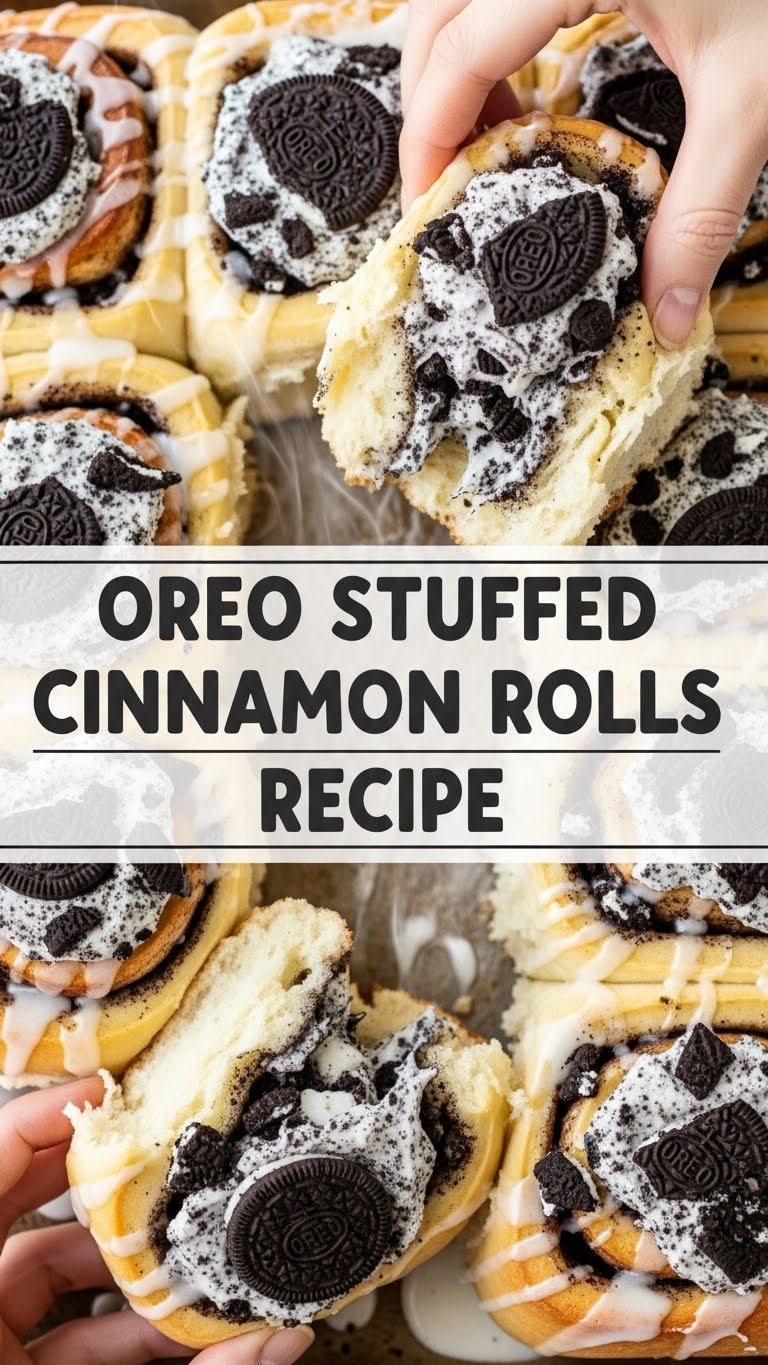
Let’s be real: this recipe is awesome because it’s basically two iconic desserts having a delicious, gooey, incredibly satisfying baby. Cinnamon rolls? Good. Oreos? Divine. Together? Mind. Blown. Seriously, this isn’t just a snack; it’s an experience. Plus, it’s so ridiculously straightforward, you’ll wonder why you haven’t been doing this your whole life.
It’s also **idiot-proof**. And I say that with love, because if *I* can make them without setting off the smoke detector, anyone can. We’re talking minimal dishes, maximum flavor, and a scent that will make your entire house smell like a bakery exploded (in the best possible way, of course). Your neighbours will be intensely jealous. Consider yourself warned.
Ingredients You’ll Need
Gather ’round, my fellow lazy gourmands! Here’s your simple shopping list:
- 1 can (or 2, no judgment here) of refrigerated cinnamon roll dough: Yes, we’re cheating, and we’re proud of it. This is our secret weapon for speed and deliciousness. Don’t let anyone tell you otherwise.
- About 10-12 Oreo cookies: The star of our show, obviously. Make sure they’re the classic ones, unless you’re feeling wild and want to experiment with Double Stuffed or Mint. You do you.
- 2 tablespoons unsalted butter, melted: Because everything’s better with butter, duh. This is for the glorious glaze.
- 1 cup powdered sugar: For that sweet, sweet drizzle of perfection.
- 2-3 tablespoons milk (or heavy cream for extra richness): Just a splash to make our glaze dreamy and pourable.
- 1/2 teaspoon vanilla extract (optional, but highly recommended): Adds that little extra “oomph.” Don’t skip it unless you absolutely have to.
Step-by-Step Instructions
- First things first, **preheat your oven** to the temperature specified on your cinnamon roll package. This is not the time for guesswork, folks.
- Now, let’s tackle those Oreos. Place your 10-12 Oreos in a Ziploc bag and **crush them up**. You want a mix of fine crumbs and small chunks for texture. Don’t go full dust-storm; we’re not making cement here.
- Carefully unroll your cinnamon roll dough on a lightly floured surface or a piece of parchment paper. Try to keep it as rectangular as possible.
- Sprinkle that beautiful, crushed Oreo goodness all over the flattened dough, leaving a small border on one of the long edges. Gently press the crumbs into the dough so they stick.
- Starting from the long edge *opposite* the border you left, **tightly roll up the dough** into a log. You want it snug!
- Using a sharp knife (or even dental floss for super clean cuts, if you’re feeling fancy), slice your log into individual rolls, usually about 1-inch thick. Arrange them in a greased baking dish, leaving a little space between each one.
- Bake for 12-15 minutes, or until they’re golden brown and puffy. **Keep an eye on them!** Nobody likes an overbaked, dry cinnamon roll.
- While your rolls are doing their thing, let’s make the glaze! In a small bowl, whisk together the melted butter, powdered sugar, milk (or cream), and vanilla extract (if using) until it’s smooth and luscious. If it’s too thick, add a tiny bit more milk; too thin, add a bit more sugar.
- Once your cinnamon rolls emerge from the oven, still warm and glorious, **drizzle that homemade glaze generously** over the top.
- Let them cool for a few minutes (if you can resist) before digging in. Serve warm and prepare for compliments.
Common Mistakes to Avoid
We all make mistakes, darling. But you, my friend, are about to be armed with knowledge to avoid the rookie blunders:
- **Not preheating the oven:** Seriously, don’t do it. Your rolls will bake unevenly and probably end up sad. Your oven needs to get its act together *before* the rolls go in.
- **Over-crushing the Oreos:** Remember, we want texture! Little bits of Oreo crunch are part of the magic. If it’s all dust, it’ll just disappear into the dough.
- **Overbaking:** This is a big one. Keep an eye on your rolls. They should be golden brown, not dark brown and crispy. Nobody wants a hockey puck.
- **Eating all the Oreos before they make it into the rolls:** This is a struggle, I know. Self-control, people! The reward is worth it.
Alternatives & Substitutions
Feeling adventurous? Or just working with what you’ve got? Here are some ideas:
- Cinnamon Roll Dough: Could you make your own from scratch? Sure, if you’ve got all day and a lot of patience. But **the pre-made stuff is our secret weapon** for convenience here, and honestly, it tastes amazing.
- Oreos: Feel free to experiment with different types of sandwich cookies! Golden Oreos, Mint Oreos, or even other brands of chocolate creme cookies would be delicious. Go wild!
- Butter for Glaze: Technically, you *could* use margarine, but why hurt your soul like that? Stick to butter for the best flavor and texture, IMO.
- Extra Add-ins: Want to level up? Sprinkle some mini chocolate chips along with the Oreos before rolling. Or a drizzle of caramel over the top after the glaze? Yes, please!
FAQ (Frequently Asked Questions)
- Can I use store-bought frosting instead of making my own? Absolutely! The cinnamon rolls usually come with a glaze packet, which works perfectly fine. But trust me, a homemade vanilla glaze is next-level.
- How do I store leftover Oreo stuffed cinnamon rolls? Pop them into an airtight container at room temperature for up to 2-3 days. If they last that long, that is.
- Can I reheat them? Oh, heck yes! A quick 15-20 seconds in the microwave makes them warm and gooey again, almost like fresh out of the oven.
- What if I don’t have vanilla extract? No biggie! Your glaze will still be delicious. The vanilla just adds a little extra depth of flavor.
- Are these healthy? *chuckles* Friend, are you serious? Let’s just say these are good for your soul, not your waistline. Embrace the indulgence!
Final Thoughts
See? I told you it was easy. You just unlocked a new level of deliciousness with minimal effort. You’ve basically just upgraded breakfast/dessert/snack time to legendary status. So go forth and conquer those cravings!
Now go impress someone—or yourself—with your new culinary skills. You’ve earned it! Don’t forget to send me pics (and maybe some leftovers?). Happy baking, chef!


