So, you’ve scrolled through enough food porn on Instagram, and now your stomach is staging a full-on rebellion for something sweet and gooey, right? Been there, done that, bought the stretchy pants. Good news: we’re diving headfirst into the glorious world of homemade yeast cinnamon rolls, and trust me, it’s easier than trying to get a toddler to eat their veggies. Let’s bake some happiness!
Why This Recipe is Awesome
Forget those sad, dry grocery store rolls that taste like regret. We’re aiming for cloud-like perfection here! This recipe is practically fail-proof, meaning even *I* managed it without setting off the smoke detector (this time). It uses yeast, which sounds fancy, but really, it just means you’ll get those super soft, pillowy rolls that melt in your mouth. Plus, the smell alone will make your neighbors suspiciously friendly. You’re not just baking; you’re creating a warm, cozy vibe and becoming a legend in your own kitchen. It’s truly a win-win situation.
Ingredients You’ll Need
Gather your troops, because it’s time to make some magic! Nothing too wild here, just good ol’ staples.
- For the Dough:
- 1 cup warm milk (around 105-115°F/40-46°C – like a warm bath, not a hot tub!)
- 2 ¼ teaspoons active dry yeast (that’s one packet, FYI)
- ¼ cup granulated sugar (for the yeast, they need a snack!)
- 1 egg, room temperature (don’t skip this, it adds richness!)
- ¼ cup unsalted butter, melted (because everything’s better with butter, duh.)
- ½ teaspoon salt
- 3 cups all-purpose flour, plus more for dusting (the backbone of all things doughy and good)
- For the Filling:
- ½ cup unsalted butter, softened (no melted stuff here, we need it spreadable!)
- ½ cup packed light brown sugar (that caramel-y goodness)
- 1 tablespoon ground cinnamon (the star of the show!)
- For the Glaze (because what’s a roll without some drip?):
- 1 cup powdered sugar (also known as confectioners’ sugar)
- 2 tablespoons milk (or heavy cream for extra decadence)
- ¼ teaspoon vanilla extract (adds a little *oomph*)
- 2 tablespoons cream cheese, softened (optional, but highly recommended for next-level glaze!)
Step-by-Step Instructions
- Wake Up the Yeast: In a large bowl, whisk together the warm milk, yeast, and a pinch of the granulated sugar. Let it hang out for about 5-10 minutes. It should get all foamy and bubbly. If not, your yeast is probably dead. Sorry, friend. Start over!
- Mix the Wet Stuff: Add the remaining granulated sugar, egg, melted butter, and salt to the foamy yeast mixture. Give it a good whisk until everything is happy and combined.
- Bring on the Flour: Gradually add the flour, about a cup at a time, mixing with a wooden spoon or a stand mixer with a dough hook until a shaggy dough forms.
- Knead It Out: Turn the dough out onto a lightly floured surface. Knead for 5-7 minutes until it’s smooth and elastic. If using a stand mixer, let it knead for about 3-5 minutes. Don’t over-knead; we’re making rolls, not bricks!
- First Rise (aka Nap Time): Lightly grease a clean bowl with oil. Place the dough in the bowl, turning it once to coat. Cover with plastic wrap or a damp kitchen towel. Let it rise in a warm spot for 1-1.5 hours, or until it’s doubled in size. This is where the magic happens!
- Roll ‘Em Out: Once risen, punch down the dough (satisfying, right?). Turn it out onto a lightly floured surface and roll it into a large rectangle, roughly 12×18 inches. Aim for an even thickness.
- Fill ‘Er Up: In a small bowl, mix the softened butter, brown sugar, and cinnamon until it forms a paste. Spread this glorious mixture evenly over your dough rectangle, leaving about a half-inch border on one of the long edges.
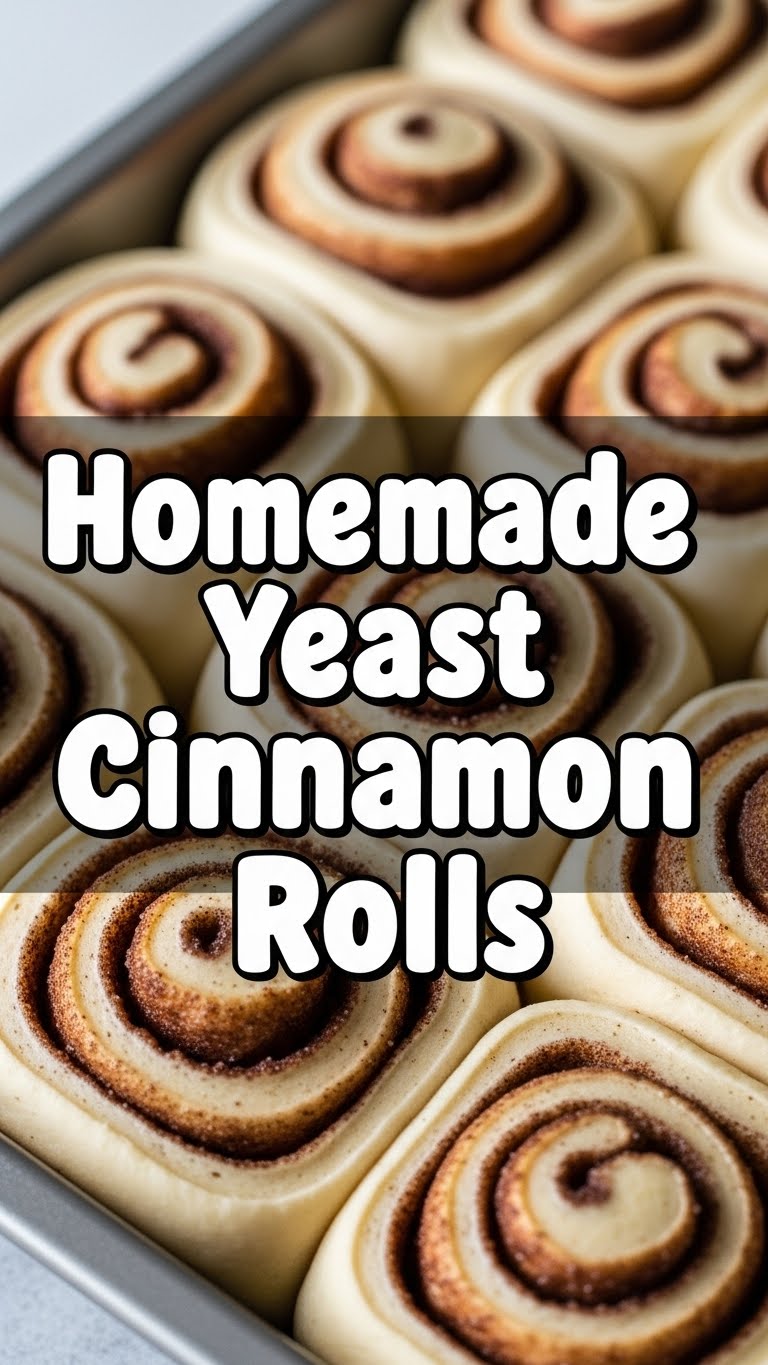
- Roll and Slice: Starting from the long edge opposite your clean border, tightly roll up the dough into a log. Pinch the seam to seal it. Now, with a sharp knife or even unflavored dental floss (seriously, it works!), slice the log into 12 equal rolls, about 1.5 inches thick.
- Second Rise (More Nap Time): Arrange the rolls in a lightly greased 9×13 inch baking pan, leaving a little space between each. Cover again and let them rise for another 30-45 minutes, or until puffy. While they’re rising, preheat your oven to 375°F (190°C).
- Bake ‘Em Pretty: Pop the pan into your preheated oven and bake for 20-25 minutes, or until they’re golden brown and smell absolutely heavenly.
- Whip Up the Glaze: While the rolls are baking, combine all glaze ingredients in a small bowl. Whisk until smooth and creamy. If it’s too thick, add a tiny bit more milk; too thin, add more powdered sugar.
- Glaze and Devour: As soon as the rolls come out of the oven, generously drizzle that amazing glaze over them. Don’t be shy! Serve warm, share (maybe?), and bask in your newfound baking glory.
Common Mistakes to Avoid
Nobody’s perfect, but we can at least avoid these common cinnamon roll blunders:
- Killing the Yeast: Super hot milk is a yeast killer. Aim for lukewarm, like a baby’s bottle. Too cold, and they’ll be sleepy. Too hot, and they’re toast.
- Impatience is Not a Virtue: Don’t rush the rising process. **A proper rise is key** to fluffy rolls. If your kitchen is cold, find a warm spot (like a slightly warmed oven, then turned off).
- Skimping on the Filling: Seriously? Why? The filling is half the fun! Don’t be shy with the butter, brown sugar, and cinnamon.
- Over-flouring: Adding too much flour can make your dough stiff and your rolls tough. Start with the amount listed and add more only if the dough is super sticky.
- Opening the Oven Door: Resist the urge to peek every two minutes. Let those babies bake in peace! Constant temperature changes can affect their rise and texture.
Alternatives & Substitutions
Feeling adventurous, or just missing an ingredient? Here are some ideas:
- Dairy-Free Delight: You can absolutely make these dairy-free! Swap out regular milk for almond, soy, or oat milk, and use a plant-based butter alternative. The texture might vary ever so slightly, but they’ll still be delicious.
- Spice It Up: Not just cinnamon! Feel free to add a pinch of nutmeg, cardamom, or even a tiny bit of ginger to your filling for an extra layer of flavor.
- Nutty Rolls: Sprinkle some finely chopped pecans or walnuts over the cinnamon sugar filling before rolling. Adds a nice crunch!
- Different Glazes: While I’m a cream cheese glaze purist (IMO, it’s the best), you could do a simple vanilla glaze (powdered sugar, milk, vanilla), a maple glaze (add maple syrup instead of some milk), or even just a dusting of powdered sugar if you’re feeling minimalist.
- Chocolate Swirls: Add some mini chocolate chips to the filling for a decadent twist.
FAQ (Frequently Asked Questions)
Got questions? I’ve got (casual) answers!
- Can I use cold milk? You *could*, but your yeast will be sad, and your dough won’t rise as well. Don’t be a monster. Warm milk is their happy place!
- Do I *have* to knead? Yep, a little. Kneading develops the gluten, which gives your rolls that wonderfully chewy, yet soft, texture. Think of it as a mini arm workout.
- My dough isn’t rising, what gives? Probably dead yeast, or your kitchen is colder than a polar bear’s toenails. Check your yeast’s expiration date and ensure your milk was warm enough, but not too hot.
- Can I make them ahead of time? Absolutely! Prep the rolls, place them in the pan, cover tightly with plastic wrap, and pop them in the fridge overnight. In the morning, let them come to room temperature and rise for about an hour before baking. Instant breakfast hero!
- What if I don’t have a stand mixer? No worries! I’ve made these countless times by hand. Just be ready for a slightly more intense arm workout during the kneading phase. It’s therapeutic, I swear.
- Can I use margarine instead of butter? Well, technically yes, but why hurt your soul like that? Butter is king for flavor and texture here. Margarine is a distant, less-delicious cousin.
- How long do they last? Freshly baked, they’re best within 1-2 days at room temperature (covered, obvi). If they last longer than that, you’re a stronger person than I am. You can also freeze baked rolls and reheat them later!
Final Thoughts
So there you have it, your ticket to warm, gooey, homemade bliss. You’ve officially conquered the yeast beast and are now a bona fide cinnamon roll artisan. Go forth and impress someone—or just yourself, because let’s be real, you earned every single delicious bite. Happy baking, my friend!


