So, you just scrolled past another perfect-looking food photo on Instagram and thought, “Yeah, no way I’m making that.” But then a little voice whispered, “Cinnamon Rolls…” and here we are. Don’t worry, friend, you’ve landed in the right place. We’re about to embark on a sweet, sticky adventure that’ll make your kitchen smell like a dream and your taste buds do a happy dance. No fuss, just pure, unadulterated cinnamon-y joy!
Why This Recipe is Awesome
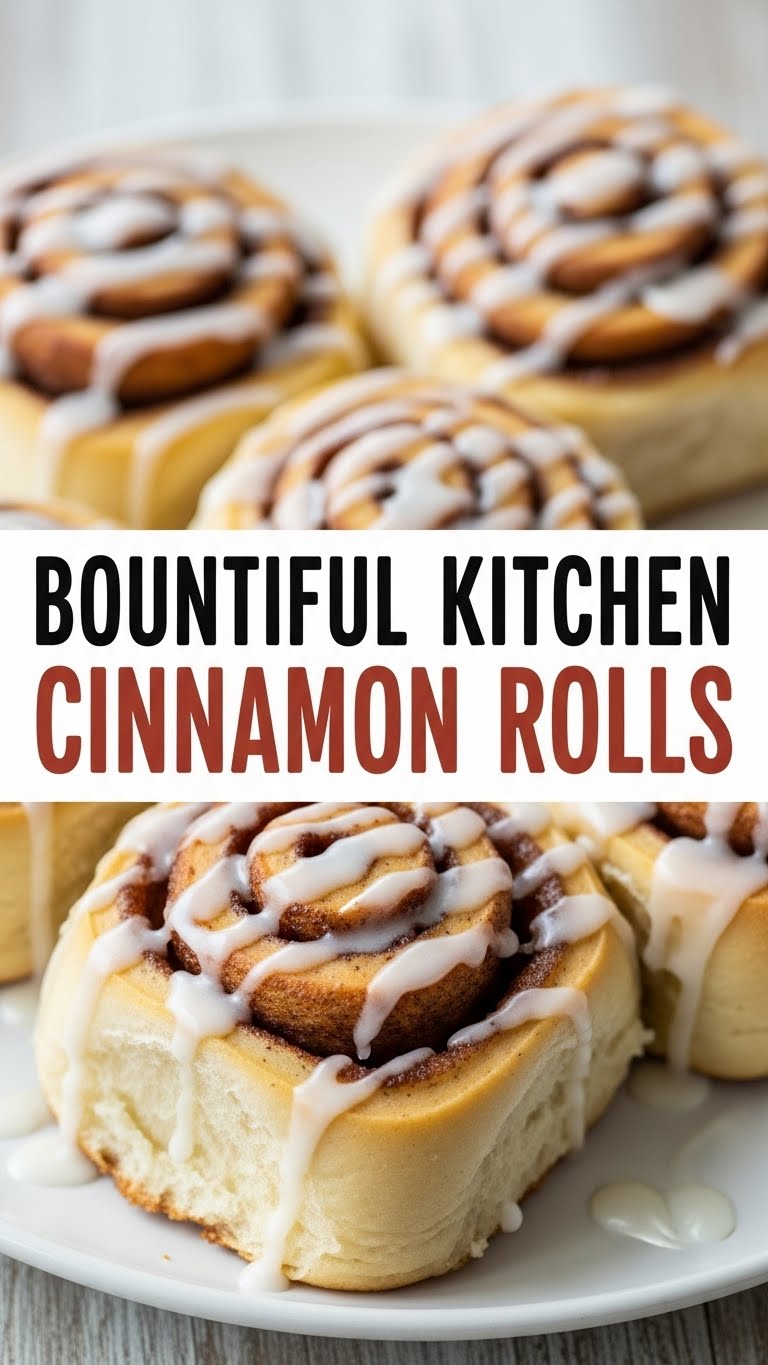
Let’s be real, life’s too short for complicated recipes that require a chemistry degree. This Bountiful Kitchen Cinnamon Roll recipe? It’s your secret weapon for looking effortlessly amazing without breaking a sweat. Seriously, it’s pretty idiot-proof—even I didn’t mess it up! It strikes that perfect balance of fluffy, gooey, and utterly delicious. Plus, the smell alone is worth the minimal effort. Think of it as therapy, but with sugar and butter.
It’s also super forgiving. Made a tiny mistake? Chances are, these rolls will still come out tasting heavenly. It’s almost like they *want* you to succeed. **This recipe is basically a warm hug in baked form**, designed to make you feel like a culinary genius, even if your usual go-to is instant ramen.
Ingredients You’ll Need
Alright, gather your troops! These are the heroes of our sticky-sweet saga. Don’t worry, nothing too fancy here.
For the Dough:
- 1 cup warm milk (about 105-115°F – think bathwater, not boiling lava)
- 2 ¼ teaspoons active dry yeast (one packet usually does the trick)
- ¼ cup granulated sugar (for the yeast, and a bit for sweetness)
- ¼ cup unsalted butter, melted (the good stuff, don’t skimp!)
- 1 large egg (room temp is best, if you remember)
- 3 cups all-purpose flour (and maybe a little extra for dusting)
- ½ teaspoon salt (the unsung hero that balances everything)
For the Filling:
- ½ cup unsalted butter, softened (leave it out for an hour, or be impatient like me and microwave it carefully)
- ¾ cup packed light brown sugar (that deep, molasses-y goodness)
- 2 tablespoons ground cinnamon (the star of the show! Don’t be shy)
For the Cream Cheese Frosting:
- 4 oz cream cheese, softened (half a block, friends)
- ¼ cup unsalted butter, softened (yep, more butter!)
- 2 cups powdered sugar (sifted if you’re feeling fancy, but not strictly necessary)
- ½ teaspoon vanilla extract (a warm hug in a bottle)
- Pinch of salt (to keep it from being *too* sweet, trust me)
Step-by-Step Instructions
Deep breaths, you got this! We’re breaking it down so it’s impossible to mess up.
- Activate the Yeast Gods: In a large bowl, whisk together the warm milk, yeast, and a tablespoon of the granulated sugar. Let it sit for about 5-10 minutes until it gets foamy. That foam means your yeast is alive and ready to party! If it doesn’t foam, your yeast might be dead (RIP) or your milk was too hot/cold. Start over.
- Wet Ingredients Unite: Stir in the melted butter, egg, and the remaining granulated sugar into your bubbly yeast mixture. Give it a good whisk until everything is happy and combined.
- Bring in the Dry: Gradually add the flour and salt to the wet ingredients. Mix with a wooden spoon or your hands until a shaggy dough forms. Turn it out onto a lightly floured surface and knead for about 5-7 minutes until it’s smooth and elastic. It should spring back when you poke it.
- First Rise (Patience, Young Padawan): Lightly grease your bowl (the one you just used works!). Place the dough in the bowl, turning it once to coat. Cover with plastic wrap or a clean kitchen towel. Let it rise in a warm place for 1-1.5 hours, or until it has doubled in size. This is where the magic happens!
- Prep for Rolling: Once risen, gently punch down the dough to release the air. Transfer it to a lightly floured surface. Roll it out into a large rectangle, roughly 12×18 inches. Don’t stress too much about perfection; it’s rustic chic, right?
- Filling Frenzy: In a small bowl, cream together the softened butter, brown sugar, and cinnamon for the filling. Spread this glorious mixture evenly over your dough rectangle, leaving about a ½-inch border on one of the long edges.
- Roll ‘Em Up: Starting from the long edge *opposite* your empty border, tightly roll up the dough into a log. The tighter, the better for nice, swirly rolls!
- Slice and Dice: Now for the fun part! Use a sharp knife or, my personal favorite, plain dental floss to cut the log into 12-15 rolls, about 1 ½ inches thick. If using floss, slide it under the log, cross the ends over the top, and pull to cut. **This is a game-changer!**
- Second Rise (Almost There!): Arrange the rolls in a lightly greased 9×13 inch baking pan. Cover them again and let them rise in a warm spot for another 30-45 minutes, or until they look puffy and cozy.
- Bake ‘Em Babies: While they’re puffing, preheat your oven to 375°F (190°C). Once risen, pop the pan into the preheated oven and bake for 20-25 minutes, or until they’re golden brown and irresistible.
- Frosting Fantastic: While the rolls are baking (or cooling slightly), make your frosting! In a medium bowl, beat together the softened cream cheese and butter until smooth. Add the powdered sugar, vanilla extract, and pinch of salt. Beat until light and fluffy.
- Devour: As soon as the rolls come out of the oven, spread that amazing cream cheese frosting generously over them. The warmth of the rolls will melt the frosting just a little, creating pure bliss. Try not to eat the whole pan, though I won’t judge if you do!
Common Mistakes to Avoid
Nobody’s perfect, but we can avoid some rookie errors. Learn from my past kitchen mishaps!
- Using Cold Milk for Yeast: Yeast needs a warm, cozy environment to activate. Cold milk will make it sluggish, and hot milk will kill it. **Aim for lukewarm!**
- Over-Kneading or Under-Kneading: Over-kneading can lead to tough, dense rolls. Under-kneading means your rolls won’t be as fluffy. Just knead until smooth and elastic, not like you’re trying to win a wrestling match.
- Forgetting to Preheat the Oven: This is a big one! A cold oven means your rolls won’t rise properly and will take forever to bake, resulting in dry, sad rolls. **Always preheat!**
- Slicing with a Dull Knife: A dull knife will squish your beautifully rolled dough, making misshapen rolls. **Seriously, use dental floss or a super sharp, un-serrated knife.**
- Overbaking: Dry rolls are a culinary crime! Keep an eye on them. They should be golden brown, not dark brown. **When in doubt, pull them out a minute early.** They’ll continue to cook slightly from residual heat.
Alternatives & Substitutions
Feeling adventurous? Or just out of an ingredient? Here are some simple tweaks:
- Dairy-Free? No Problem! Swap the milk for a plant-based alternative like almond or oat milk, and use dairy-free butter for both the dough and filling. For the frosting, look for dairy-free cream cheese and butter.
- “Healthier” Twist? You *could* substitute up to half of the all-purpose flour with whole wheat flour. But, IMO, stick to white flour for maximum fluffiness. You’re making cinnamon rolls, not a health tonic!
- Extra Fillings: Want to jazz it up? Add chopped pecans or walnuts to the filling for some crunch. Or, if you’re a fan, sprinkle in some raisins (I won’t tell anyone). A little orange zest in the filling or frosting gives a lovely bright note!
- No Cream Cheese Frosting? A simple powdered sugar glaze (powdered sugar + a splash of milk/vanilla until pourable) works in a pinch, but **cream cheese frosting is truly supreme**. Don’t @ me.
FAQ (Frequently Asked Questions)
Got questions? I’ve got answers (and probably a sarcastic comment or two).
- Can I make these ahead of time? Absolutely! After you place the sliced rolls in the pan for their second rise, cover them tightly and stick them in the fridge overnight (up to 12 hours). In the morning, pull them out and let them come to room temperature for about 30-60 minutes before baking. Voila, fresh rolls for breakfast!
- My yeast didn’t bubble, what gives? Most likely your milk was too hot (killed the yeast) or too cold (put it to sleep). Or your yeast is old. **FYI, yeast generally expires.** Time to buy a fresh packet!
- How do I store leftover cinnamon rolls? If there *are* leftovers (highly unlikely, but I’ll play along), store them in an airtight container at room temperature for a day, or in the fridge for up to 3 days. Reheat gently in the microwave or oven.
- Can I freeze these? Yes! You can freeze baked rolls (unfrosted) in an airtight container for up to 1 month. Thaw and warm, then frost. You can also freeze unbaked rolls after the second rise. Place them in the pan, cover tightly, and freeze. When ready to bake, thaw in the fridge overnight and let rise at room temp before baking.
- What if I don’t have dental floss for slicing? While dental floss is the undisputed champion for clean cuts, a very sharp, un-serrated knife will also work. Just try to slice cleanly in one motion without sawing.
- Why are my rolls dry? This usually happens from overbaking or not having enough butter/filling. **Make sure your oven temperature is accurate** and don’t bake them until they’re super dark.
Final Thoughts
And there you have it! Your ticket to cinnamon roll glory. Seriously, these Bountiful Kitchen Cinnamon Rolls are going to make you feel like a rockstar baker, even if you just rolled out of bed. Now go forth and conquer your kitchen, impress your friends (or just your stomach), and remember: calories don’t count when they’re homemade with love. You’re basically a professional baker now. **You’ve earned that warm, gooey hug!** Happy baking, my friend!


