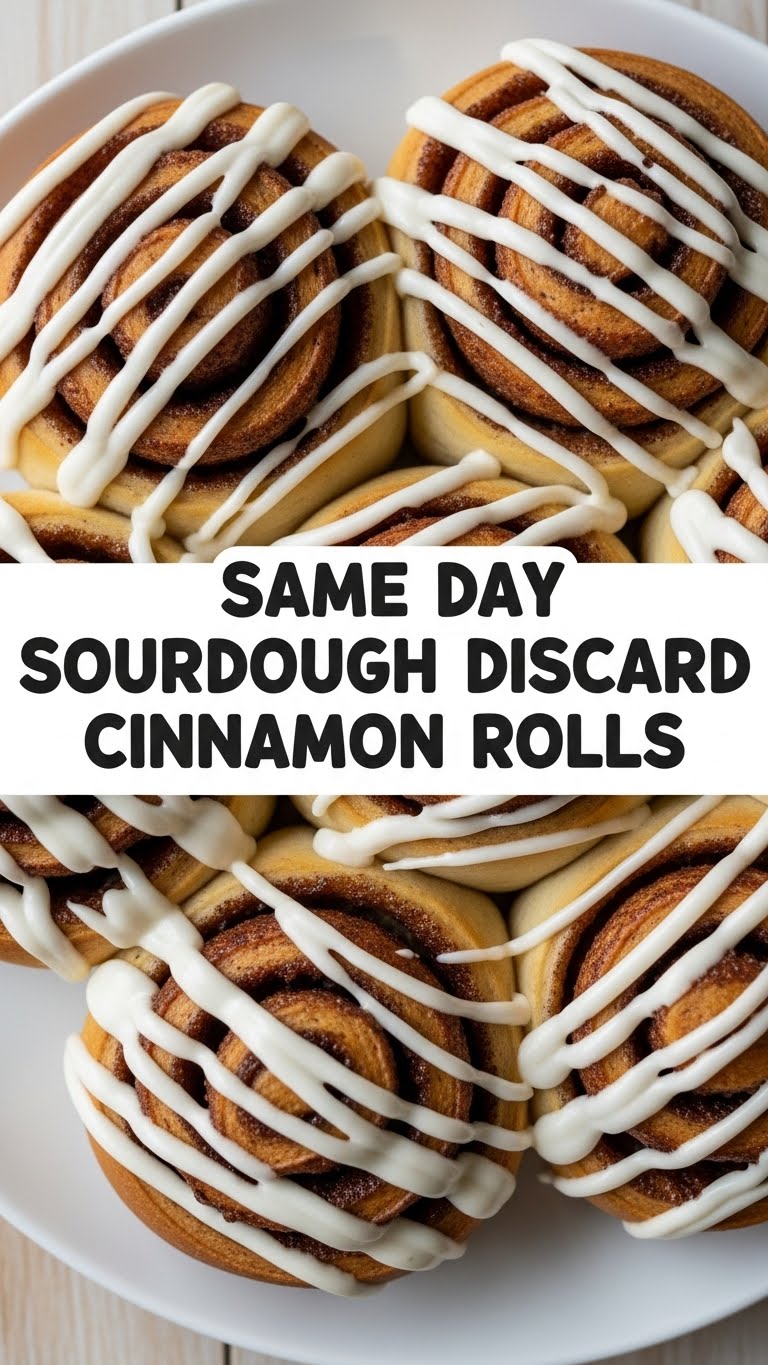
So, you’ve got that sourdough discard staring at you from the fridge, judging you, daring you to *finally* use it. And then, BOOM, a wild craving for warm, gooey cinnamon rolls appears. But you’re also, let’s be real, a little lazy and don’t want an all-day, overnight, “my-kitchen-is-now-a-bakery” kind of project. My friend, you and I are kindred spirits, and I’ve got your back. Get ready for some same-day, ridiculously delicious, sourdough discard cinnamon roll magic!
Why This Recipe is Awesome
Because who needs patience when you have cravings, right? This recipe is basically a hug in a pan, and it delivers on demand. Here’s the lowdown:
- No Overnight Proofing: Yep, you read that correctly. Forget planning days in advance. These beauties are ready for your face on the same day you start them. Revolutionary, I know.
- Uses That Sourdough Discard: Finally, a purpose for that bubbly roommate beyond feeling guilty! It adds a subtle tang and an amazing texture without making the rolls taste overtly “sourdoughy.” It’s like a secret flavor weapon.
- Idiot-Proof (Mostly): Look, if I can do it without a major kitchen fire, you totally can. The steps are straightforward, and the dough is pretty forgiving. Just follow the instructions, you rebel.
- Instant Gratification: From “Hmm, cinnamon rolls?” to “OMG, warm cinnamon rolls in my mouth” in just a few hours. That’s a win in my book.
Ingredients You’ll Need
Gather your troops, fellow baker! Most of these are probably already lurking in your pantry.
For the Dough:
- 1 cup warm milk: Not hot, not cold. Think warm bath water for your yeast.
- 1/2 cup sourdough discard: Doesn’t need to be active; this recipe uses it for flavor and moisture, not leavening.
- 1/4 cup granulated sugar: The sweet stuff that keeps everyone happy.
- 2 and 1/4 teaspoons active dry yeast: That’s one standard packet. The real hero of our “same day” dream.
- 1/2 teaspoon salt: For balance, baby. Don’t skip it!
- 1/4 cup melted unsalted butter: Because butter makes everything better.
- 3 to 3 and 1/2 cups all-purpose flour: Your trusty sidekick. Start with 3, add more if needed.
For the Filling:
- 1/2 cup unsalted butter: Softened, but not melted. You want it spreadable.
- 1 cup packed light brown sugar: The gooey magic maker.
- 2 tablespoons ground cinnamon: Don’t skimp on the spice!
For the Cream Cheese Frosting (the best part, IMO):
- 4 ounces cream cheese: Softened. The tangy yin to the sweet rolls’ yang.
- 1/4 cup unsalted butter: Softened. More butter, because why not?
- 2 cups powdered sugar: Sifted, if you’re fancy, otherwise just wing it.
- 1 teaspoon vanilla extract: Pure vanilla, please. It makes a difference.
- 1-2 tablespoons milk or cream: To get that perfect drizzly consistency.
Step-by-Step Instructions
Alright, apron on, let’s get doughy!
Get the Dough Rolling: In a large bowl (or stand mixer bowl), combine the warm milk, sourdough discard, granulated sugar, and yeast. Give it a gentle whisk and let it sit for about 5-10 minutes. You should see it get a little foamy – that means your yeast is alive and ready to party!
Mix It Up: Add the salt, melted butter, and 2 cups of the flour to the yeast mixture. Mix with a spoon or your stand mixer with a dough hook until just combined. Gradually add the remaining flour, about half a cup at a time, until the dough comes together and is still a bit sticky but manageable. You want a soft, slightly tacky dough, not a stiff one.
Knead and Rise (the quick one): Lightly flour your work surface and knead the dough for about 5-7 minutes. It should become smooth and elastic. If using a stand mixer, let it knead for about 5 minutes. Form the dough into a ball, place it in a lightly oiled bowl, cover it with plastic wrap or a damp towel, and let it rise in a warm spot for 45-60 minutes, or until roughly doubled in size. This is your quick proof, so don’t stress if it’s not perfectly doubled.
Prep for Filling: While your dough is rising, mix the brown sugar and cinnamon for the filling in a small bowl. Lightly grease a 9×13 inch baking pan (or a similar size). Get your softened butter ready.
Roll It Out: Once the dough has risen, punch it down gently to release the air. Turn it out onto a lightly floured surface. Roll it into a large rectangle, about 12×18 inches and 1/4 inch thick. Don’t make it too thin!
Fill ‘Er Up: Spread the softened butter evenly over the entire surface of the dough rectangle, leaving a small border (about 1/2 inch) on one of the long edges. Sprinkle the brown sugar and cinnamon mixture evenly over the butter.
Roll and Slice: Starting from one of the long edges (the one *without* the butter-free border), carefully roll the dough into a tight log. Once rolled, use a sharp knife or unflavored dental floss to slice the log into 12 equal pieces (about 1.5 inches thick). Dental floss makes super clean cuts, FYI!
Second Rise and Preheat: Arrange the sliced rolls in your prepared baking pan, leaving a little space between each. Cover the pan loosely with plastic wrap or a damp towel and let them rise in a warm spot for another 30-45 minutes, or until visibly puffy. Towards the end of this rise, preheat your oven to 375°F (190°C).
Bake ‘Em: Pop the pan into the preheated oven and bake for 20-25 minutes, or until the rolls are golden brown on top and cooked through. If they start browning too quickly, you can loosely tent them with foil.
Frosting Frenzy: While the rolls are baking, make the frosting! In a medium bowl, beat the softened cream cheese and butter together until smooth. Gradually add the powdered sugar, mixing until well combined. Stir in the vanilla extract. Add milk or cream one tablespoon at a time until you reach your desired consistency – creamy and spreadable, but not too runny.
Drench and Devour: Once the rolls come out of the oven, let them cool in the pan for about 5-10 minutes. Then, spread that glorious cream cheese frosting generously over the warm rolls. Don’t wait too long, because warm rolls absorb frosting like a dream! Serve immediately and watch them disappear.
Common Mistakes to Avoid
Nobody’s perfect, but we can learn from past blunders. Save yourself the heartache (and the sad, dry rolls).
- Water/Milk Temperature Tantrums: Too hot and you kill the yeast. Too cold and it won’t activate. Aim for around 105-115°F (40-46°C). If you don’t have a thermometer, think “comfortably warm to the touch.”
- Over-Flouring: Resist the urge to add all the flour just because the dough is sticky. A slightly sticky dough makes for soft, fluffy rolls. Too much flour means tough, dry rolls. Trust the process!
- Skipping the Second Rise: Yeah, it’s tempting. But that second rise is crucial for light, airy rolls. Think of it as their final stretching session before their big performance.
- Under-Baking: A pale roll is an uncooked roll. You want that lovely golden-brown top. Trust your eyes (and maybe a toothpick in the center if you’re feeling extra cautious – though for rolls, color is usually a good indicator).
- Using Cold Butter for Filling: Trying to spread hard butter is a battle you won’t win gracefully. Softened butter (not melted!) ensures an even layer.
Alternatives & Substitutions
Feeling creative? Or maybe you just ran out of something. No worries, we’ve got options!
- Milk: Any dairy milk (whole, 2%, skim) works great. For non-dairy, almond, soy, or oat milk can be substituted. Just make sure it’s warm!
- Butter: For the dough and filling, vegan butter sticks (like Miyoko’s Kitchen or Earth Balance) can be used. For the frosting, if you’re skipping cream cheese, you could use a simple glaze (powdered sugar + milk + vanilla).
- Cream Cheese Frosting: If cream cheese isn’t your jam, or you’re out, a simple powdered sugar glaze (powdered sugar + a splash of milk/water/lemon juice + vanilla) is always a classic choice.
- Spice It Up: Add a pinch of nutmeg or cardamom to the filling for extra warmth.
- Mix-Ins: Feel free to add a handful of chopped pecans, walnuts, or even raisins to the filling mixture before rolling. Orange zest in the frosting is also divine!
FAQ (Frequently Asked Questions)
- My sourdough discard isn’t active. Is that okay? Absolutely! For this recipe, the discard is mainly for flavor and moisture, not for leavening. The active dry yeast is doing all the heavy lifting to make these rolls rise. So go ahead, use that sleepy discard!
- Can I make these ahead of time? You sure can! You have a couple of options:
- Option 1 (Dough): After the first rise, punch down the dough, form it into a ball, and place it in an oiled bowl in the fridge for up to 24 hours. When ready, let it come to room temp for about an hour before rolling and continuing with step 5.
- Option 2 (Assembled Rolls): After placing the sliced rolls in the pan (Step 8), cover tightly with plastic wrap and refrigerate overnight. In the morning, pull them out and let them come to room temperature and get puffy (about 1-2 hours) before baking.
- What if I don’t have active dry yeast? Can I use instant yeast? Yep! Instant yeast can be mixed directly with the dry ingredients. You might find the rise times are a tiny bit faster, but for this recipe, you can usually follow the same timeframes.
- My rolls didn’t rise. What went wrong? Oh no! The usual culprits are: 1) Your milk was too hot and killed the yeast. 2) Your yeast was old and expired. 3) Your kitchen was too cold for rising. Make sure your ingredients are fresh and your environment is cozy!
- Can I freeze these? Yes! Bake the rolls, let them cool completely, then freeze them (unfrosted) in an airtight container for up to 1-2 months. Thaw, then warm in the oven and frost. You can also freeze individual unfrosted rolls.
- Can I make them less sweet? You can absolutely tweak the sugar! Reduce the sugar in the dough by half, cut the brown sugar in the filling by a quarter, and/or thin out the frosting a bit more with milk. Experiment to find your perfect sweetness level.
Final Thoughts
So there you have it, folks! Same-day sourdough discard cinnamon rolls that are so good, you’ll wonder why you ever let that discard sit there feeling lonely. Go forth and conquer that cinnamon roll craving, you kitchen wizard! You’ve officially leveled up your baking game. Now go impress someone – or just yourself – with your new culinary skills. You’ve earned it!


