So you’ve woken up with that *specific* craving, the one that screams “warm, gooey, cinnamon-spiced hug in a roll,” but the thought of a complicated recipe makes you want to crawl back under the covers? Been there, done that, got the crumb-stained T-shirt. Good news, my friend: we’re making legendary cinnamon rolls by hand, and it’s easier than trying to remember your Netflix password.
Why This Recipe is Awesome
Okay, let’s be real. There are a million cinnamon roll recipes out there. So why *this* one? Because it’s practically magic! No stand mixer required (your biceps will thank you, or hate you, but mostly thank you). It’s **beginner-friendly**, meaning even if your culinary experience is limited to making toast, you can absolutely nail these. Plus, the smell alone will make your neighbors intensely jealous. It’s truly *that* good. And honestly, the satisfaction of making something this delicious from scratch? Priceless. Or at least, worth the flour dusting your entire kitchen.
Ingredients You’ll Need
For the Dough:
- Warm Milk (1 cup): Not hot, not cold, just a nice bath temperature for yeast. Don’t go scalding your yeast; it’s delicate!
- Active Dry Yeast (2 ¼ teaspoons or 1 packet): The magic poof-maker. Make sure it’s fresh, otherwise, you’re just making sad, flat bread.
- Granulated Sugar (¼ cup + 2 tablespoons): For the dough. Sweetness, obviously.
- Large Egg (1): Room temp, please! It helps with a soft, rich dough.
- Unsalted Butter (¼ cup or ½ stick): Melted and slightly cooled. Adds richness and a lovely texture.
- All-Purpose Flour (3 cups, plus more for dusting): The main event! Don’t use bread flour, unless you like your rolls extra chewy (some people do, but we’re going for fluffy here).
- Salt (½ teaspoon): Balances all that sweetness. Don’t skip it!
For the Filling:
- Unsalted Butter (½ cup or 1 stick): Softened, not melted. This is what holds all the deliciousness together.
- Brown Sugar (¾ cup): Packed, because more sugar equals more happiness.
- Ground Cinnamon (2 tablespoons): The star of the show! Don’t be shy.
For the Cream Cheese Frosting (the best part, IMO):
- Cream Cheese (4 oz): Softened. Full-fat, because we’re not messing around.
- Unsalted Butter (2 tablespoons): Softened. More butter, naturally.
- Powdered Sugar (1 ½ cups): Sifted, if you’re fancy and want to avoid lumps.
- Vanilla Extract (½ teaspoon): A little splash for warmth.
- Milk or Cream (1-2 tablespoons): To get that perfect drizzly consistency.
Step-by-Step Instructions
- Activate Your Yeast (Dough Prep, Part 1): Grab a large bowl. Pour in your warm milk, then sprinkle in ¼ cup of the granulated sugar and the yeast. Give it a gentle stir. Let it hang out for 5-10 minutes. It should get foamy – that means your yeast is alive and ready to party! If not, your yeast is dead, and you need to start over. Sorry, not sorry.
- Mix the Dough (Dough Prep, Part 2): To your foamy yeast mixture, add the remaining 2 tablespoons of sugar, the room temperature egg, melted butter, and salt. Stir it all together. Gradually add the flour, about a cup at a time, mixing with a wooden spoon or a spatula until a shaggy dough forms.
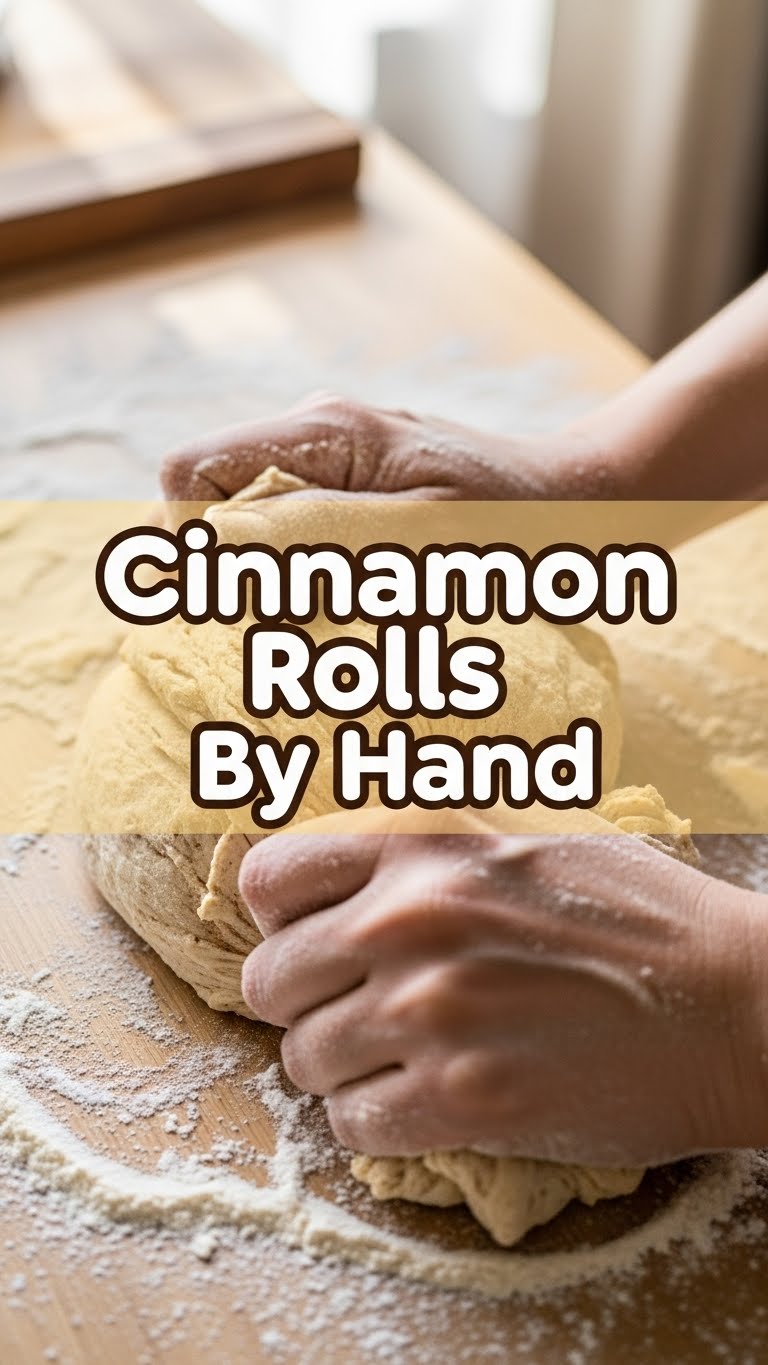
- Knead the Dough (Get Those Muscles Working!): Turn the dough out onto a lightly floured surface. Knead it by hand for 5-7 minutes. You want it smooth and elastic. It might feel sticky at first, but resist adding too much extra flour. **The less flour you add, the softer your rolls will be!**
- First Rise (Patience, Young Grasshopper): Lightly grease your large bowl (or a clean one). Place the dough in the bowl, turning it once to coat. Cover the bowl with plastic wrap or a clean kitchen towel. Let it rise in a warm, draft-free spot for 1-1.5 hours, or until it’s doubled in size. This is where the magic happens!
- Make the Filling: While your dough is rising, grab another bowl. Cream together the softened butter, brown sugar, and cinnamon until it’s light and fluffy. Set aside.
- Roll and Spread (The Fun Part!): Once your dough has doubled, gently punch it down to release the air. Turn it out onto a lightly floured surface. Using a rolling pin, roll the dough into a large rectangle, roughly 12×18 inches. Now, evenly spread your cinnamon-sugar filling all the way to the edges.
- Roll ‘Em Up! Starting from one of the longer sides, tightly roll the dough into a log. The tighter you roll, the prettier your spirals will be. Pinch the seam closed.
- Slice and Place: Using a sharp knife or, even better, unflavored dental floss (seriously, it gives the cleanest cuts!), slice the log into 12 equal rolls, about 1 ½ inches thick. Arrange them in a lightly greased 9×13 inch baking dish.
- Second Rise (Almost There!): Cover the baking dish with plastic wrap or a clean towel. Let the rolls rise in a warm spot for another 30-45 minutes, or until they look puffy and snug against each other. Meanwhile, preheat your oven to 375°F (190°C).
- Bake ‘Em! Pop the rolls into your preheated oven. Bake for 20-25 minutes, or until they’re golden brown and baked through. Don’t overbake, or they’ll be dry.
- Whip Up the Frosting: While the rolls are baking (or cooling slightly), combine the softened cream cheese and butter in a medium bowl. Beat until smooth. Gradually add the powdered sugar, mixing until creamy. Stir in the vanilla extract. If it’s too thick, add milk or cream a tablespoon at a time until you get your desired consistency.
- Frost and Devour! As soon as the rolls come out of the oven, or after they’ve cooled for about 10 minutes (warm rolls melt the frosting beautifully!), generously spread that glorious cream cheese frosting over them. Serve warm and watch them disappear!
Common Mistakes to Avoid
- Hot Milk, Dead Yeast: Remember the “bath temperature” rule? If your milk is too hot, you’ll kill the yeast, and your dough won’t rise. Total bummer.
- Too Much Flour During Kneading: You’ll end up with tough, dense rolls. A little stickiness is okay; you want a soft dough. **Resist the urge to dump in more flour!**
- Not Letting Them Rise Enough: Patience is a virtue here. If your dough doesn’t double, your rolls won’t be light and fluffy. Don’t rush it!
- Overbaking: Dry cinnamon rolls are a tragedy. Keep an eye on them. They should be golden, not deep brown.
- Skipping the Salt: Seems small, but salt is crucial for flavor balance. Your rolls will taste flat without it.
- Not Preheating the Oven: Rookie mistake! Your rolls need a hot oven to get that initial “spring” and cook evenly.
Alternatives & Substitutions
- Butter Blues? For the dough and filling, real butter is king, IMO. But if you *really* must, you could use margarine in the dough and frosting, but the flavor won’t be quite as rich. For the filling, stick to butter for the best texture.
- Dairy-Free Dilemma? You can absolutely swap out cow’s milk for almond milk or oat milk. Just make sure it’s unsweetened. For butter, use a good quality dairy-free butter substitute. And for cream cheese, many brands now offer dairy-free versions for the frosting!
- Nutty Twist: Want extra crunch? Sprinkle some chopped pecans or walnuts over the cinnamon filling before rolling. Trust me, it’s a game-changer.
- Spice It Up: Add a pinch of nutmeg or cardamom to your cinnamon filling for an extra layer of warmth and complexity. So good!
FAQ (Frequently Asked Questions)
- My dough isn’t rising! What did I do wrong? Hmm, did you check your yeast’s expiration date? Was your milk too hot (killing the yeast) or too cold (not activating it)? Give your yeast a warm, cozy environment. If it’s not foamy in 10 minutes, try again with fresh yeast.
- Can I make these ahead of time? Absolutely! You have a couple of options. You can prepare the rolls up to step 9 (after placing them in the baking dish) and then cover and refrigerate overnight. Take them out about an hour before baking to let them come to room temperature and get their final puff. Or, bake them, let them cool, and freeze for later!
- What if I don’t have a 9×13 dish? No worries! A 9-inch round cake pan or even an 8×8 square dish will work; you might just have fewer, bigger rolls, or need to arrange them a bit differently. Just make sure they’re snug.
- Can I use bread flour? You *can*, but your rolls will be chewier. All-purpose flour gives that classic soft, pillowy texture we’re aiming for.
- My frosting is too thin/thick. Help! Easy fix! Too thin? Add more powdered sugar, a tablespoon at a time, until it thickens. Too thick? Add a tiny splash more milk or cream until it loosens up. You’re the boss of that frosting!
- Should I eat them warm or cold? Warm, right out of the oven with melting frosting, is pure heaven. But honestly, they’re pretty darn good cold for breakfast the next day too. Just pop ’em in the microwave for 15-20 seconds for a quick refresh!
Final Thoughts
Phew! You made it. You’ve just conquered the art of making cinnamon rolls by hand. Give yourself a high-five, because that’s no small feat. This isn’t just about a recipe; it’s about creating warmth, comfort, and pure deliciousness. Now go impress someone—or yourself—with your new culinary skills. You’ve earned every single glorious bite. Enjoy, you superstar!


