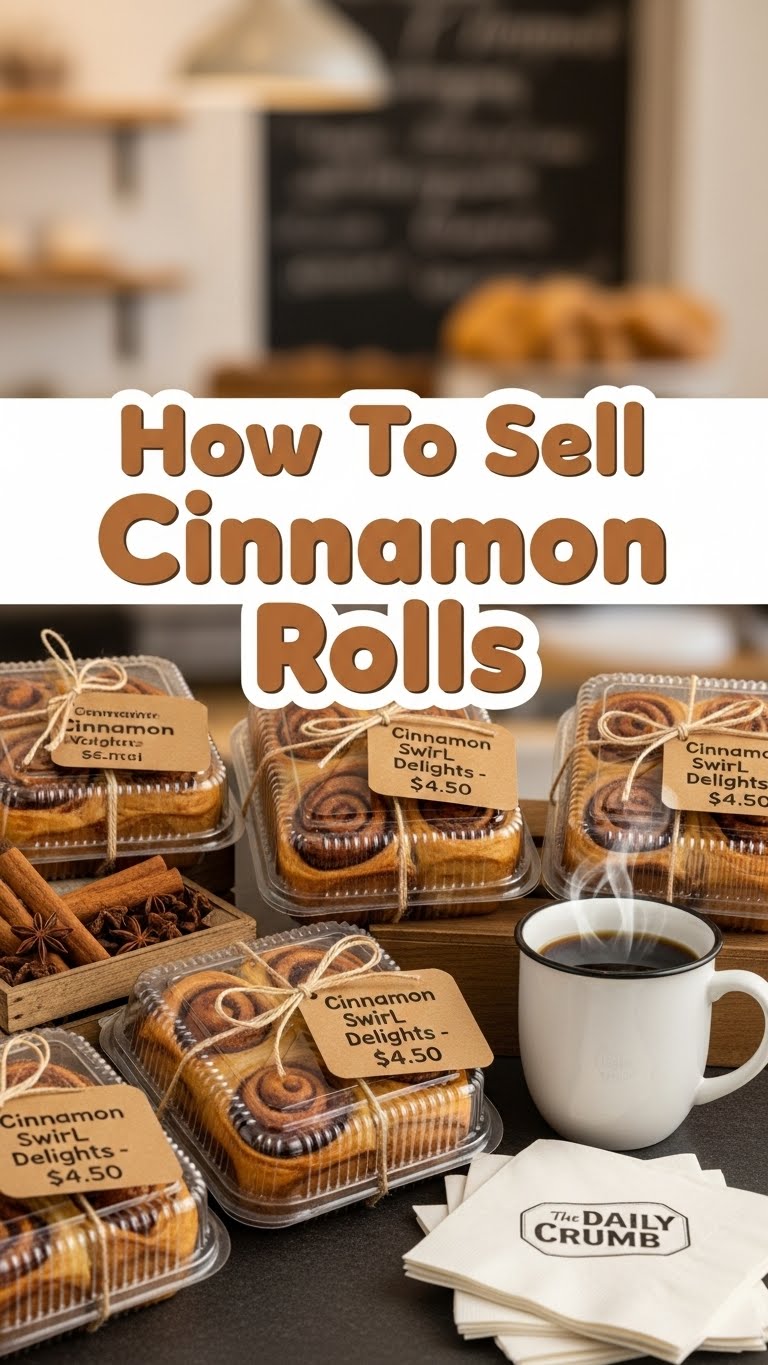
So, you wanna master the art of cinnamon rolls so utterly delicious you could practically *sell* them, huh? Or at least convince your friends you’re a baking genius? Same. Get ready to ditch those sad, store-bought tubes because we’re about to make some magic that’ll have everyone begging for your secret. And honestly, it’s so easy, you’ll wonder why you ever bothered with anything else.
Why This Recipe is Awesome
Okay, first off, this isn’t one of those fussy, ‘knead for an hour’ recipes. No, siree! This is the kind of recipe that makes you look like a pro without breaking a sweat (or your back). It’s beginner-friendly, practically idiot-proof (trust me, I’ve tested it), and the results are consistently *chef’s kiss* perfect. Think fluffy, tender rolls swimming in buttery cinnamon goodness, topped with a cream cheese frosting so good it should be illegal. Plus, your kitchen will smell like a dream, and that’s a win-win, IMO.
Ingredients You’ll Need
- For the Dough (the foundation of your delicious empire):
- 1 cup Warm Milk: Not hot, not cold. Think spa-bath warm for your yeast.
- 2 ¼ teaspoons Active Dry Yeast: The little guys who do all the heavy lifting. Don’t skip ’em!
- ¼ cup Granulated Sugar: For feeding the yeast and a touch of sweetness.
- ¼ cup Melted Unsalted Butter: Because everything is better with butter.
- 1 Large Egg: Room temp, if you’re fancy, but straight from the fridge works too, don’t sweat it.
- 3 cups All-Purpose Flour: The backbone.
- ½ teaspoon Salt: Balances the sweetness, trust the process.
- For the Filling (the heart and soul):
- ½ cup Unsalted Butter, softened: Gotta spread that goodness.
- ½ cup Brown Sugar, packed: Deep, caramel-y sweetness.
- 1 tablespoon Ground Cinnamon: The star of the show. Don’t be shy!
- For the Cream Cheese Frosting (the crown jewel):
- 4 ounces Cream Cheese, softened: Full-fat, please. We’re not health fanatics today.
- ¼ cup Unsalted Butter, softened: More butter, more joy.
- 2 cups Powdered Sugar: For that smooth, sweet finish.
- 1 teaspoon Vanilla Extract: A splash of pure happiness.
- 1-2 tablespoons Milk (or heavy cream): Just a tiny bit to get that perfect drizzle consistency.
Step-by-Step Instructions
- Activate Your Yeast: Grab a large bowl. Pour in the warm milk and sprinkle the yeast and a pinch of sugar over it. Give it a gentle stir and let it chill for about 5-10 minutes until it looks foamy and alive. If it doesn’t foam, your yeast is probably dead, or your milk was too hot/cold. Start over, champ!
- Mix the Wet Stuff: To your foamy yeast mix, add the remaining sugar, melted butter, and egg. Whisk it all together until well combined. You’re creating a liquid gold base here.
- Add the Dry Stuff: Gradually mix in the flour and salt with a wooden spoon or a stand mixer with a dough hook. Mix until a shaggy dough forms. Then, knead for about 5-7 minutes until the dough is smooth and elastic. It should be slightly sticky, but not a total mess.
- Rise and Shine: Lightly grease a clean bowl, place your dough in it, and turn it once to coat. Cover the bowl with plastic wrap or a clean kitchen towel. Let it rise in a warm place for 1-1.5 hours, or until it’s doubled in size. This is where the magic happens!
- Roll it Out: Once risen, gently punch down the dough (satisfying, right?). Turn it out onto a lightly floured surface and roll it into a large rectangle, roughly 12×18 inches. Try to keep the thickness even.
- Spread the Love (and Filling): In a small bowl, combine the softened butter, brown sugar, and cinnamon for the filling. Spread this glorious mixture evenly over your rolled-out dough, leaving a small border on one long edge.
- Roll ‘Em Up: Starting from one of the long edges, carefully and tightly roll the dough into a log. Once rolled, pinch the seam closed. This keeps all that delicious filling locked in.
- Slice and Dice: Using a sharp knife or, even better, unflavored dental floss (seriously, try it!), cut the log into 12-15 equal slices.
- Second Rise: Arrange the rolls cut-side up in a lightly greased 9×13 inch baking pan. Cover them again and let them rise for another 30-45 minutes in a warm spot, or until puffy.
- Bake ‘Em Up: While they’re doing their second rise, preheat your oven to 375°F (190°C). Once preheated and risen, bake the rolls for 20-25 minutes, or until they’re golden brown and smell absolutely incredible.
- Whip Up the Frosting: While the rolls are baking, beat together the softened cream cheese, butter, powdered sugar, and vanilla extract until smooth. Add a splash of milk (or cream) if needed to get that perfect, spreadable consistency.
- Frost and Devour: As soon as the rolls come out of the oven, spread that dreamy cream cheese frosting all over them. The warmth of the rolls will make it melt slightly, creating a gooey, irresistible glaze. Now, grab one (or three) and enjoy your masterpiece!
Common Mistakes to Avoid
- Using water that’s too hot or cold for your yeast: Too hot? You’ll kill the yeast. Too cold? They’ll be lazy and won’t rise. Aim for lukewarm, like bathwater for a baby (or a fussy yeast organism).
- Not letting the dough rise enough: Patience, young padawan! A rushed rise means dense, sad rolls. Don’t skimp on proofing time.
- Over-flouring your surface: Too much flour makes for dry, tough rolls. Use just enough to prevent sticking.
- Rolling the dough too thin or unevenly: This can lead to lopsided rolls with uneven filling distribution. Not the end of the world, but aiming for evenness helps.
- Overbaking: This is a cardinal sin! Dry rolls are the enemy. Keep an eye on them; they should be golden, not crispy. When in doubt, pull them out a minute early.
Alternatives & Substitutions
- Spice it Up: Not a cinnamon purist? You could totally add a pinch of nutmeg or cardamom to the filling for an extra layer of warmth. Or even some pumpkin pie spice if you’re feeling autumnal!
- Nutty Goodness: Want some crunch? Sprinkle some finely chopped pecans or walnuts over the cinnamon filling before rolling. Trust me, it’s a game-changer.
- Dairy-Free Dreamin’: For the lactose-averse, you can swap regular milk for a non-dairy alternative like almond or oat milk. Just make sure it’s unsweetened. Vegan butter alternatives also work pretty well in the dough and filling, but the frosting might be a bit trickier to replicate perfectly.
- Less Sweet Frosting: If you’re not a fan of super-sweet things (weirdo, just kidding!), you can reduce the amount of powdered sugar in the frosting. Taste as you go!
FAQ (Frequently Asked Questions)
- Can I prepare these ahead of time? Absolutely! You’re a genius! After arranging the sliced rolls in the pan for their second rise (Step 9), cover them tightly and stick them in the fridge overnight. The next morning, pull them out, let them come to room temp (about 1-2 hours), and then bake as usual. Morning cinnamon rolls, unlocked!
- My dough isn’t rising, what gives? Oh no! Most likely culprits: your yeast was old/dead, or your milk was too hot/cold. Did it foam up in step 1? If not, that’s your sign. Always check your yeast’s expiry date!
- Can I freeze the baked cinnamon rolls? You bet! Let them cool completely *without frosting*, then wrap them individually in plastic wrap and foil. They’ll keep in the freezer for up to a month. Thaw, warm gently, and then frost for a fresh-baked taste.
- What if I don’t have a stand mixer? No worries, your arms are a stand mixer! You can absolutely knead this dough by hand. It’s a bit of a workout, but totally doable and satisfying.
- Do I have to use full-fat cream cheese for the frosting? Well, technically no, but why hurt your soul like that? Full-fat cream cheese gives you that rich, creamy, utterly divine frosting texture we’re going for. Low-fat might make it a bit runnier or less decadent. Just sayin’.
- My rolls are dry. What went wrong? Usually, this means they were overbaked. Keep an eye on the clock and the color. They should be golden brown, not dark. Also, make sure your measurements are accurate, especially for the flour.
Final Thoughts
Phew! You made it. You just conquered the glorious world of homemade cinnamon rolls. Now go impress someone—or yourself—with your new culinary skills. Seriously, take a moment to savor that first warm, gooey bite. You’ve earned it, superstar! And who knows, maybe you *will* start selling these bad boys. Just remember who gave you the secret recipe! 😉


