So, you’re scrolling through TikTok, see a gooey, warm cinnamon roll, and suddenly your life feels incomplete without one, right? But the thought of spending an entire weekend proofing dough and feeling like a contestant on a baking show you didn’t sign up for? Nah, fam.
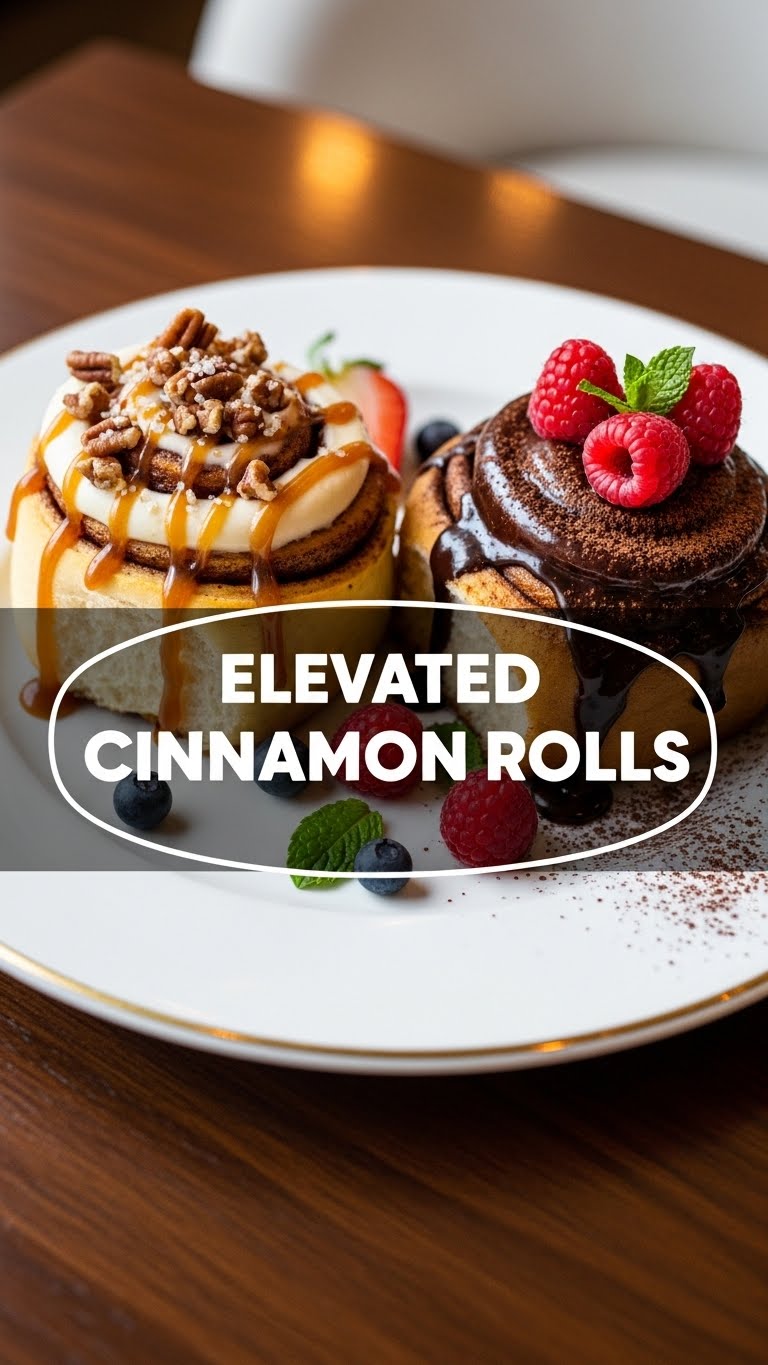
Enter: **Elevated Cinnamon Rolls** – because “basic” is a dirty word, and “effortless” is our love language. We’re talking next-level deliciousness without the all-day commitment. Get ready to impress yourself (and maybe everyone else, but mostly yourself).
Why This Recipe is Awesome
Okay, let’s be real. There are approximately 8 million cinnamon roll recipes out there. So why *this* one? Because it’s not just a recipe; it’s a life hack in pastry form. First off, it’s **practically idiot-proof**. I made it, and my track record with yeast is usually “RIP yeast, you were too good for this world.” So, if I can do it, you can definitely do it. Secondly, we’re not just making *a* cinnamon roll; we’re making an *elevated* cinnamon roll. Think pillowy soft dough, a brown butter cinnamon swirl that’s basically a hug for your taste buds, and a cream cheese glaze so good you’ll want to bathe in it. Plus, it smells incredible, which means instant house-smells-like-a-bakery vibes without, you know, owning a bakery.
Ingredients You’ll Need
Alright, gather your troops! Most of these are probably chilling in your pantry already. If not, time for a quick grocery sprint. No judgment if you grab an impulse snack while you’re there.
- For the Dough (the star of the show):
- All-purpose flour: The backbone of our fluffy dreams. Don’t overthink it.
- Granulated sugar: Just a touch to sweeten things up and feed our yeast friends.
- Instant yeast: The MVP that makes everything rise. Make sure it’s alive, unless you like cinnamon bricks.
- Salt: Balances the sweetness. Crucial, don’t skip it!
- Whole milk: Warm it up, but not too hot! We’re not making scrambled milk.
- Unsalted butter: Melted. This is where the magic happens, people.
- Large egg: One happy egg, room temperature preferred for better mixing.
- Vanilla extract: A whisper of warmth and complexity. Good vanilla, please!
- For the Brown Butter Cinnamon Swirl (the actual reason we’re here):
- Unsalted butter: Again, but this time we’re browning it. Prepare for sensory overload.
- Brown sugar: Dark or light, your choice! Adds that deep, molasses-y goodness.
- Ground cinnamon: Duh. The more, the merrier (within reason, don’t go wild).
- Pinch of salt: To make the cinnamon and sugar sing.
- For the Cream Cheese Glaze (the crown jewel):
- Cream cheese: Softened! Take it out of the fridge, like, yesterday.
- Unsalted butter: Softened, too. We’re all about that soft life.
- Powdered sugar (confectioners’ sugar): Sift it if you’re feeling fancy, but no worries if you don’t.
- Vanilla extract: Because vanilla makes everything better.
- Milk (or cream): Just a splash to get that perfect drizzly consistency.
Step-by-Step Instructions
Deep breaths, you got this! Follow these simple steps, and you’ll be swimming in cinnamon roll glory before you know it.
- Activate the Yeast: In a large bowl, whisk together warm milk, a tablespoon of sugar, and the instant yeast. Let it sit for about 5-10 minutes until it gets foamy. This means your yeast is alive and ready to party!
- Make the Dough: Add the remaining sugar, melted butter, egg, vanilla, salt, and half of the flour to the yeast mixture. Mix until just combined. Gradually add the rest of the flour, mixing until a shaggy dough forms.
- Knead It Out: Turn the dough out onto a lightly floured surface and knead for 5-7 minutes. You want it smooth and elastic. Don’t over-flour; a slightly sticky dough is a happy dough.
- First Rise: Lightly grease your mixing bowl, place the dough in it, and turn once to coat. Cover with plastic wrap and let it rise in a warm place for 1-1.5 hours, or until doubled in size. This is a great time to do something else, like binge-watch your favorite show.
- Brown the Butter (for the filling): While the dough rises, melt the butter in a small saucepan over medium heat. Keep stirring until it turns a lovely amber color and smells nutty. Immediately pour it into a heatproof bowl to stop it from burning. Let it cool a bit.
- Prep the Filling: Once the brown butter has cooled slightly, whisk in the brown sugar, cinnamon, and a pinch of salt. Set aside.
- Roll It Out: Once the dough has doubled, punch it down gently to release the air. Turn it out onto a lightly floured surface and roll it into a large rectangle, about 12×18 inches. Aim for an even thickness.
- Spread the Swirl: Evenly spread your delicious brown butter cinnamon mixture over the rolled-out dough, leaving a small border on one of the long edges.
- Roll ‘Em Up: Starting from the opposite long edge, tightly roll the dough into a log. Pinch the seam closed to seal it.
- Slice ‘Em Up: Using a sharp knife or, even better, unflavored dental floss (seriously, try it!), slice the log into 12 even rolls.
- Second Rise: Arrange the rolls in a lightly greased 9×13 inch baking pan. Cover loosely with plastic wrap and let them rise again for another 30-45 minutes, or until puffy. Preheat your oven to 375°F (190°C) during the last 15 minutes of this rise.
- Bake Time!: Bake for 20-25 minutes, or until golden brown on top and cooked through. If they start browning too quickly, you can loosely tent them with foil.
- Make the Glaze: While the rolls are baking, beat together the softened cream cheese and butter until smooth. Gradually add the powdered sugar, vanilla extract, and milk/cream until you have a smooth, spreadable (or pourable) glaze. Adjust milk to desired consistency.
- Glaze and Devour: As soon as the rolls come out of the oven, generously spread or drizzle the glaze over them. Don’t be shy! Serve warm and enjoy your masterpiece.
Common Mistakes to Avoid
Nobody’s perfect, but we can avoid some classic oopsies, right? Learn from my past kitchen fails, so you don’t have to!
- Killing the Yeast: Too hot milk? Dead yeast. Too cold milk? Sluggish yeast. Aim for lukewarm, like a baby’s bathwater (around 105-115°F / 40-46°C). **If your yeast doesn’t get foamy, start over.** Seriously, don’t waste your time with dead yeast.
- Over-flouring the Dough: You’re aiming for soft and supple, not dry and tough. Add flour gradually and resist the urge to dump in a ton while kneading. A slightly sticky dough is okay!
- Under-kneading: Dough needs love! If it’s not kneaded enough, your rolls will be dense, not fluffy. Give it those 5-7 minutes.
- Not Spreading the Filling to the Edge: You want cinnamon-y goodness in every bite, not just the middle! Spread it out evenly.
- Loose Rolling: If you roll the dough too loosely, your rolls will fall apart and lose that beautiful spiral. **Roll it up nice and tight!**
- Over-baking: Dry cinnamon rolls are a tragedy. Pull them out when they’re golden brown and just cooked through. They’ll continue to cook slightly from residual heat.
Alternatives & Substitutions
Life happens, and sometimes you’re missing an ingredient or just want to switch things up. Here are some chill alternatives:
- Milk: No whole milk? You can absolutely use 2% or even non-dairy milk (almond, soy, oat) for the dough. The texture might vary ever-so-slightly, but they’ll still be delicious.
- Butter: For the dough and glaze, good old margarine can work in a pinch, but IMO, butter wins every time for flavor. For the brown butter filling, you *need* real butter for that nutty depth.
- Cream Cheese: If you’re not a cream cheese fan (gasp!), you can make a simple powdered sugar glaze with just powdered sugar, vanilla, and milk/water. Still tasty, just different.
- Add-ins: Want to get wild? Sprinkle some chopped pecans or walnuts onto the cinnamon swirl before rolling. Or a dash of cardamom for a different spice kick. **Chocolate chips** in the filling? You’re a genius.
- Overnight Option: You can make the rolls and place them in the baking pan after the first rise (step 11), then cover tightly and refrigerate overnight. Take them out in the morning and let them rise on the counter for 45-60 minutes (or until puffy) before baking. Weekend brunch just got easier!
FAQ (Frequently Asked Questions)
- “Can I use active dry yeast instead of instant yeast?”
Totally! Just activate it in warm milk with a pinch of sugar first (like step 1), and then let it sit for 10-15 minutes until it’s super foamy before adding other ingredients. It might take a smidge longer for the dough to rise, but it’ll still work its magic.
- “My dough isn’t rising! What went wrong?”
Oh no! Usually, this means your yeast wasn’t active (milk too hot/cold, yeast expired), or your rising spot wasn’t warm enough. Don’t fret, just remember to check yeast dates and find a cozy spot for your dough next time.
- “Do I *really* need to brown the butter?”
Well, technically no, you could just melt it. But why would you deny yourself that glorious, nutty, caramel-y flavor? It literally elevates the cinnamon rolls! Trust me on this one, it’s worth the extra minute.
- “Can I make these ahead of time?”
Absolutely! See the “Overnight Option” in the Alternatives section. You can also bake them, let them cool, and freeze them (unglazed). When ready to eat, thaw and reheat gently, then glaze.
- “How do I store leftovers?”
Leftovers? What are those?! Kidding! Store them in an airtight container at room temperature for a day or two, or in the fridge for up to 3-4 days. Reheat gently in the microwave or oven for that fresh-baked feel.
- “My glaze is too thick/thin. Help!”
Easy fix! Too thick? Add a tiny splash more milk or cream, a teaspoon at a time, until it’s perfect. Too thin? Add a tablespoon or two more powdered sugar until it thickens up. You’re the boss!
Final Thoughts
And there you have it, folks! You’ve just conquered the art of the Elevated Cinnamon Roll. Go ahead, take a bow. Your kitchen smells amazing, your taste buds are doing a happy dance, and you’ve proven that delicious, impressive baking doesn’t have to be a multi-day saga. Share them, hoard them, devour them with your morning coffee – however you enjoy them, know you made something truly special. Now go impress someone – or yourself – with your new culinary skills. You’ve earned it!


