So you’re craving something warm, gooey, and absolutely irresistible, but the thought of spending an entire afternoon kneading dough makes your soul ache? Girl, same. We’re talking cinnamon rolls here, but not just any cinnamon rolls. We’re talking *UPGRADED* cinnamon rolls. The kind that make people wonder if you secretly went to pastry school (you didn’t, don’t worry).
Why This Recipe is Awesome
Okay, so why this recipe, you ask? Because it’s not just good; it’s practically a magic trick. This isn’t your grandma’s all-day yeast project (bless her heart, but who has the time?). This bad boy uses store-bought dough – yes, I said it – and transforms it into something so much more. It’s **idiot-proof**, seriously, even *I* didn’t mess it up. Plus, the compliments you’ll get? Priceless. It’s like getting a gold medal for minimal effort. Winning!
Ingredients You’ll Need
- **Pillsbury Grands!™ Flaky Layers Cinnamon Rolls:** Or any similar refrigerated tube. The flaky layers are key for that extra “oomph.” Don’t skimp here!
- **Unsalted Butter:** Just a little. Because butter makes everything better, duh.
- **Brown Sugar:** For that deep, caramel-y sweetness.
- **Ground Cinnamon:** We’re upgrading, so let’s double down on the spice.
- **Heavy Cream:** The secret sauce! This is what turns good into *OMG good*. Don’t skip it, seriously.
- **Vanilla Extract:** A tiny splash for warmth and depth.
- **Pinch of Salt:** Balances all that sweetness. A tiny but mighty hero.
Step-by-Step Instructions
- **Preheat & Prep:** First things first, get that oven to 375°F (190°C). Then grab an 8×8 or 9×9 inch baking dish. Give it a quick spray with non-stick stuff. We don’t want any sticky situations.
- **Unroll the Goodness:** Pop open those cans of cinnamon rolls. Resist the urge to eat the frosting straight from the container (for now). Lay the rolls flat in your prepared dish, making sure they’re snuggled up but not overly crowded.
- **Melt & Mix:** In a small, microwave-safe bowl, melt your butter. Stir in the brown sugar and extra cinnamon until it forms a delightful, sandy paste. This is our “upgrade” filling, people!
- **Spread the Love:** Spoon that buttery, sugary mixture evenly over the tops of your cinnamon rolls. Don’t be shy; cover every inch.
- **Creamy Magic:** Now for the real showstopper: Pour the heavy cream *all over* the rolls. Get it into every nook and cranny. This is where the magic happens, transforming them from “good” to “oh-my-god-I-need-more.” Add a splash of vanilla and a pinch of salt to the cream before pouring for extra flavor.
- **Bake Until Golden:** Slide that dish into your preheated oven. Bake for about 20-25 minutes, or until the rolls are puffy, golden brown, and bubbling with all that gooey goodness.
- **Frosting Time:** While they’re still hot, grab that little container of frosting that came with the rolls. Pop the lid off and microwave it for about 10-15 seconds until it’s super soft and pourable. Drizzle generously over your warm rolls.
- **Serve & Devour:** Let them cool for a *brief* moment (if you can resist) then dig in! Grab a spatula and scoop out those dreamy, sticky buns.
Common Mistakes to Avoid
- **Thinking you don’t need to preheat the oven:** Rookie mistake, my friend. A cold oven equals unevenly cooked, sad rolls. **Always preheat!**
- **Skipping the heavy cream:** Oh, honey, no. This is the entire point of the upgrade! Without it, you’re just making regular cinnamon rolls, and we’re better than that.
- **Overbaking:** Keep an eye on them! They should be golden, not burnt to a crisp. If they look too dark, they’ll be dry, and nobody wants that. **Pull them out when they’re perfectly golden brown.**
- **Not melting the frosting:** You want that runny, drippy, gets-into-every-crevice frosting experience. Cold, hard frosting is a crime.
Alternatives & Substitutions
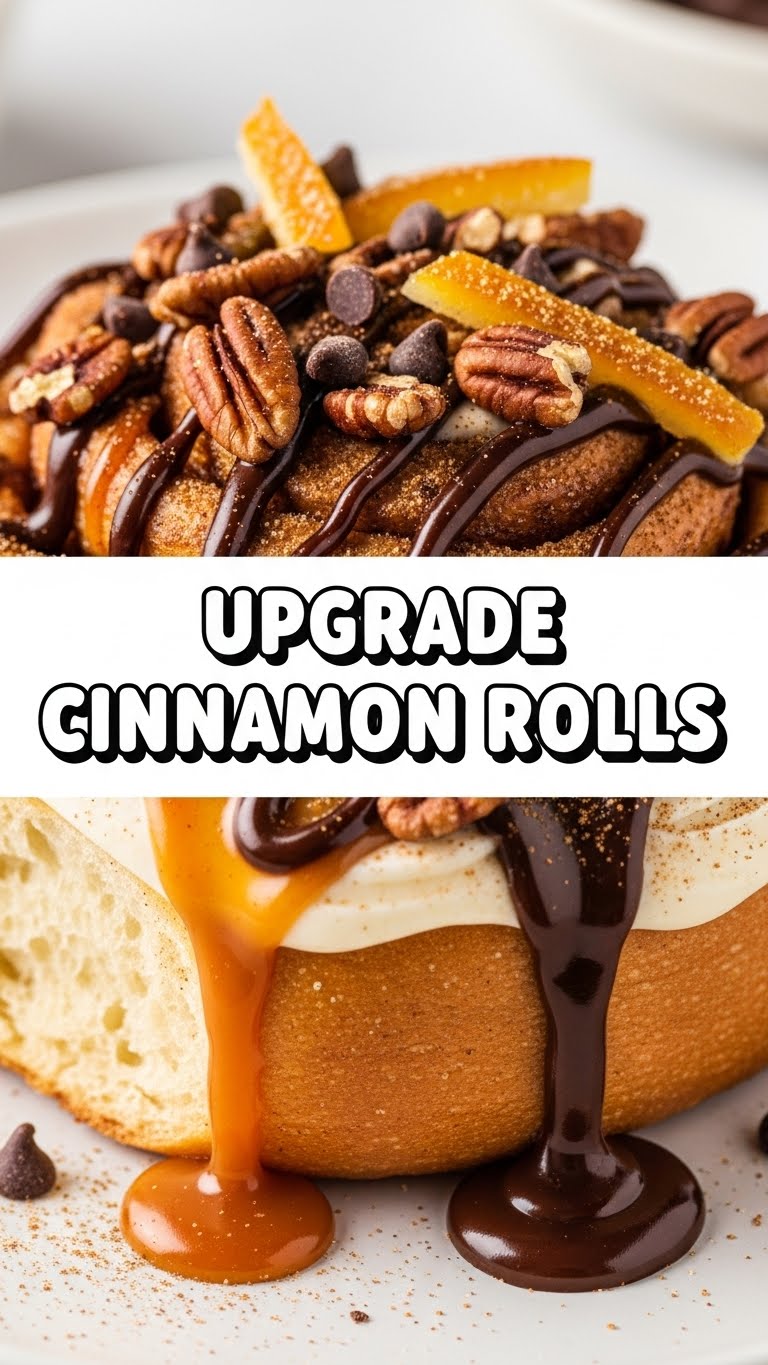
- **Different Roll Flavors:** Feeling adventurous? Try the orange-flavored refrigerated rolls for a citrusy twist. **Orange rolls with this upgrade? Chef’s kiss!**
- **Nutty Goodness:** Want some crunch? Sprinkle some chopped pecans or walnuts over the brown sugar mixture before baking. Toasted nuts are even better.
- **Spice It Up:** A tiny dash of cardamom or nutmeg in your brown sugar mixture can add an extra layer of warmth. Don’t go overboard, though; cinnamon is the star.
- **No Heavy Cream?** In a pinch, half-and-half *might* work, but it won’t be as rich or gooey. Trust me, the heavy cream is worth the trip to the store. **Don’t compromise on the cream!**
FAQ (Frequently Asked Questions)
- **Can I use generic brand cinnamon rolls?** Absolutely! As long as they’re the “flaky layers” style, you’re golden. Just check the baking time, as they can sometimes vary slightly.
- **My rolls look a little dry after baking, what happened?** Chances are, you overbaked them or didn’t use enough heavy cream. **Less time in the oven and more cream next time!**
- **Can I make these ahead of time?** You *can* assemble them the night before and refrigerate, then bake in the morning. Just add 5-10 minutes to the baking time since they’ll be cold. But honestly, they’re so fast, fresh is best!
- **What if I don’t have an 8×8 dish?** A 9×13 will work, but the rolls might be spread out more, potentially drying faster. Keep an eye on them and adjust baking time as needed. You could also use a pie plate!
- **Is the extra frosting necessary?** Necessary? No. Delicious and highly recommended? **YES!** It takes them from “yum” to “can I have another?” real quick.
- **Can I add chocolate chips?** Oh, you rebel! Yes, a handful of mini chocolate chips sprinkled with the brown sugar mixture would be divine. Go for it!
Final Thoughts
See? Told you it was easy! Now you’ve got a secret weapon in your baking arsenal that will fool everyone into thinking you spent hours slaving away. Go ahead, bask in the glory, my friend. **You deserve all the ooey-gooey, cinnamon-spiced happiness in the world.** Now go impress someone—or yourself—with your new culinary skills. You’ve earned it!


