So, you’ve survived another week and your reward should totally be something warm, sticky, and smelling like a cozy autumn hug, right? But also, like, minimum effort? My kinda person. Let’s make some magic. Forget those complicated recipes that demand you start a sourdough starter three days ago. We’re going for maximum deliciousness with **minimum fuss**. Get ready to whip up some Maple Pumpkin Pie Cinnamon Rolls that taste like you slaved all day, but really, you just… didn’t. 😉
Why This Recipe is Awesome
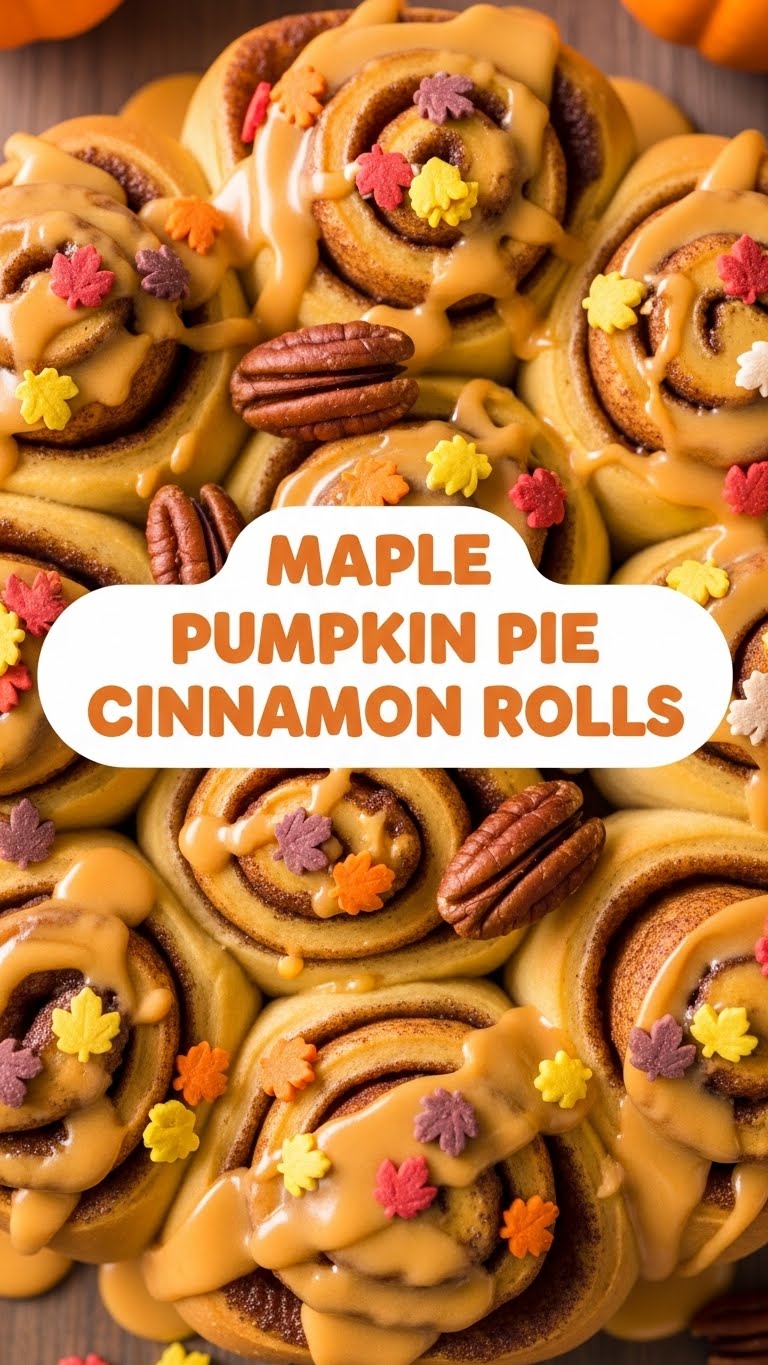
Okay, let’s be real. This isn’t just *a* recipe; it’s a culinary cheat code. Seriously, it’s like a pumpkin pie, a maple sticky bun, and a classic cinnamon roll had a delicious, glorious baby, and then that baby grew up to be effortlessly chic. It’s impressive AF but secretly, ridiculously easy. We’re talking store-bought dough here, people! No judgment, only deliciousness. It’s practically idiot-proof, and honestly, even I didn’t mess it up, so you’re golden. Plus, your kitchen will smell like autumn exploded in the best possible way. You’re welcome.
Ingredients You’ll Need
Gather ’round, my lazy-but-luxe chef friend. Here’s your shopping list:
- 1 can (8 oz) refrigerated crescent roll dough: Yep, the stuff in the tube. Don’t be shy, it’s our little secret.
- 1/2 cup canned pumpkin puree: **THIS IS IMPORTANT:** Make sure it’s puree, not pumpkin pie filling. Big difference, trust me.
- 1/4 cup light brown sugar: Packed, please. For that gooey, caramel-y goodness.
- 2 tablespoons maple syrup: The real stuff, not that pancake “flavored” syrup. Your soul deserves better.
- 1 teaspoon pumpkin pie spice: Because, duh.
- 2 tablespoons unsalted butter: Melted. We’re not animals here.
For the Glaze:
- 1 cup powdered sugar: The finer, the better.
- 2-3 tablespoons milk: Any kind! Dairy, oat, almond – live your truth.
- 1/2 teaspoon vanilla extract: A little extra hug.
- 1 tablespoon maple syrup: Another splash for extra mapley magic.
Step-by-Step Instructions
Alright, apron on (or not, I’m not your boss), let’s do this!
- First things first: Preheat your oven to 375°F (190°C). Lightly grease an 8×8 inch baking dish. Because nobody likes sticky situations… unless it’s the rolls themselves.
- Carefully unroll the crescent dough onto a lightly floured surface or parchment paper. Don’t separate the triangles! Press the seams together to form a rough rectangle. A little bit of pressing goes a long way.
- In a medium bowl, whisk together the pumpkin puree, brown sugar, maple syrup, pumpkin pie spice, and melted butter. Mix until it’s all gloriously combined and smells like pure autumn bliss.
- Spread the pumpkin mixture evenly over the entire surface of the dough rectangle, leaving a small border (about half an inch) around the edges. This helps keep the filling tucked in.
- Starting from one of the longer sides, carefully roll up the dough into a tight log. Take your time; a tight roll means pretty swirls!
- Using a sharp knife or even unflavored dental floss (yes, really!), slice the log into 8-9 equal pieces. Place them cut-side up in your prepared baking dish.
- Pop those beauties into the preheated oven and bake for 18-22 minutes, or until they’re golden brown and puffed up. Don’t let them get too dark; dry rolls are sad rolls.
- While they’re baking, let’s make that dreamy glaze! In another small bowl, whisk together the powdered sugar, milk, vanilla extract, and maple syrup until smooth. If it’s too thick, add a tiny bit more milk; too thin, a bit more sugar. You want a drizzle-able consistency.
- Once the rolls are out of the oven, let them cool in the dish for about 5-10 minutes. This prevents the glaze from melting entirely off the rolls. Then, drizzle that glorious glaze generously over the warm rolls.
- Serve immediately and prepare for compliments. You’ve earned ’em, champ!
Common Mistakes to Avoid
Look, we all make ’em. But I’m here to save you from these rookie errors:
- Using pumpkin PIE filling: I cannot stress this enough. It’s pre-sweetened and spiced, and will throw off the whole balance. Stick to pure pumpkin puree!
- Over-baking the rolls: Nobody wants dry, hockey-puck-like rolls. Keep an eye on them. They should be golden, not mahogany.
- Glazing too soon: Patience, young padawan! If you glaze them fresh out of the oven, the glaze will just melt into a sugary puddle at the bottom of your dish. Let them chill for a few minutes.
- Forgetting to grease your dish: Learn from my past mistakes. Scraped-up rolls are not a good look.
Alternatives & Substitutions
Feeling adventurous? Or just missing an ingredient? I got you.
- No pumpkin pie spice? No prob. Mix a generous 1/2 teaspoon of cinnamon with a 1/4 teaspoon each of ground ginger, nutmeg, and cloves. Boom, homemade!
- Vegan-friendly? Absolutely! Use a vegan crescent roll dough (they exist!), plant-based butter, and your favorite non-dairy milk for the glaze. Easy peasy lemon squeezy.
- No brown sugar? Granulated sugar works in a pinch, but you’ll miss that deep, caramelly note brown sugar brings. Your call, but IMO, brown sugar is king here.
- Want extra crunch? Sprinkle some chopped pecans or walnuts over the filling before rolling. Because nuts make everything a little fancier, right?
FAQ (Frequently Asked Questions)
Got questions? I’ve got (casual, possibly sassy) answers!
- Can I use pumpkin pie filling instead of puree? Didn’t we just talk about this?! NO! Please, for the love of deliciousness, use pumpkin puree.
- Can I make these ahead of time? You bet! You can assemble them in the dish, cover, and refrigerate overnight. Take them out about 30 minutes before baking to come to room temp, then bake as usual. Glaze them after baking.
- What if I don’t have maple syrup? For the filling, you could use honey or just omit it and add a tiny bit more brown sugar, but then they’re not really “maple” pumpkin rolls, are they? For the glaze, honey or agave could work.
- Can I freeze these? Yep! Bake them, let them cool completely (don’t glaze), then wrap them tightly and freeze for up to a month. Thaw, warm gently, then glaze.
- How long do these last? Covered tightly at room temperature, they’re best for 2-3 days. But honestly, they rarely last that long.
- Is it okay to eat them all myself? This is a rhetorical question, right? Of course, it is. You baked them, you earned them. No shame in that game.
Final Thoughts
See? Told you it was easy. Now you’ve got these incredible, warm, gooey, autumnal rolls ready to impress anyone within smelling distance. Or just yourself. You totally deserve it. So go on, bask in your glory. You’ve earned it, baking superstar! Now go impress someone—or yourself—with your new culinary skills. Maybe save one for me? Just kidding… mostly. 😉


