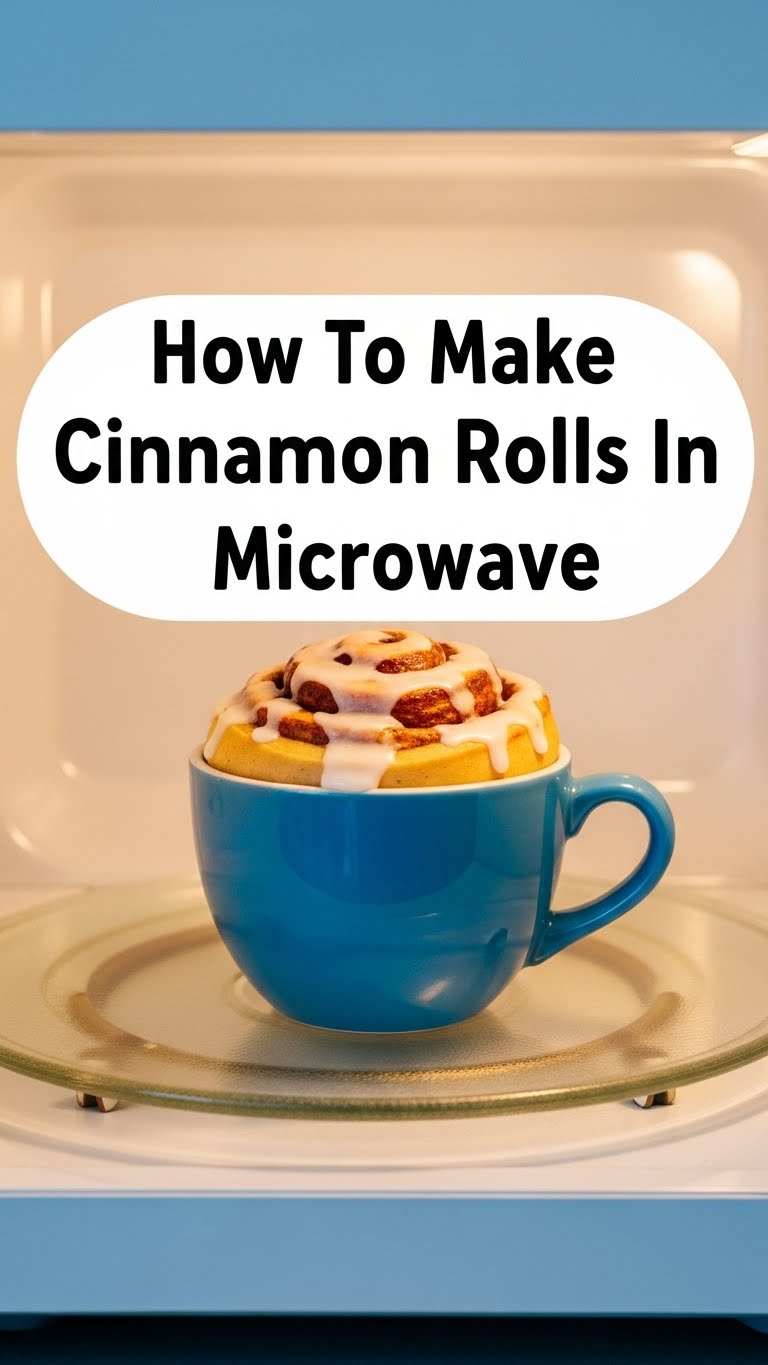
So you’re craving something warm, sweet, and utterly delightful but the mere thought of turning on an oven or, heaven forbid, kneading dough makes you want to curl up in a blanket and cry? Same. What if I told you that glorious, gooey cinnamon rolls aren’t just for fancy bakeries or those rare days you decide to become a domestic goddess/god for eight hours straight? What if I told you… your trusty microwave is about to become your new best friend for this sugary bliss? Yep, we’re making legit cinnamon rolls, no oven required. Let’s get zapping and prove that deliciousness doesn’t need a degree in pastry arts!
Why This Recipe is Awesome
Listen up, buttercup, because this isn’t your grandma’s cinnamon roll recipe (unless your grandma was secretly a tech-savvy genius with a penchant for instant gratification). This recipe is for you because:
- It’s stupidly fast. We’re talking minutes, not hours. Perfect for those “I need sugar, like, five minutes ago” emergencies.
- Minimal cleanup! One mug, a spoon, maybe a tiny plate. You won’t feel like you’ve wrestled an octopus in a flour factory.
- It’s practically **idiot-proof**. Even I, a person whose specialty in the kitchen is burning water, managed not to mess this up. Seriously.
- You get warm, fresh, gooey goodness that tastes way better than anything from a can, with a fraction of the effort of traditional baking. You’ll look like a culinary genius without actually breaking a sweat. Your secret’s safe with me. 😉
Ingredients You’ll Need
For a single, glorious, personal-sized cinnamon roll (because sharing is overrated when they’re this good):
- For the Dough:
- 4 tbsp all-purpose flour (The base of all dreams, and sometimes messes.)
- 1 tbsp granulated sugar (Sweetness! Necessary for joy.)
- 1/4 tsp baking powder (Our little leavening secret weapon.)
- Pinch of salt (Because even sweet things need a little balance.)
- 3 tbsp milk (Any kind works, even almond if you’re feeling fancy.)
- 1 tsp melted unsalted butter or oil (Just a touch for tenderness.)
- For the Filling:
- 1 tbsp melted unsalted butter (Because butter makes everything better.)
- 1 tbsp brown sugar (That deep, caramelly hug. Don’t skip it!)
- 1/2 tsp ground cinnamon (The star of the show! Go for good quality here.)
- For the Icing (Optional, but highly recommended, c’mon!):
- 2 tbsp powdered sugar (Confectioners’ sugar, the fancy stuff.)
- 1/2 – 1 tsp milk (Just enough to make a pourable glaze.)
- Tiny drop of vanilla extract (Optional, but adds a nice depth.)
Step-by-Step Instructions
Get ready for culinary magic in under 5 minutes!
- First things first: Grab a small, microwave-safe dish or mug and lightly grease it. This prevents sticky situations.
- Mix the Dry Dough Ingredients: In a small bowl (or directly in your greased mug if you’re going for ultimate laziness), whisk together the flour, granulated sugar, baking powder, and a pinch of salt. Make sure there are no lumpy bits!
- Add Wet Dough Ingredients: Pour in the milk and melted butter/oil. Stir with a spoon until everything just comes together. Don’t overmix! A few small lumps are okay; overmixing makes tough rolls, and we’re not aiming for hockey pucks.
- Shape the Dough: Lightly flour a clean surface (or a piece of parchment paper for zero-mess heroes). Turn out your dough and gently knead it for about 30 seconds until it’s a rough ball. Then, use your hands or a mini-rolling pin to flatten it into a small rectangle, roughly 4×3 inches. It doesn’t need to be perfect, embrace the rustic charm!
- Make the Filling: In a super tiny bowl (or just mix directly into the melted butter), combine the melted butter, brown sugar, and cinnamon. It should form a paste.
- Spread the Love: Evenly spread your cinnamon-sugar mixture all over your flattened dough rectangle, leaving a tiny border on one of the long edges.
- Roll ‘Em Up: Starting from the long edge *opposite* the clear border, carefully roll the dough into a tight log. Once rolled, gently pinch the seam to seal it.
- Slice and Dice: Use a sharp knife to slice your log into 2-3 equal pieces. If you want one big mama roll, just leave it as is!
- Microwave Time! Place your dough pieces into your greased microwave-safe dish. If you made multiple, arrange them so they have a little breathing room. Microwave on high for **30-60 seconds**. **Here’s the crucial part: watch it like a hawk!** Microwaves vary wildly. You’re looking for the dough to be puffed up and set, but still soft. If it’s hard, you’ve gone too far.
- Whip Up the Icing: While your roll is doing its thing, whisk together the powdered sugar, milk, and vanilla (if using) in a small bowl until smooth. Adjust milk until you get a thick but pourable glaze.
- Serve and Devour: Carefully remove your warm cinnamon roll(s) from the microwave. Drizzle generously with that glorious icing. Let it cool for a second (or don’t, I won’t judge). Enjoy your instant slice of heaven!
Common Mistakes to Avoid
Nobody’s perfect, but we can avoid these rookie blunders:
- Overmixing the Dough: Seriously, treat the dough gently. Too much kneading/mixing means tough, chewy (and not in a good way) rolls. Just mix until combined.
- Overcooking in the Microwave: This is the number one killer of microwave baked goods. Start with 30 seconds and add 5-10 second bursts. If it feels hard to the touch, it’s overdone. **Soft and slightly springy is your goal.**
- Forgetting to Grease Your Dish: Learn from my past struggles. These little beauties *will* stick without a bit of oil or butter.
- Skimping on the Filling: What’s a cinnamon roll without a generous swirl of cinnamon-sugar goodness? Don’t be shy!
- Eyeballing Measurements: Unless you’re a seasoned kitchen wizard, stick to the spoons and cups for this one, especially with the baking powder. Precision matters here!
Alternatives & Substitutions
Feeling adventurous? Or just missing an ingredient? No stress, we got you:
- Dairy-Free: Swap regular milk for any plant-based milk (almond, soy, oat all work great!). Use a plant-based butter alternative or oil in the dough and filling.
- No Brown Sugar? You can use granulated white sugar in the filling, but it won’t have the same deep, caramelly flavor. A tiny pinch of molasses with white sugar can mimic it if you’re feeling extra.
- Spice it Up: Add a pinch of nutmeg or cardamom to the filling for a slightly different, equally delicious flavor profile.
- No Vanilla in Icing? Totally fine, it’ll still be delicious! Or, try a tiny squeeze of lemon juice for a tangy kick.
- Cream Cheese Icing: If you’re feeling extra fancy (and have cream cheese on hand), beat 1 tbsp softened cream cheese with 1 tbsp softened butter, 2 tbsp powdered sugar, and a splash of milk/vanilla. Divine!
FAQ (Frequently Asked Questions)
- Can I use margarine instead of butter? Well, technically yes, you *can*. But why hurt your soul (and your taste buds) like that? Butter just tastes better, IMO. But hey, in a pinch, margarine works!
- My dough is super sticky, what gives? You might have added a tad too much milk, or your flour absorbed less. Add another tiny pinch of flour until it’s workable. Don’t drown it though!
- Can I make a bigger batch? Absolutely! Just double or triple the ingredients. However, you’ll need a larger microwave-safe dish and you might need to microwave them in batches or adjust the cooking time significantly. **Bigger batches take longer!**
- How do I know if it’s cooked through? It should look puffed up and firm to the touch, but still feel soft. If it’s hard or dry, it’s overcooked. Undercooked will be gooey in the center but still raw-dough-looking. It’s a fine line, so start short and add time.
- My microwave is super old/super new, will this still work? Yes, but this is where the “watch it like a hawk” rule becomes your mantra. Start at 30 seconds and increase in 5-10 second increments until you find your microwave’s sweet spot.
- Can I prepare the dough ahead of time? You can mix the dough and roll it out, even spread the filling and roll it up, then wrap it tightly and refrigerate for a few hours. Just let it come to almost room temp before microwaving for best results.
Final Thoughts
See? I told you! You just whipped up a warm, gooey, utterly delightful cinnamon roll in mere minutes, without turning your kitchen into a war zone. You’re basically a culinary superhero, saving the day one microwave-baked treat at a time. So go ahead, pat yourself on the back, and enjoy every single bite of your sweet victory.
Now go impress someone—or yourself—with your new culinary skills. You’ve earned it! And remember, life’s too short for bad cinnamon rolls, especially when good ones are this easy. Happy zapping!


