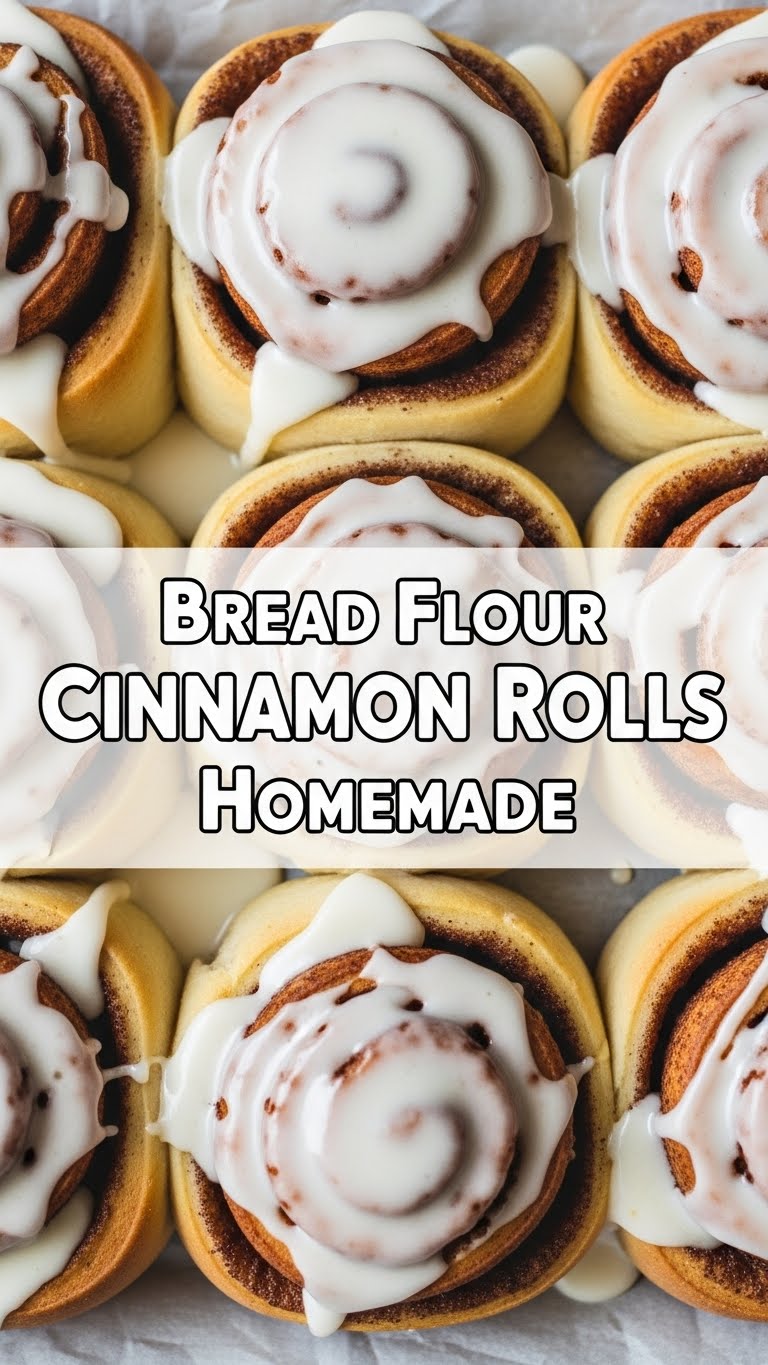
So, you woke up with that specific, undeniable craving for something warm, gooey, and smelling like a dream? But you also remembered that whole “leaving the house” thing is optional today? Good news, my friend. We’re about to make some seriously epic homemade cinnamon rolls, and yes, we’re using bread flour because we’re fancy like that. Get ready to impress yourself (and maybe share, if you’re feeling generous).
Why This Recipe is Awesome
Look, I’ve had my share of kitchen disasters. That time I tried to make croissants? Let’s just say the smoke detector had an opinion. But these cinnamon rolls? They’re practically idiot-proof. No, seriously, even I managed to pull them off without burning down the kitchen. The bread flour gives them this incredible chewiness and structure that regular all-purpose flour just can’t compete with. Plus, they make your entire house smell like a bakery, which is basically free aromatherapy. You’re welcome.
Ingredients You’ll Need
- For the Dough:
- 1 cup warm milk (not boiling, unless you want milk soup): Around 105-115°F. Think bathwater, not lava.
- 2 ¼ teaspoons active dry yeast (one packet, the little magic dust): Make sure it’s alive! If it doesn’t bubble, your rolls won’t either.
- ¼ cup granulated sugar (for the yeast, and your soul): Gives the yeast something to munch on.
- 1 large egg (room temperature, because eggs like to be cozy): Makes the dough richer.
- ¼ cup unsalted butter, melted (the good stuff, no substitutes yet): Adds flavor and tenderness.
- 3-3 ½ cups bread flour (the star of the show!): This is what gives us that glorious chew. Start with 3, add more if needed.
- 1 teaspoon salt (don’t skip it, even if you’re a rebel): Balances all that sweetness.
- For the Filling:
- ½ cup unsalted butter, softened (again, the good stuff): Not melted, not rock hard. Spreadable.
- 1 cup packed light brown sugar (the gooey factor): Your rolls’ best friend.
- 2 tablespoons ground cinnamon (freshly ground if you’re really fancy): The more, the merrier (within reason).
- For the Cream Cheese Frosting (the crown jewel):
- 4 oz cream cheese, softened (Philadelphia or similar, no knock-offs for this): Room temp is key.
- ¼ cup unsalted butter, softened (yes, more butter, don’t judge): Because life’s short.
- 1-2 cups powdered sugar (the sweet cloud): Start with 1, add more for desired sweetness/thickness.
- ½ teaspoon vanilla extract (the essential fancy touch): Elevates everything.
- 1-2 tablespoons milk or cream (to thin it out, if needed): Just a splash!
Step-by-Step Instructions
- Activate the Yeast: In a large bowl, combine the warm milk, yeast, and a tablespoon of the sugar. Let it sit for about 5-10 minutes until it gets foamy. If it doesn’t foam, your yeast is dead. RIP. Start over!
- Mix the Dough: Add the remaining sugar, egg, and melted butter to the yeast mixture. Whisk it all together until well combined. Gradually add 2 cups of the bread flour and the salt, mixing until just combined.
- Knead it Out: Gradually add the remaining flour, ½ cup at a time, until the dough comes together and is no longer super sticky. Turn the dough out onto a lightly floured surface and knead for 5-7 minutes. You want a smooth, elastic dough that bounces back when poked. Don’t over-flour!
- First Rise: Lightly oil a large bowl, place the dough in it, and turn once to coat. Cover the bowl with plastic wrap or a clean kitchen towel. Let it rise in a warm place for 1-1.5 hours, or until it has doubled in size. This is where the magic happens.
- Make the Filling: While the dough rises, prepare your filling. In a medium bowl, cream together the softened butter, brown sugar, and cinnamon until well combined. It should be a spreadable paste.
- Roll ’em Out: Once the dough has doubled, punch it down gently to release the air. On a lightly floured surface, roll the dough into a large rectangle, about 12×18 inches. Aim for an even thickness.
- Spread the Gooey Goodness: Spread the cinnamon-sugar mixture evenly over the entire surface of the dough, leaving a small ½-inch border along one of the long edges. This helps prevent seepage later.
- Roll ’em Up: Starting from the opposite long edge (the one without the border), tightly roll the dough into a log. Try to keep it as tight as possible to ensure beautiful swirls.
- Slice and Dice: Use a sharp knife or, even better, unflavored dental floss to slice the log into 12 even rolls, about 1.5 inches thick. Place them cut-side up in a lightly greased 9×13 inch baking dish.
- Second Rise: Cover the baking dish again and let the rolls rise for another 30-45 minutes in a warm place. They should look puffy and cozy, almost touching. Preheat your oven to 375°F (190°C) during the last 15 minutes of this rise.
- Bake to Perfection: Bake for 20-25 minutes, or until the tops are golden brown and the centers are cooked through. Keep an eye on them—ovens vary! If they’re browning too quickly, you can lightly tent with foil.
- Whip up the Frosting: While the rolls are baking or cooling slightly, beat the cream cheese and softened butter together until smooth. Add the powdered sugar, vanilla, and a tablespoon of milk/cream, beating until fluffy. Add more powdered sugar or milk/cream to reach your desired consistency.
- Frost and Devour: As soon as the rolls come out of the oven, generously spread that glorious frosting all over them. The warmth helps it melt slightly, creating an extra gooey experience. Don’t wait, dig in!
Common Mistakes to Avoid
- Using cold ingredients: Especially the egg and butter for the dough. Cold ingredients are moody and make yeast sad. Room temperature is your friend for a happy, fluffy dough.
- Killing your yeast: Water that’s too hot (lava, remember?) will murder your yeast. Water that’s too cold will just make it sleepy and inactive. Aim for that warm bathwater sweet spot.
- Over-flouring the dough: You want a soft, slightly sticky dough, not a dense, dry brick. Resist the urge to keep adding flour until it’s completely dry. A little stickiness is good!
- Skipping the second rise: Yes, it feels like forever, but that second rise is crucial for light, airy rolls. Patience, grasshopper!
- Not spreading the filling to the edge: Leaving too much of a gap means a less gooey, less cinnamon-y swirl. Commit to the deliciousness!
- Thinking you don’t need to preheat the oven: Rookie mistake! A properly preheated oven ensures even baking from the get-go. Otherwise, your rolls will spend too much time getting warm and drying out.
- Under-baking: No one wants doughy centers. Bake until golden brown and a toothpick inserted gently in the middle comes out clean (ish, it’s sticky!).
Alternatives & Substitutions
Okay, so while I highly recommend sticking to the recipe for peak cinnamon roll nirvana, sometimes you gotta adapt. Here are a few thoughts:
- No bread flour? You can use all-purpose flour, but your rolls won’t have that signature chewy texture. They’ll still be delicious, just… different. Like watching a movie in black and white when you know it’s meant to be in color.
- Ran out of brown sugar? You can use granulated sugar for the filling, but it won’t be as moist or deeply flavored. Maybe add a tiny dash of molasses if you’re feeling adventurous (and have it).
- No cream cheese for the frosting? For a simpler glaze, whisk powdered sugar with a splash of milk and vanilla. It’s not the same iconic frosting, but it’s still sweet and delicious. Think of it as the minimalist cousin.
- Want to add nuts or raisins? Go for it! Sprinkle them over the cinnamon-sugar filling before rolling. Just a heads-up, they might make slicing a tiny bit trickier.
- Vegan-ish? You can try plant-based milks and butters, and flax eggs for the egg. However, I haven’t personally tested these, so results may vary. Proceed with caution and a sense of adventure!
FAQ (Frequently Asked Questions)
- Can I make these ahead of time?
- Absolutely! You have a couple of options. You can make the dough and let it do its first rise, then punch it down, shape the rolls, and place them in the baking dish. Cover tightly with plastic wrap and refrigerate overnight. In the morning, pull them out, let them come to room temp and rise for an hour or so before baking. Or, bake them fully and store them covered; reheat gently the next day.
- My rolls look flat after baking, what gives?
- Hmm, could be a few things! The most common culprits are inactive yeast (check the expiration date!), not enough kneading (your dough needs strength!), or rushing the rise times. Make sure your dough doubles in size during both rises. Patience, young padawan.
- Can I use margarine instead of butter?
- Well, technically yes, but why hurt your soul like that? Butter just has a superior flavor and texture, especially in baking. If you must, use a high-quality margarine, but be warned, it might not be quite as rich.
- How do I store leftover cinnamon rolls?
- If there are leftovers (a big IF), store them in an airtight container at room temperature for up to 2-3 days, or in the fridge for up to a week. For maximum gooeyness, microwave them for 15-20 seconds before eating.
- My frosting is too thin/thick!
- Easy fix! If it’s too thin, add more powdered sugar a spoonful at a time. If it’s too thick, add a tiny splash more milk or cream. Remember, it’s easier to add than to take away!
- What’s the best way to get even slices?
- Dental floss, my friend! FYI, slide a piece of unflavored floss under the log, cross the ends over the top, and pull. It gives you perfectly clean, non-squished slices every time. It’s a game-changer, trust me.
Final Thoughts
Phew! You made it. And honestly, you’re about to make your kitchen smell like the best decision you’ve made all week. These bread flour cinnamon rolls aren’t just a treat; they’re an experience. So go on, slather on that frosting, take a glorious bite, and pat yourself on the back. You totally crushed it. Now go impress someone—or just yourself, because you’ve definitely earned it!


