So you’re craving something tasty but too lazy to spend forever in the kitchen, huh? Same, friend, same. We’ve all been there: that sudden, undeniable urge for a warm, gooey, chocolate-studded treat, but the thought of a culinary marathon? Hard pass. Especially when you’re navigating the glorious world of gluten-free baking, which sometimes feels like it requires a PhD in chemistry.
Well, buckle up, buttercup, because I’m about to drop a recipe on you that will change your GF cookie game forever. These aren’t just “good for gluten-free” cookies; these are *actual* ridiculously good chocolate chip cookies that just *happen* to be gluten-free. No weird textures, no crumbly messes, just pure, unadulterated cookie joy. Let’s get baking!
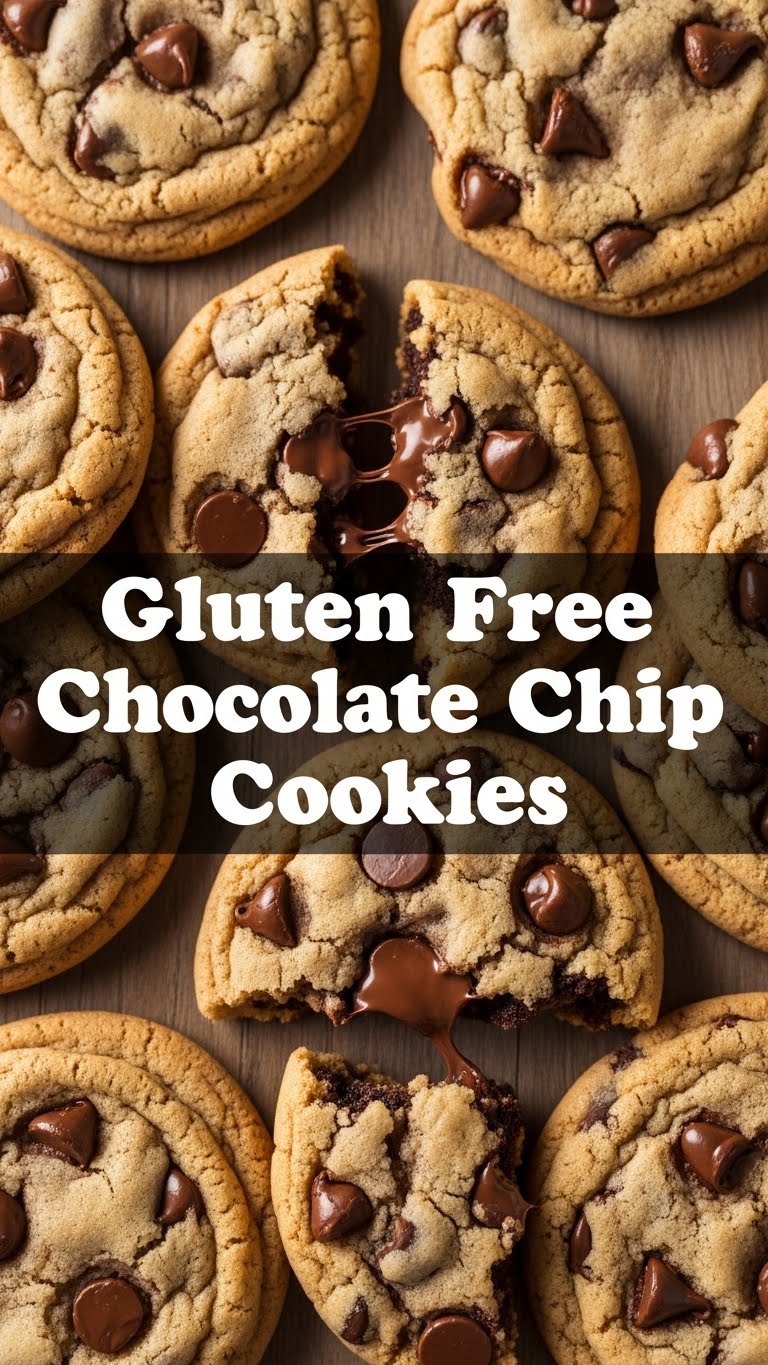
Why This Recipe is Awesome
Okay, let’s be real. There are a million cookie recipes out there. So why should *this one* be your new go-to? Because it’s practically magic, that’s why! First off, it’s **idiot-proof**. Seriously, even on my most distracted “what even is butter?” kind of day, I’ve nailed these. The science is simple, the steps are clear, and the results are consistently chewy, chocolatey perfection. You won’t miss the gluten, promise!
Secondly, it’s fast. Like, “I need cookies NOW” fast. No obscure ingredients, no ridiculous chilling times (unless you want to be fancy, but more on that later). And finally, these cookies are so darn delicious, your gluten-eating pals won’t even realize they’re missing anything. Prepare for compliments, because you’re about to become a cookie legend in your own right. **They’re a total crowd-pleaser**, even if the crowd is just you in your PJs.
Ingredients You’ll Need
Gather ’round, my sweet-toothed companions! Here’s your shopping list for edible happiness. Nothing too wild, just the good stuff:
- **1 cup (2 sticks) unsalted butter**, softened. Yes, the real stuff, obvs. Don’t even *think* about margarine.
- **3/4 cup granulated sugar**. Because life is short and sugar is sweet.
- **3/4 cup packed light brown sugar**. For that extra chewiness and depth. Yum!
- **2 large eggs**. Room temperature is best, if you’re feeling ambitious.
- **1 teaspoon vanilla extract**. Don’t skimp here; it’s the soul of the cookie.
- **2 1/4 cups gluten-free all-purpose flour blend** (the kind with xanthan gum already in it, or add 1/2 tsp separately). This is key!
- **1 teaspoon baking soda**. Our little cookie lifter.
- **1/2 teaspoon salt**. Balances out all that sweetness. Crucial!
- **1 1/2 cups chocolate chips**. The more the merrier, duh. Milk, semi-sweet, dark – your choice!
Step-by-Step Instructions
Alright, apron on (or not, we don’t judge), let’s get down to business!
- **Preheat Power**: First things first, get that oven screaming hot to 375°F (190°C). Line a couple of baking sheets with parchment paper. Trust me, it makes clean-up a breeze.
- **Cream Dream**: In a large bowl, cream together your softened butter, granulated sugar, and brown sugar until it’s light and fluffy. This usually takes 2-3 minutes with an electric mixer. **Don’t rush this step; it’s important for texture!**
- **Egg-cellent Addition**: Beat in the eggs one at a time, mixing well after each addition. Then stir in that glorious vanilla extract. It should smell amazing already!
- **Dry Mix Magic**: In a separate, medium bowl, whisk together your GF flour blend, baking soda, and salt. Make sure it’s all nicely combined.
- **Combine & Conquer**: Gradually add the dry ingredients to the wet ingredients, mixing on low speed until just combined. **Stop mixing as soon as you don’t see any dry flour streaks.** Overmixing is a cookie killer, especially with GF flour!
- **Chocolate Time**: Fold in those chocolate chips with a spatula. Be generous!
- **Scoop & Bake**: Drop rounded tablespoons (or use a cookie scoop for perfectly uniform cookies) of dough onto your prepared baking sheets, leaving a couple of inches between each. They’ll spread a bit.
- **Golden Goodness**: Bake for 9-11 minutes, or until the edges are golden brown and the centers are still looking slightly soft. They’ll firm up as they cool.
- **Cool Down**: Let the cookies cool on the baking sheets for 5 minutes before transferring them to a wire rack to cool completely (if you can wait that long, you’re a stronger person than I).
Common Mistakes to Avoid
We all make mistakes, darling, especially in the kitchen. But with a little heads-up, you can dodge these common cookie pitfalls and achieve pure perfection:
- **Ignoring Preheat**: Thinking you don’t need to preheat the oven. Rookie mistake! A hot oven helps cookies spread just right and get that perfect crispy edge.
- **Overmixing**: Especially with GF flour, overmixing develops the starches too much, leading to tough, gummy cookies. Mix until *just* combined.
- **Too Much Flour**: Scooping flour directly from the bag with a measuring cup can result in too much flour, making your cookies dry and crumbly. **Always spoon flour into your measuring cup and then level it off.** Better yet, weigh your flour if you have a kitchen scale!
- **Not Softening Butter Enough (or too much)**: Rock-hard butter won’t cream properly, and completely melted butter will give you greasy, flat cookies. Aim for soft, but still cool, butter.
- **Impatience**: Pulling them out too early or moving them too soon. Let them set a bit on the hot sheet, then finish cooling. Good things come to those who wait (a *little* bit).
Alternatives & Substitutions
Feel free to get creative, my friend! This recipe is super flexible. Here are some ideas:
- **Flour Power**: If your GF flour blend doesn’t have xanthan gum, add 1/2 teaspoon separately to the dry ingredients. Some folks swear by specific brand blends (like Bob’s Red Mill 1-to-1 or King Arthur GF Measure for Measure), so find your fave!
- **Dairy-Free Delight**: Swap out the butter for your favorite vegan butter alternative (Miyoko’s Kitchen or Earth Balance sticks work great). The texture will be slightly different, but still delish!
- **Chocolate, Glorious Chocolate**: Don’t limit yourself to just semi-sweet chips! Try dark chocolate chunks, white chocolate, a mix of all three, or even some mini peanut butter cups chopped up. The world is your oyster!
- **Extra Goodies**: Want to jazz it up? Add a handful of chopped walnuts or pecans, a sprinkle of sea salt on top before baking, or even some shredded coconut for a tropical twist.
FAQ (Frequently Asked Questions)
Got questions? I’ve got (casual and hopefully helpful) answers!
- **Can I use margarine instead of butter?** Well, technically yes, but why hurt your soul like that? Butter just gives a superior flavor and texture. If you must, use a high-quality margarine, but you’ve been warned!
- **Do I *have* to chill the dough?** Not for this recipe, no! It’s designed to be baked immediately. However, if you *want* to chill it for 30 minutes, it can sometimes lead to a slightly chewier cookie and less spread. Your call, boss.
- **Are these cookies healthy?** LOL. They’re chocolate chip cookies. While they are gluten-free, they’re still a treat! Enjoy them in moderation… or not, I’m not your mom.
- **My cookies are flat! What went wrong?** Could be a few things! Butter was too soft/melted, oven wasn’t hot enough, or your baking soda isn’t fresh. Check those first!
- **Can I freeze the dough?** Absolutely! Roll the dough into balls, place them on a baking sheet, and freeze until solid. Then transfer to a freezer-safe bag. When you’re ready to bake, just pop them on a sheet, maybe add 1-2 minutes to the bake time, and boom: fresh cookies whenever you want!
- **What if my GF flour blend doesn’t have xanthan gum?** No problem! Just add 1/2 teaspoon of xanthan gum to your dry ingredients along with the flour, baking soda, and salt. It’s like a secret binder for GF goodies.
Final Thoughts
There you have it, folks! A ridiculously easy, incredibly delicious, and completely gluten-free chocolate chip cookie recipe that’ll make you wonder why you ever bothered with the gluten-y kind. Seriously, these are a game-changer.
So, what are you waiting for? Go forth and conquer those cookie cravings! Whip up a batch, make your kitchen smell divine, and treat yourself to some well-deserved warmth and sweetness. Now go impress someone—or just yourself—with your new culinary skills. You’ve earned it!


