Okay, spill the beans. You’ve been staring into the abyss of your fridge, dreaming of something sweet, decadent, but also… not going to undo all your hard work at the gym, right? Or maybe you just want to feel *slightly* less guilty about devouring an entire batch of cookies. My friend, you’ve come to the right place. Because today, we’re making healthy chocolate chip cookies that actually taste like cookies, not cardboard disguised as a health food experiment gone wrong. You know the drill, let’s get baking!
Why This Recipe is Awesome (and You’ll Love Me For It)
First off, this isn’t one of those recipes where “healthy” means “flavorless” or “looks like it belongs in a science experiment.” Nope. These babies are legitimately delicious. Like, your non-healthy-eating friends will snatch them up and ask for the recipe, oblivious to your genius healthy swaps. It’s also super simple. Seriously, if I, a person who once set off a smoke alarm making toast, can pull this off without a hitch, you’re golden. Plus, we’re cutting down on the refined sugar and butter without sacrificing that glorious chewy-crispy combo we all crave. It’s a culinary magic trick, and you’re about to become the magician. Ta-da!
Ingredients You’ll Need (aka Your Edible Arsenal)
- 1 ¼ cups whole wheat pastry flour (or regular whole wheat flour if you’re feeling rustic. Don’t worry, it’ll still be good.)
- ½ tsp baking soda (the magic dust that makes them fluffy, not flat)
- ¼ tsp salt (because even healthy cookies need a little zing!)
- ¼ cup melted coconut oil (or unsalted butter, but let’s pretend we’re *extra* healthy today)
- ½ cup coconut sugar (or brown sugar if you’re feeling rebellious – still better than white sugar, IMO)
- ¼ cup unsweetened applesauce (our secret weapon for moisture and cutting down on fat – shhh, don’t tell anyone)
- 1 large egg (at room temp, because happy eggs make happy cookies)
- 1 tsp vanilla extract (don’t skimp, this is where the *flavor* lives)
- ½ cup dark chocolate chips (the darker, the healthier-ish. Plus, antioxidants!)
Step-by-Step Instructions (Even a Squirrel Could Follow)
- Preheat Power-Up: First things first, get your oven to 375°F (190°C). Line a baking sheet with parchment paper. Trust me, it makes cleanup a breeze.
- Dry Mix Magic: In a medium bowl, whisk together your whole wheat flour, baking soda, and salt. Set aside.
- Wet Mix Wonder: In a separate, larger bowl, whisk the melted coconut oil, coconut sugar, and applesauce until nicely combined. Then, beat in the egg and vanilla extract. You’re building flavor foundations here!
- Combine Forces: Gradually add the dry ingredients to the wet ingredients, mixing until *just* combined. Do not overmix, unless you enjoy tough cookies (and who does?).
- Chocolate Chip Check: Fold in those glorious dark chocolate chips. Be gentle, we don’t want to crush them!
- Scoop ‘n’ Drop: Drop rounded tablespoons of dough onto your prepared baking sheet, leaving some space between them. They like their personal space, just like us.
- Bake Off!: Bake for 8-10 minutes, or until the edges are lightly golden but the centers still look a little soft. That’s the secret to chewy cookies, my friend.
- Cool Down Crew: Let them cool on the baking sheet for a few minutes before transferring to a wire rack to cool completely. Or, you know, eat one (or three) warm. I won’t tell.
Common Mistakes to Avoid (Learn From My Goofs)
- Overmixing the Dough: Seriously, stop. Once the flour is incorporated, step away from the whisk. Overmixing develops gluten, leading to hockey pucks instead of soft cookies. You want a tender crumb, not a workout for your jaw.
- Skipping the Parchment Paper: Thinking you can just grease the pan? Rookie mistake. Your cookies will stick, get burnt bottoms, and generally be sad. Parchment paper is your friend. Embrace it.
- Baking Too Long: Remember that “lightly golden edges, soft center” thing? That’s key. If they look fully cooked and firm in the oven, they’re probably already overbaked. Undercooked is better than overcooked for chewy cookies.
- Not Preheating the Oven: Your oven isn’t just a warming box. It needs to be at the correct temperature for even baking and proper cookie spread. Give it time, it’s worth the wait.
- Eating All the Dough Before Baking: Okay, not a “mistake” per se, more like a “temptation.” But seriously, save some for the actual cookies!
Alternatives & Substitutions (Get Creative!)
This recipe is pretty forgiving, so feel free to play around. It’s your kitchen, your rules!
- Flour Power: Not a whole wheat fan? Try oat flour for an even chewier, slightly nutty cookie. You can even use a 1:1 gluten-free flour blend, but results may vary slightly, FYI.
- Sweet Swaps: Instead of coconut sugar, you could use maple syrup (reduce applesauce slightly if doing so, as it adds more liquid) or date sugar.
- Fat Facts: If coconut oil isn’t your jam, go for light butter or even a neutral-flavored oil like canola or grapeseed. Just make sure it’s melted.
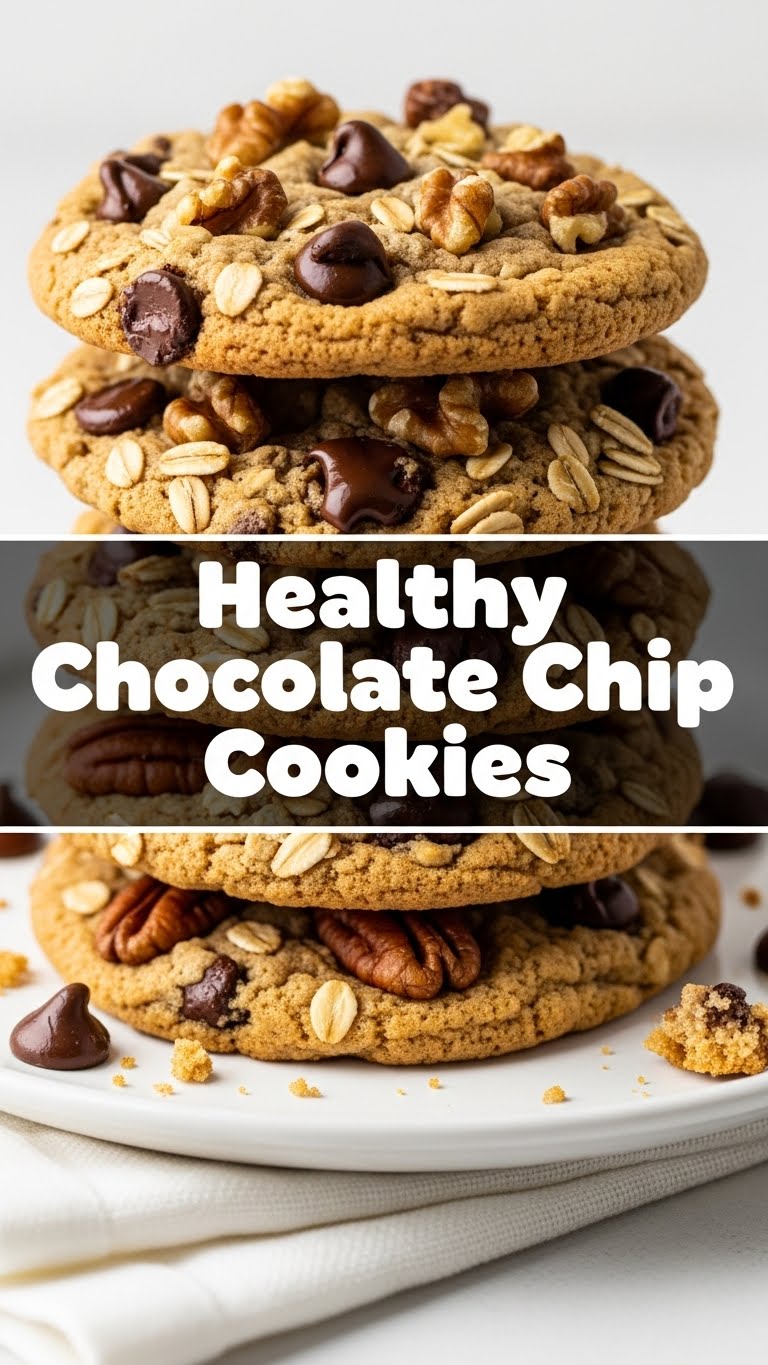
- Add-Ins: Feel free to get wild! Chopped nuts (walnuts, pecans), dried cranberries, or even a sprinkle of sea salt on top before baking can elevate these cookies to superstar status.
FAQ (Because You Have Questions, I Have Snarky Answers)
- “Can I reduce the sugar even more?” You *can*, but at some point, you’re just baking flavored flour. A little sugar helps with texture and browning, not just sweetness. Plus, it’s already “healthy,” remember? Don’t be greedy!
- “Do I *really* need room temperature egg?” Honestly, it helps. A cold egg can seize up your melted oil/butter, making your dough a bit chunky. Warm eggs integrate better, leading to a smoother, more uniform dough. Happy egg, happy cookie.
- “My cookies spread too much! What happened?” Likely culprits: your oven was too cold (see preheating note!), your butter/oil was too warm, or you added too much liquid. Next time, try chilling the dough for 15-20 minutes before baking.
- “Can I make these vegan?” Absolutely! Swap the egg for a “flax egg” (1 tbsp ground flaxseed meal + 3 tbsp water, let sit for 5 mins). Make sure your chocolate chips are dairy-free too!
- “How long do these beauties last?” If you manage not to devour them all in one sitting (impressive willpower!), they’ll stay fresh in an airtight container at room temperature for up to 3-4 days. You can also freeze the baked cookies for longer storage.
Final Thoughts (Go Forth and Conquer!)
And there you have it, my friend! A batch of healthy chocolate chip cookies that are so good, they might just become your new go-to. Who says you can’t have your cookie and eat it too (without the guilt)? Not me! Now go impress someone—or yourself—with your new culinary skills. You’ve earned it! Grab a warm cookie, a cold glass of milk (or your preferred beverage), and bask in the glory of your baking prowess. You’re basically a healthy dessert wizard. You’re welcome!


