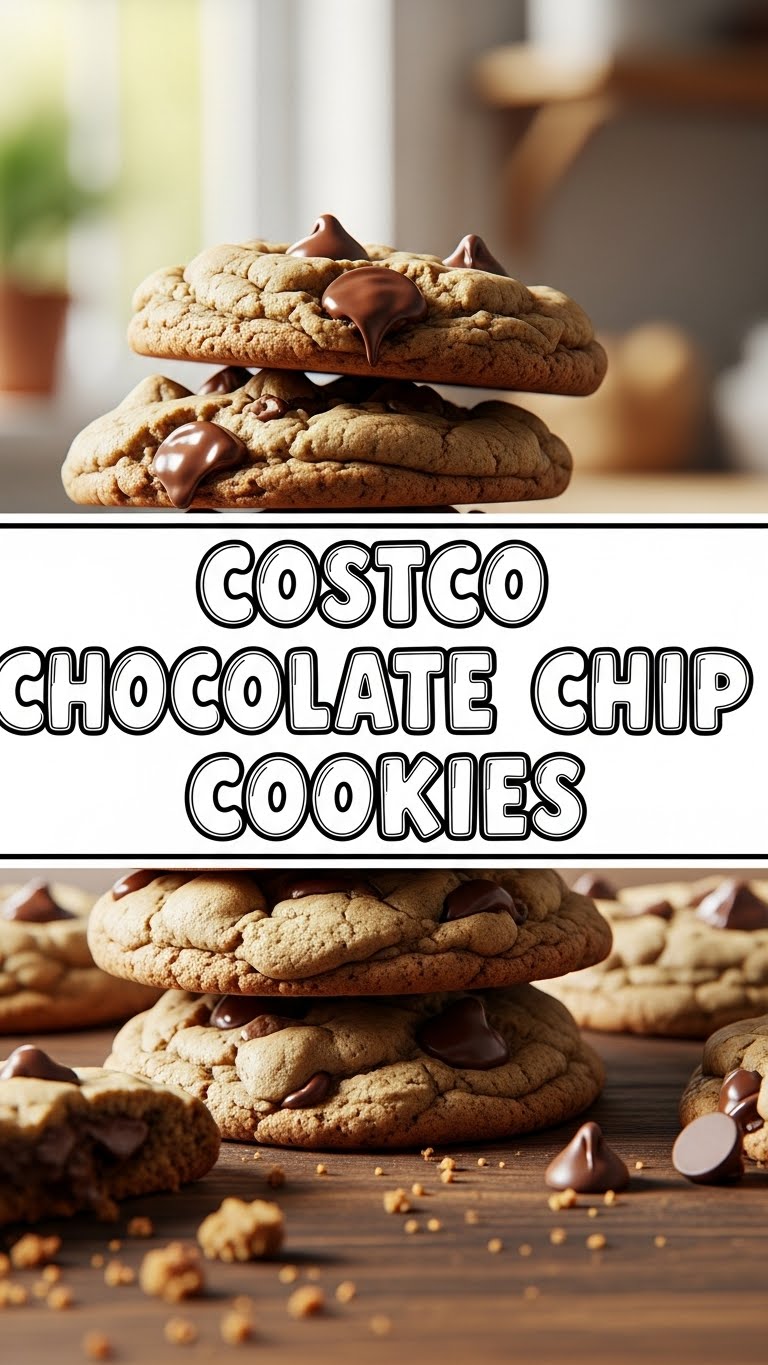
Okay, real talk. You know those giant, irresistible chocolate chip cookies from Costco that whisper sweet nothings to you from the bakery section? The ones you *accidentally* buy every time you go for toilet paper? What if I told you we could make ’em at home? Yeah, I know, mind blown. So you’re craving something tasty but too lazy to spend forever in the kitchen, huh? Same. Let’s do this!
Why This Recipe is Awesome
First off, it’s pretty much **foolproof**. Like, even if your culinary skills are limited to ordering takeout, you can nail this. It doesn’t require a science degree, a stand mixer with 17 attachments, or even knowing what “folding” actually means (you’ll learn, promise). We’re talking maximum cookie payoff for minimal effort. You get that perfectly chewy center, slightly crisp edge, and a ridiculous amount of chocolate in every bite. Plus, imagine the bragging rights! “Oh, these? Just something I whipped up. NBD.” Your friends will be begging for the recipe, and you can either share or gatekeep the secret. Your call, champ.
Ingredients You’ll Need
Let’s gather our edible treasures, shall we? Don’t skimp on the good stuff; your taste buds will thank you.
- **Unsalted Butter** (2 sticks / 1 cup): The real deal. Make sure it’s softened to room temperature – not melted, not straight from the fridge. Think “spreadable,” not “liquid.”
- **Granulated Sugar** (3/4 cup): The usual suspect.
- **Light Brown Sugar**, packed (1 cup): This is a huge player for that chewiness. Don’t press it down like you’re trying to win an arm wrestle, just lightly pack it.
- **Large Eggs** (2): Room temp if you can remember to take them out. If not, don’t sweat it, but room temp eggs play nicer.
- **Vanilla Extract** (2 teaspoons): The good stuff! Spend a little extra here.
- **All-Purpose Flour** (2 cups + 2 tablespoons): Your standard baking ammo. Make sure you measure it correctly (levelled, not packed in like a snowman).
- **Baking Soda** (1 teaspoon): For that perfect lift.
- **Salt** (1/2 teaspoon): Balances all that sweetness. Don’t skip it; it makes a difference!
- **Chocolate Chips** (2 cups / 12 oz bag): This is where the magic happens. I recommend a mix of semi-sweet and milk chocolate chips for that classic Costco vibe. Or go wild with dark, white, whatever floats your boat!
Step-by-Step Instructions
Alright, apron on (or just wear clothes you don’t mind getting flour on, no judgment here), let’s bake!
- **Cream it up:** In a large bowl, using an electric mixer (handheld or stand mixer works!), beat the softened butter with both granulated and brown sugars until the mixture is light, fluffy, and looks like cloud perfection. This usually takes about 2-3 minutes.
- **Egg-cellent addition:** Add the eggs one at a time, mixing well after each addition until just combined. Then, stir in the vanilla extract. Scrape down the sides of the bowl to make sure everything is incorporated.
- **Dry mix party:** In a separate medium bowl, whisk together the flour, baking soda, and salt. Give it a good whisk to ensure everything is evenly distributed.
- **Combine forces:** Gradually add the dry ingredients to the wet ingredients, mixing on low speed until *just* combined. **Seriously, don’t overmix!** As soon as you see no more streaks of flour, stop. Overmixing = tough cookies, and nobody wants that.
- **Chocolate rain:** Now for the best part! Fold in those glorious chocolate chips. Use a spatula or a spoon for this. Make sure they’re evenly distributed throughout the dough.
- **Chill out (optional but highly recommended):** Cover the dough with plastic wrap and chill it in the fridge for at least 30 minutes. **Pro-tip:** Chilling makes for thicker, chewier cookies and enhances the flavor. You can chill longer, even overnight! This is key for that bakery-style cookie.
- **Preheat & Prep:** Preheat your oven to 375°F (190°C). Line two large baking sheets with parchment paper. This prevents sticking and makes cleanup a breeze, trust me.
- **Scoop ’em out:** Use a large cookie scoop (about 1/4 cup for that Costco size, or smaller for regular cookies) or just roll generous balls of dough. Place them about 2-3 inches apart on the prepared baking sheets.
- **Bake time!** Bake for 10-14 minutes (10-12 for smaller, 12-14 for giant cookies), or until the edges are golden brown but the centers still look a *little* soft and set. **Don’t overbake!** The cookies will continue to cook slightly as they cool.
- **Cool down:** Let them cool on the baking sheet for 5 minutes (this helps them firm up) before carefully transferring them to a wire rack to cool completely. If you can even wait that long, you’re a stronger person than I.
Common Mistakes to Avoid
Even the pros make mistakes, but here are some easy ones to dodge:
- **Using cold butter:** Seriously, it’s like trying to mix concrete with a spoon. Let it soften! If you’re in a rush, cut it into small pieces and let it sit for 15-20 minutes.
- **Overmixing the dough:** We talked about this! You’ll end up with hockey pucks, not soft, chewy cookies. Mix until *just* combined, then stop.
- **Baking on unlined sheets:** Unless you like playing “scrape the cookie off the pan” and scrubbing forever, use parchment paper or a silicone mat. Your future self will thank you.
- **Not chilling the dough:** Okay, you *can* skip it, but your cookies might spread more and won’t have that deep, rich flavor. It’s not strictly necessary, but it makes a **HUGE** difference in texture and flavor. Trust me on this one, IMO.
- **Overbaking:** Pull those bad boys out when they look *slightly* underdone in the middle. They’ll continue to set up as they cool. A pale center is a sign of future chewiness.
Alternatives & Substitutions
Feel free to get creative, but know that some swaps might change the final texture. That’s part of the fun, right?
- **Chocolate choices:** Go wild! Swap out milk chocolate for dark, throw in some white chocolate chips, butterscotch chips, or even chopped nuts (pecans or walnuts would be divine, especially if you toast them first!).
- **Flour power:** All-purpose is classic, but for an even chewier cookie, you could sub a tablespoon or two of bread flour for an equal amount of all-purpose flour. Don’t go crazy though; we’re not making sourdough here.
- **Butter substitutes:** Margarine? *Sigh.* Technically, yes, but your cookies won’t have the same rich flavor or tender crumb. For a dairy-free option, a good quality plant-based butter (like Miyoko’s Kitchen or Earth Balance sticks) could work, but again, texture and flavor will be a bit different.
- **Adding spices:** A pinch of cinnamon or a dash of espresso powder (about 1/2 teaspoon) can really deepen the chocolate flavor without making it taste like coffee.
FAQ (Frequently Asked Questions)
Got questions? I’ve got answers (mostly).
- **Can I make these giant like Costco’s?** Absolutely! Just scoop bigger balls of dough (about 1/4 cup each, or even bigger!) and add a few extra minutes to the baking time. Keep an eye on them!
- **My cookies spread too much! What happened?** Could be a few things: your butter was too warm, your oven isn’t calibrated (an oven thermometer is a lifesaver!), or you skipped the chill time. **Chill your dough!** It helps prevent spreading.
- **How long do these last?** Hah! As if they’ll last. But if by some miracle they do, store them in an airtight container at room temp for up to 3-4 days. They’re best on day one, though, just sayin’.
- **Can I freeze the dough?** YES! This is a fantastic trick. Scoop dough balls onto a baking sheet, freeze until solid, then transfer to a freezer bag. When a craving hits, bake from frozen, adding a couple of minutes to the bake time. Freshly baked cookies on demand!
- **Do I *really* need to use both brown and white sugar?** Yup. White sugar provides structure and some crispness, while brown sugar adds moisture, chewiness, and that lovely caramel flavor. It’s a team effort for the perfect cookie!
- **Can I add nuts or other mix-ins?** For sure! Roughly chop about 1/2 to 1 cup of your favorite nuts (pecans, walnuts) or other goodies like toffee bits. Add them when you fold in the chocolate chips.
Final Thoughts
And there you have it, friend! Your very own batch of Costco-sized (or regular-sized, you do you) chocolate chip cookies, made with your own two hands. You’ve conquered the oven, tamed the butter, and now stand victorious with a plate of warm, gooey goodness. So go on, grab a warm one (or three), maybe a glass of milk, and bask in the glory of your baking prowess. You’ve earned it! Now go impress someone—or yourself—with your new culinary skills. Enjoy!


