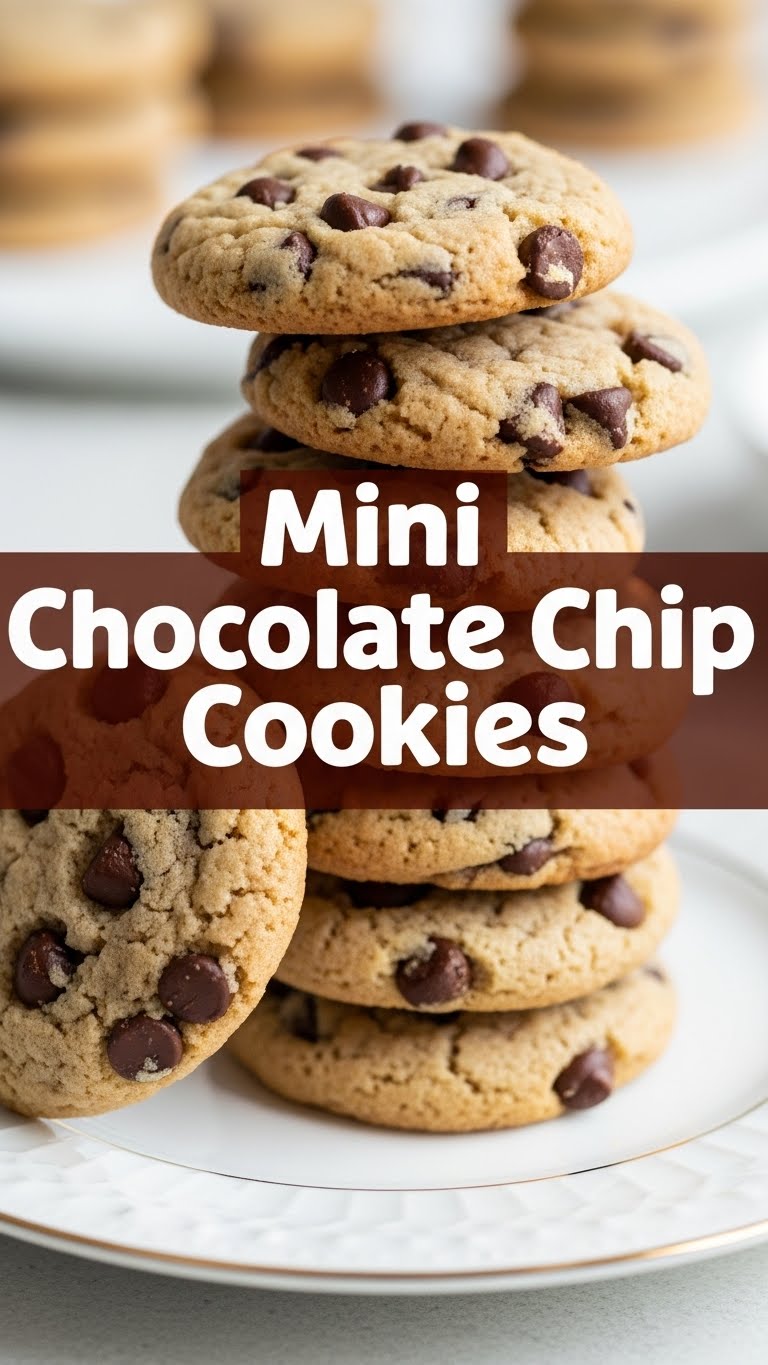
So, you’ve got that craving, right? The one that whispers “cookies!” but then your inner adult yells “portion control!” or “too much effort for one giant cookie!” Been there, friend. Like, five minutes ago. That’s why we’re diving headfirst into the glorious world of **Mini Chocolate Chip Cookies**. Think all the chewy, gooey goodness of your favorite cookie, but in bite-sized, guilt-free (ish) packages. Perfect for when you need a little treat, not a full-blown commitment.
Why This Recipe is Awesome
Okay, buckle up, because this isn’t just *any* cookie recipe. This is THE cookie recipe for people who appreciate instant gratification and minimal fuss. First off, they’re mini! This means they bake faster, cool faster, and somehow taste even better because they’re so darn cute. Plus, you can convince yourself you’re eating less, even if you manage to eat about ten of them. (No judgment here, we’ve all been there.)
It’s also pretty much **idiot-proof**. Seriously, if I can nail these without setting off the smoke detector, you’re golden. The ingredients are probably already lurking in your pantry, and the steps are so straightforward, you could probably do them in your sleep. So, get ready to feel like a baking wizard without actually doing any wizard-level work. Win-win!
Ingredients You’ll Need
Gather ’round, my fellow snack enthusiasts! Here’s the treasure map to deliciousness:
- 1/2 cup (1 stick) unsalted butter, softened. Because butter makes everything better. Don’t even try to argue.
- 1/4 cup granulated sugar. Just enough sweetness to make you smile.
- 1/2 cup packed light brown sugar. For that irresistible chewiness and a hint of molasses magic.
- 1 large egg. The binder of dreams.
- 1 teaspoon vanilla extract. Crucial. Don’t skimp on the good stuff!
- 1 1/4 cups all-purpose flour. The backbone of our cookie empire.
- 1/2 teaspoon baking soda. To help them puff up perfectly.
- 1/4 teaspoon salt. Balances the sweetness and makes everything pop.
- 1 cup mini chocolate chips. Because “mini” is the theme, and these ensure chocolate in every single bite. Go dark, go milk, go a mix – your adventure!
Step-by-Step Instructions
- First things first, preheat your oven to 350°F (175°C). While you’re at it, line a couple of baking sheets with parchment paper. Trust me, it makes cleanup a breeze!
- In a large bowl, cream together the softened butter, granulated sugar, and brown sugar until it’s light and fluffy. This usually takes about 2-3 minutes with an electric mixer, or a good arm workout if you’re going old-school.
- Beat in the egg and vanilla extract until they’re just combined. Don’t overmix here; we’re going for tender, not tough, cookies.
- In a separate bowl, whisk together the flour, baking soda, and salt. This ensures everything is evenly distributed. Nobody wants a salty patch and a bland patch, right?
- Gradually add the dry ingredients to the wet ingredients, mixing on low speed until *just* combined. Stop as soon as you don’t see any streaks of flour.
- Now for the best part: gently fold in those glorious mini chocolate chips. Make sure they’re spread throughout the dough, ready to burst with flavor.
- Here’s where the “mini” magic happens! Drop rounded teaspoons of dough onto your prepared baking sheets. Leave about an inch between them – they’ll spread a little, but not much.
- Bake for 7-9 minutes, or until the edges are lightly golden and the centers are still a bit soft. Remember, every oven is a unique beast, so keep an eye on them!
- Let them cool on the baking sheets for a few minutes before transferring them to a wire rack to cool completely (if they last that long, which, let’s be real, they won’t).
Common Mistakes to Avoid
- Not preheating your oven: Rookie move! A cold oven means your cookies won’t spread or bake evenly. Always give it time to get to temperature.
- Overmixing the dough: The enemy of tender cookies. Once the flour is incorporated, stop! Overmixing develops gluten, leading to tough cookies.
- Using cold butter: Softened butter is key for proper creaming with the sugars, which creates air pockets for a light texture. Cold butter leads to dense cookies.
- Not using parchment paper: Unless you enjoy scraping cookies off a baking sheet and cursing, parchment paper is your friend. **Seriously, use it.**
- Baking too long: These mini cookies bake fast! If you bake them until they look fully set in the middle, they’ll be hard and crunchy once cooled. Pull them out when the edges are golden and the centers look slightly underdone.
Alternatives & Substitutions
Feeling adventurous? Or maybe you’re out of one tiny ingredient? No stress, my friend, we can adapt!
- No mini chips? Regular chocolate chips are totally fine, just chop them up a bit if you want that “chocolate in every bite” experience. Or use chocolate chunks for a more gourmet feel.
- Want to get fancy? Throw in some chopped nuts (pecans or walnuts are divine!), a sprinkle of sea salt on top before baking, or even a dash of espresso powder for a mocha twist. Your kitchen, your rules!
- Butter alternatives: If you’re dairy-free, a good quality plant-based butter substitute works quite well. Just make sure it’s one designed for baking.
- Different flavors: Try white chocolate chips, butterscotch chips, or even M&M’s for a burst of color and different flavor. Just ensure you use roughly the same volume.
FAQ (Frequently Asked Questions)
Got questions? I’ve got answers (and probably a cookie crumb on my shirt).
- “Do I really need to chill the dough?” For these mini cookies, not usually! The smaller size helps them hold their shape without chilling. However, if your kitchen is super warm, a quick 15-minute chill won’t hurt.
- “Can I make these ahead of time?” Absolutely! You can scoop the dough balls onto a baking sheet, freeze them, then transfer to a freezer bag. Bake from frozen, adding a minute or two to the baking time. Easy peasy!
- “How do I store them?” Once completely cool (which, good luck with that!), store them in an airtight container at room temperature for up to 3-4 days. They rarely last that long, though, IMO.
- “My cookies spread too much! What happened?” Could be a few things: your butter was too soft/melted, your oven wasn’t hot enough, or you didn’t measure your flour accurately. Next time, try chilling the dough for 30 minutes before baking.
- “Can I use margarine instead of butter?” Well, technically yes, but why hurt your soul like that? Butter provides a flavor and texture that margarine just can’t replicate. It’s an investment in happiness!
- “Can I double the recipe?” Go for it! This recipe scales beautifully. Just be prepared to have double the deliciousness (and double the self-control challenge).
Final Thoughts
So there you have it, folks! Your new go-to recipe for when you need a little sweet something, but don’t want to commit to a whole production. These mini chocolate chip cookies are tiny bursts of pure joy, perfect for sharing (or, let’s be honest, hoarding). Now go forth, bake some happiness, and impress someone—or yourself—with your new culinary skills. You’ve earned it!


