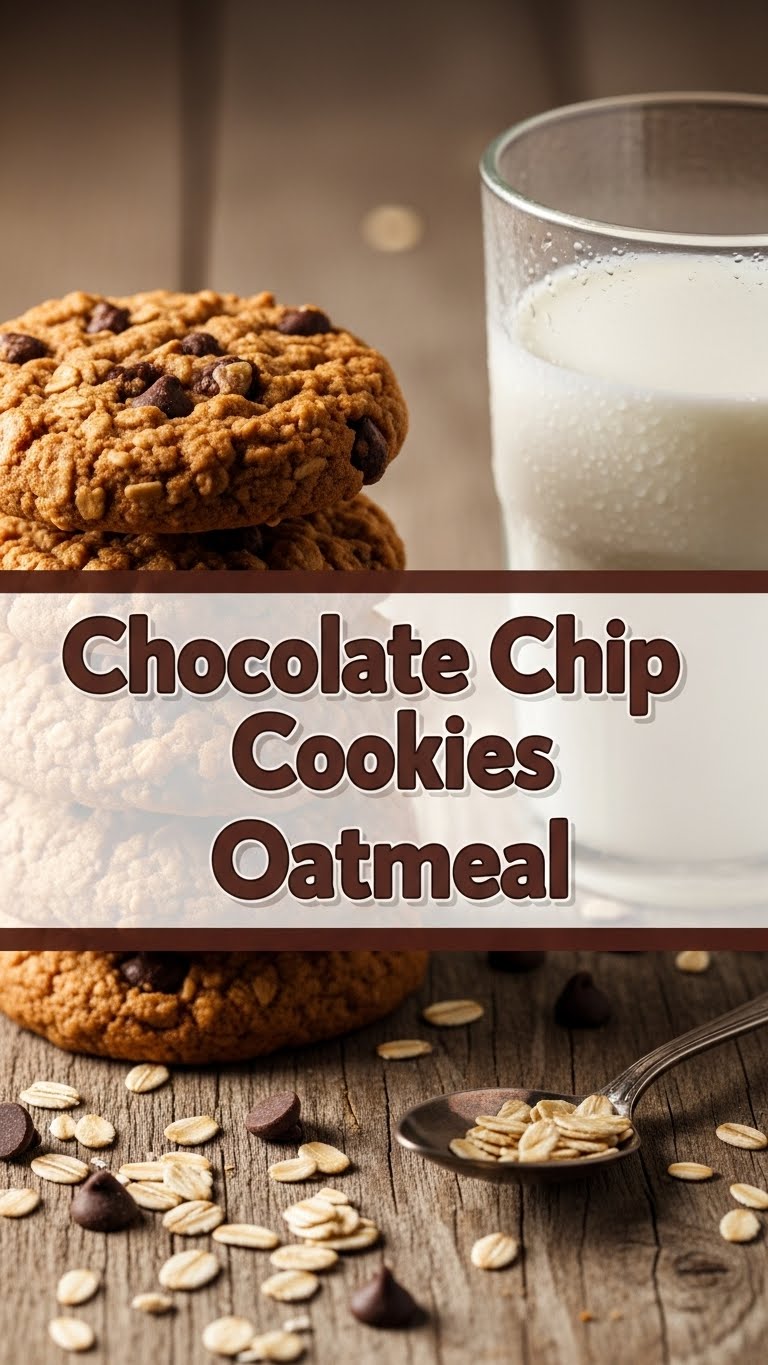
So, you’ve just binged three seasons of your favorite show, and suddenly a wild craving for something warm, chewy, and chocolatey appears? But, like, actually *making* something feels like scaling Mount Everest? Been there, done that, got the crumb-stained t-shirt. Good news, my friend! We’re about to dive into the magical world of Chocolate Chip Oatmeal Cookies. It’s basically self-care in cookie form, without the existential dread of a complicated recipe. Let’s do this!
Why This Recipe is Awesome
Okay, buckle up, because this isn’t just *any* cookie recipe. This is THE cookie recipe for when you want to feel like a domestic goddess (or god!) without actually breaking a sweat. Why is it so awesome, you ask? Well, for starters:
- It’s practically **idiot-proof**. Seriously, if I can make these without setting off the smoke alarm, you’re golden.
- **Oatmeal means it’s basically breakfast**, right? (Don’t fact-check me on that, just enjoy the delusion.) It adds this fantastic chewiness and a touch of “health” – for balance, you know.
- **Quick gratification.** From zero to warm, gooey cookies in what feels like five minutes (okay, maybe 30, but who’s counting?).
- It’s a hug in cookie form. Plus, your kitchen will smell like pure happiness. **No fancy equipment needed**, just your hands and maybe a spoon.
Ingredients You’ll Need
Alright, gather your goodies! Nothing too wild here, just the usual suspects ready to transform into pure deliciousness. Think of it as assembling your cookie Avengers squad.
- 1 cup (2 sticks) unsalted butter, softened. Not melted, not rock-hard. Just… agreeable.
- ¾ cup granulated sugar. For that classic sweet kick.
- ¾ cup packed light brown sugar. This is where the magic happens, folks. Chewy goodness incoming!
- 2 large eggs. The binders of our cookie universe.
- 1 teaspoon vanilla extract. Don’t skimp here; it’s the soul of the cookie.
- 1 ½ cups all-purpose flour. Your basic building block.
- 1 teaspoon baking soda. The lift-off agent!
- ½ teaspoon salt. Don’t skip it; it balances all that sweetness.
- 3 cups old-fashioned rolled oats. Not instant, unless you *want* sad, mushy cookies. We’re going for texture here!
- 1 ½ cups semi-sweet chocolate chips. Or dark, or milk, or a mix! You do you.
Step-by-Step Instructions
Ready to get your hands dirty? (Metaphorically, mostly.) Follow these super easy steps, and you’ll be a cookie connoisseur in no time. **Trust the process!**
- Preheat Power-Up: First things first, get your oven to **350°F (175°C)**. While it’s heating, line a couple of baking sheets with parchment paper. This makes cleanup a breeze and prevents sticking.
- Cream Dream: In a large bowl, cream together your softened butter, granulated sugar, and brown sugar until it’s light and fluffy. Use an electric mixer if you have one, or get an arm workout if you don’t.
- Egg-cellent Addition: Beat in the eggs one at a time, making sure each is fully incorporated before adding the next. Stir in that glorious vanilla extract. It’ll smell amazing already, I promise!
- Dry Mix Magic: In a separate, medium-sized bowl, whisk together the flour, baking soda, and salt. Whisking ensures everything is evenly distributed.
- Combine & Conquer: Gradually add the dry ingredients to the wet ingredients, mixing on low speed until *just* combined. **Don’t overmix!** Overmixing leads to tough cookies, and nobody wants that.
- Oats & Choccy Time: Fold in the old-fashioned oats and your lovely chocolate chips. Use a spatula for this; mix just until they’re evenly distributed throughout the dough.
- Scoop & Bake: Drop rounded spoonfuls (about 1.5-2 tablespoons) of dough onto your prepared baking sheets, leaving some space between them. They like their personal bubble.
- Golden Perfection: Bake for **10-12 minutes**, or until the edges are golden brown and the centers are *just* set. They might look slightly underdone in the middle, but that’s what gives them that perfect chewy texture as they cool.
- Cool Down, Buttercup: Let the cookies cool on the baking sheets for 5 minutes before transferring them to a wire rack to cool completely. (Or, let’s be real, eat one while it’s still warm and gooey. You earned it.)
Common Mistakes to Avoid
Even though this recipe is pretty foolproof, there are a few rookie errors you might make. Don’t worry, I’ve made them all so you don’t have to! Learn from my past cookie failures, young padawan.
- **Not preheating your oven.** Seriously, this isn’t a suggestion; it’s a command. Cold oven = flat, sad cookies. **Always preheat!**
- **Using melted butter.** Softened, people, *softened*. Melted butter will throw off the whole cookie texture, making them greasy and spread too much.
- **Overmixing the dough.** Once you add the flour, mix until *just* combined. Whipping it like it owes you money develops too much gluten, resulting in tough cookies. We want tender and chewy!
- **Using instant oats.** Just… no. They’re too thin and will turn into mush. Stick to old-fashioned rolled oats for that glorious texture.
- **Baking too long.** Undercooked is better than overcooked when it comes to chewy cookies. Pull them out when the edges are set and golden, even if the middle looks a tad soft. They’ll firm up!
Alternatives & Substitutions
Feeling adventurous, or just missing an ingredient? No stress! Here are a few ways to tweak this recipe without completely derailing your cookie mission. Live a little!
- Chocolate Chip Varieties: Not a semi-sweet fan? Go wild with milk chocolate, dark chocolate, white chocolate, or even peanut butter chips! **A mix is always a good idea**, IMO.
- Add-ins Galore: Want more texture? Throw in a handful of chopped nuts (pecans or walnuts are fantastic), dried cranberries, or even a sprinkle of shredded coconut. Just don’t go overboard, or you’ll have a cookie brick.
- Spice It Up: A pinch of cinnamon or nutmeg can really elevate these, especially if you’re leaning into that “oatmeal” vibe.
- Butter Swap (Use with Caution): While real butter is king for flavor and texture, if you *must*, you could try a plant-based butter alternative. Just be aware the texture might be slightly different. Margarine? Well, technically yes, but why hurt your soul like that?
- Gluten-Free Flour: You can absolutely swap out the all-purpose flour for a 1:1 gluten-free baking blend. **Make sure it contains xanthan gum** for the best results.
FAQ (Frequently Asked Questions)
Got questions? I probably do too, but here are some common ones that might save you a Google search:
- **”Can I make the dough ahead of time?”** Absolutely! You can chill the dough in the fridge for up to 3 days. In fact, a little chill time can actually deepen the flavors. Just let it sit at room temp for 10-15 minutes before scooping if it’s super firm.
- **”My cookies spread too much! What went wrong?”** Hmmm, rookie mistake number one: your butter might have been too soft (or melted), or your oven wasn’t preheated properly. Also, make sure your baking soda isn’t expired! **Always check that expiration date.**
- **”Can I freeze the baked cookies?”** Yep! Once completely cooled, pop them in an airtight container or freezer bag for up to 2-3 months. Thaw them at room temperature or give them a quick zap in the microwave for that “freshly baked” feel.
- **”What’s the secret to chewy cookies?”** Brown sugar, my friend! And **don’t overbake them**. Pull ’em out when they look slightly underdone in the middle.
- **”Can I reduce the sugar?”** You *can*, but I wouldn’t recommend drastic changes. Sugar doesn’t just add sweetness; it affects texture and moisture. If you reduce too much, your cookies might be drier or not spread correctly. Try reducing by no more than a quarter cup total.
- **”Why are old-fashioned oats so important?”** They hold their shape better and provide that glorious, hearty chew. Instant oats just dissolve and get mushy, which is definitely not the vibe we’re going for.
Final Thoughts
See? That wasn’t so bad, was it? You just whipped up a batch of glorious Chocolate Chip Oatmeal Cookies! You’re practically a pastry chef now. Go ahead, bask in the warm, chocolatey glow of your accomplishment. Share them (if you must!), hoard them (my personal strategy), or just enjoy one with a cuppa and pat yourself on the back.
Now go impress someone—or, let’s be real, yourself—with your new culinary skills. You’ve earned it, my friend. Happy baking!


