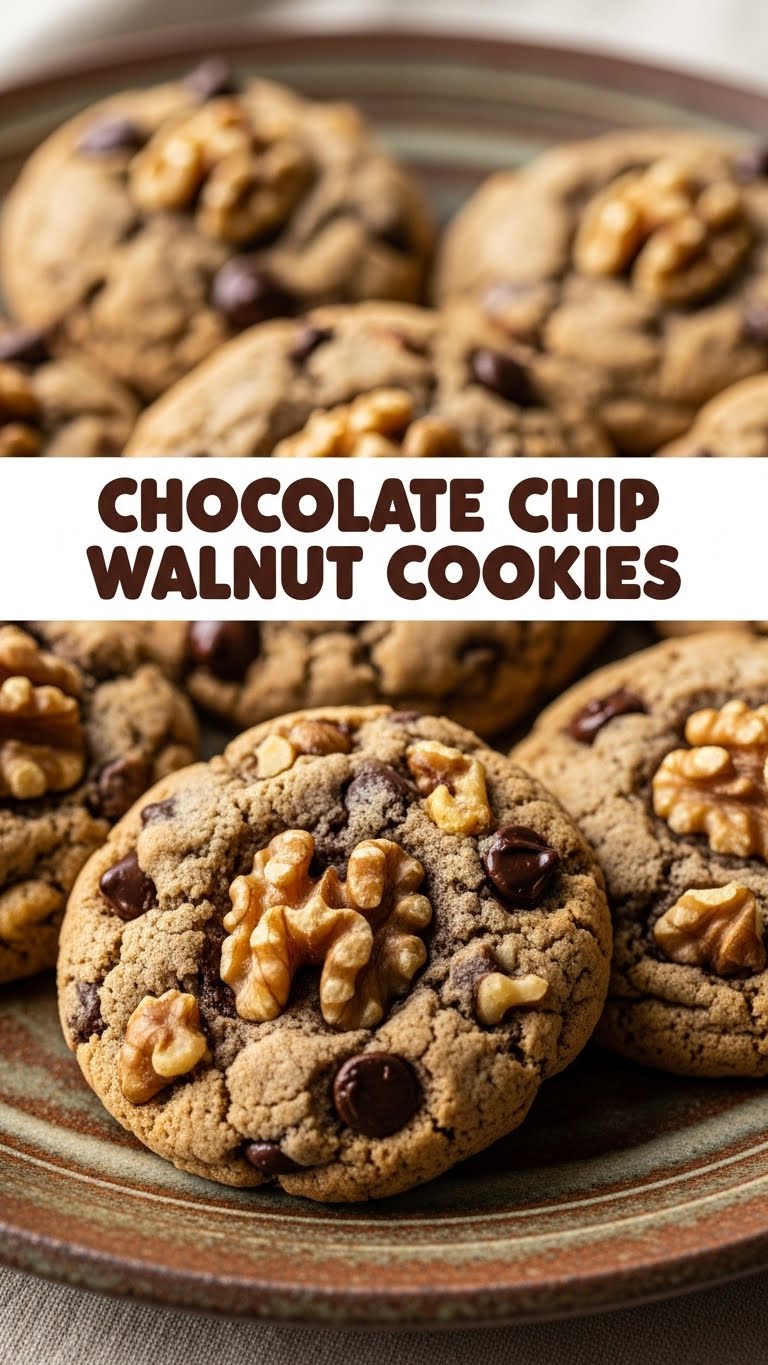
So, you woke up with a cookie monster rumbling in your belly, huh? And not just *any* cookie, but one that screams ‘comfort’ with every bite, loaded with rich chocolate and that satisfying crunch of walnuts? My friend, you’ve come to the right place. Forget those store-bought imposters; we’re about to make some chocolate chip walnut cookies that will make your taste buds do a happy dance. And don’t worry, it’s so easy, you basically can’t mess it up. Unless you try really hard, in which case, we need to have a chat.
Why This Recipe is Awesome
Listen, I get it. Life’s complicated enough without your baking recipes being a high-stakes puzzle. That’s why this particular recipe is a straight-up rockstar. It’s **foolproof**, even for those of us who occasionally burn water (no judgment, we’ve all been there). You get that perfect chewy center, slightly crispy edges, and a glorious explosion of chocolate and nutty goodness in every bite. It’s the kind of cookie that makes people say, “OMG, you *made* these?!” And you can casually reply, “Oh, these? Just whipped ’em up.” Because you did. You absolute legend.
Ingredients You’ll Need
Gather your troops! No fancy-pants, hard-to-find stuff here. Just the good ol’ basics with a couple of superstar additions.
- **1 cup (2 sticks) unsalted butter**, softened. Yes, unsalted. We add our own salt, thank you very much.
- **¾ cup granulated sugar**. The sweet stuff.
- **¾ cup packed light brown sugar**. This is where the chewiness magic happens. Don’t skimp!
- **2 large eggs**. Room temp is best, but if you forget, don’t panic.
- **1 teaspoon vanilla extract**. The soul of every good cookie.
- **2 ¼ cups all-purpose flour**. Regular ol’ flour. Nothing wild.
- **1 teaspoon baking soda**. Our lift-off agent.
- **½ teaspoon salt**. Balances everything out. Crucial!
- **1 ½ cups chocolate chips**. Use your favorite! Semi-sweet is classic, but hey, you do you.
- **1 cup chopped walnuts**. The crunch, the flavor, the *chef’s kiss*.
Step-by-Step Instructions
Alright, apron on, good vibes only. Let’s get baking!
- **Preheat Power:** First things first, get that oven screaming hot to 375°F (190°C). Line two baking sheets with parchment paper. Trust me on the parchment; it’s a lifesaver.
- **Creamy Dream Team:** In a large bowl (or stand mixer if you’re feeling fancy), beat the softened butter, granulated sugar, and brown sugar together until it’s light and fluffy. This usually takes about 2-3 minutes. Don’t rush perfection!
- **Egg-cellent Addition:** Beat in the eggs one at a time, making sure each is fully incorporated before adding the next. Stir in the vanilla extract. It’ll smell amazing already.
- **Dry Mix Magic:** In a separate medium bowl, whisk together the flour, baking soda, and salt. Give it a good whisk to make sure everything is evenly distributed.
- **Combine & Conquer:** Gradually add the dry ingredients to the wet ingredients, mixing on low speed until *just* combined. **Do not overmix!** Overmixing is the enemy of tender cookies.
- **Fold in the Fun:** Gently fold in the chocolate chips and walnuts. You want them distributed, but again, don’t go crazy.
- **Scoop ‘n Drop:** Drop rounded tablespoons (or a cookie scoop, because efficiency!) of dough onto your prepared baking sheets, leaving a couple of inches between each.
- **Bake ’em Up:** Bake for 9-12 minutes, or until the edges are golden brown and the centers still look slightly soft. **Don’t overbake!** A slightly underbaked cookie is a chewy cookie.
- **Cool Down:** Let them cool on the baking sheet for a few minutes before transferring to a wire rack to cool completely. Or, you know, eat one warm. We won’t tell.
Common Mistakes to Avoid
Baking is like a delicate dance, and sometimes we step on toes. Here are a few common blunders to dodge:
- **The “My Oven Doesn’t Need Preheating” Myth:** Oh, sweet summer child. Always preheat! A properly hot oven ensures even baking and that perfect texture. Rookie mistake, IMO.
- **Overmixing the Dough:** This is a big one. Overmixing develops the gluten too much, leading to tough, cakey cookies instead of tender, chewy ones. Mix until *just* combined, then stop!
- **Not Chilling the Dough (Optional but Recommended):** If your cookies are spreading like wildfire, a quick chill (30 mins in the fridge) can help solidify the butter and prevent excessive spreading. Your patience will be rewarded.
- **Eyeballing Ingredients:** Baking is a science, not an art gallery where “a pinch of this” always works. Measure accurately, especially flour. Too much flour means dry, crumbly cookies.
- **Ignoring the Edges:** When they look set and slightly golden brown around the edges but still a bit soft in the middle, they’re likely done. They’ll continue to cook slightly on the hot pan.
Alternatives & Substitutions
Feeling adventurous? Or maybe you just ran out of something vital. Here are some swap ideas:
- **Nut Swap:** No walnuts? No problem! Pecans are an excellent substitute and add a similar buttery crunch. Macadamia nuts would also be divine if you’re feeling bougie.
- **Chocolate Choices:** Mix it up! Use milk chocolate chips for a sweeter cookie, dark chocolate for a richer experience, or even white chocolate chips if that’s your jam. A combination of all three? Genius!
- **Butter vs. Margarine:** Can you use margarine? Well, technically yes, but why hurt your soul like that? Butter truly makes these cookies sing. If you *must* use margarine, choose a stick variety (not tub) with higher fat content for best results.
- **Add-ins:** Feeling extra? Throw in some dried cranberries for a tart kick, or even a sprinkle of sea salt on top before baking for a sweet and salty vibe.
FAQ (Frequently Asked Questions)
Got questions? I’ve got answers. Mostly.
- **Can I make the dough ahead of time?** **Absolutely!** Your future self will thank you. Wrap the dough tightly in plastic wrap and chill it in the fridge for up to 3 days. Or freeze it for up to a month for emergency cookie cravings.
- **Why are my cookies flat?** A few culprits here: warm butter (too soft), not enough flour, overbeating the butter and sugar, or even warm baking sheets. Try chilling the dough or using slightly less butter next time.
- **Can I freeze baked cookies?** You betcha! Once they’re completely cool, pop them into an airtight container or freezer bag. They’ll last for up to 2-3 months. Just thaw at room temp, or zap for a few seconds in the microwave for a warm treat.
- **What if I don’t have brown sugar?** You *can* use all granulated sugar, but your cookies will be less chewy and have a different texture. Brown sugar adds moisture and that signature chew. So, maybe just grab some brown sugar next time, okay?
- **My cookies are too cakey. What happened?** You likely used too much flour or overmixed the dough. Remember: less flour (measure correctly!) and mix until *just* combined!
Final Thoughts
There you have it, my friend! A recipe that’s as easy as it is delicious. These Chocolate Chip Walnut Cookies are perfect for sharing (if you’re feeling generous), for solo Netflix binges, or for pretending you’re a super baker. Now go forth and create some cookie magic! You’ve earned those bragging rights. Seriously, go make ’em, eat ’em, and don’t forget to send me a pic!


