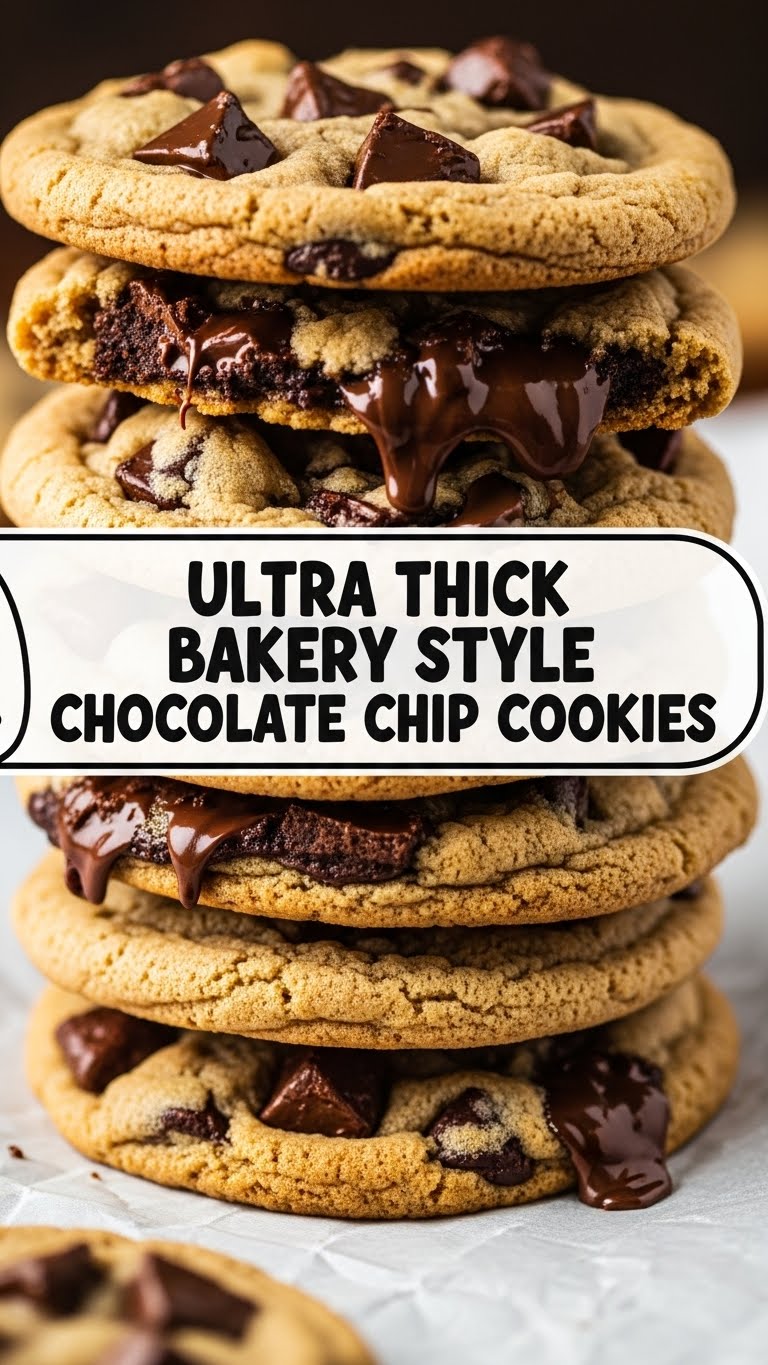
So, you’ve scrolled past one too many perfect cookie pics on your feed and now you’re wondering if you can actually make something *that* good without setting off the smoke detector, right? Good news, pal. You totally can. And even better, we’re making those ridiculously thick, chewy, bakery-style chocolate chip cookies that look like they just rolled off a professional pastry chef’s cooling rack. Get ready to impress yourself (and anyone lucky enough to be nearby).
Why This Recipe is Awesome
Because let’s be real, life is too short for thin, crispy, “where did the chocolate go?” cookies. This recipe is your ticket to ultra-thick, gloriously chewy, melt-in-your-mouth perfection. It’s practically foolproof, even for those of us who sometimes confuse baking soda with baking powder (don’t worry, I won’t tell). We’re talking minimal chill time, maximum flavour, and a texture that will make you question every other chocolate chip cookie you’ve ever met. It’s designed for instant gratification, because who has time to wait?
Ingredients You’ll Need
Gather your troops! Here’s what you’ll need to transform into a cookie wizard:
- 1 cup (2 sticks / 226g) Unsalted Butter: Softened, but not melty. Think ‘easily dented with a finger’ soft, not ‘sad puddle’ soft. Use the good stuff; you deserve it.
- ¾ cup (150g) Granulated Sugar: For that crisp edge and overall sweetness.
- 1 cup (200g) Packed Light Brown Sugar: Our secret weapon for chewiness and depth of flavour. Don’t skimp, it’s worth it.
- 2 Large Eggs: Room temperature, please. It helps them emulsify better, making for a smoother dough. Science!
- 2 tsp Vanilla Extract: Use pure vanilla, not the imitation stuff. Your tastebuds will thank you.
- 2 ¼ cups (270g) All-Purpose Flour: Don’t pack it in; spoon it into your measuring cup and level it off.
- 1 tsp Baking Soda: The lift-off agent!
- ½ tsp Baking Powder: Yep, both. It’s for that extra poof.
- 1 tsp Salt: Crucial for balancing the sweetness. Don’t you dare skip it!
- 2 cups (340g) Chocolate Chips: A mix of semi-sweet and milk chocolate is divine, but go with your heart. Chunks work too! The more the merrier, IMO.
Step-by-Step Instructions
Alright, apron on (or not, we’re rebels), let’s get baking!
- Preheat & Prep: Set your oven to 375°F (190°C). Line two baking sheets with parchment paper. This is key for easy cleanup and preventing stickage.
- Cream the Good Stuff: In a large bowl, or the bowl of your stand mixer, cream together the softened butter, granulated sugar, and brown sugar until light and fluffy. This should take about 2-3 minutes. Scrape down the sides of the bowl.
- Eggs & Vanilla Time: Beat in the eggs one at a time, mixing well after each addition. Then stir in the vanilla extract. The mixture should look cohesive and creamy.
- Whisk the Dry Squad: In a separate medium bowl, whisk together the flour, baking soda, baking powder, and salt. Make sure it’s all nicely combined.
- Combine & Conquer: Gradually add the dry ingredients to the wet ingredients, mixing on low speed until *just* combined. Do not overmix! Overmixing develops gluten, which makes tough cookies.
- Chocolate Shower: Fold in those glorious chocolate chips. Use a spatula or wooden spoon for this part. Make sure they’re evenly distributed.
- Scoop ‘Em Up: Using a large cookie scoop (about 3 tablespoons per cookie), drop dough balls onto your prepared baking sheets, leaving about 2 inches between them. These babies spread a bit.
- Bake to Perfection: Bake for 10-12 minutes, or until the edges are lightly golden and set, but the centers still look slightly soft. Don’t overbake! They’ll continue to cook a little on the pan.
- Cool Down: Let the cookies cool on the baking sheets for 5-10 minutes before transferring them to a wire rack to cool completely (if you can wait that long, you’re a stronger person than me).
Common Mistakes to Avoid
We’ve all been there, staring at a tray of flat, sad cookies. Here’s how to dodge those culinary bullet points:
- Overmixing the Dough: Seriously, once the flour is just incorporated, stop. Your dough doesn’t need a vigorous workout.
- Using Cold Eggs/Hard Butter: Room temperature butter and eggs mix much better, leading to a smoother, more emulsified dough. Cold ingredients lead to lumpy dough and inconsistent results.
- Skipping the Oven Preheat: Patience, grasshopper! A properly preheated oven ensures the cookies start baking immediately, giving them that perfect lift and texture. Rookie mistake to skip it.
- Baking for Too Long: Remember, soft centers are your friend! Take them out when the edges are set and golden, even if the middle looks a little underdone. They firm up as they cool.
- Impatience (The Ultimate Foe): Eating them piping hot off the tray is tempting, but letting them cool slightly allows them to set properly. This is crucial for that chewy texture.
Alternatives & Substitutions
Feeling adventurous? Here are some tweaks to keep things interesting:
- Chocolate Choices: Mix it up! Try dark chocolate chunks, white chocolate chips, or even chopped chocolate bars for different textures and flavors. Peanut butter chips? Caramel bits? Go wild!
- Flour Power: If you’re experimenting with gluten-free, a 1:1 gluten-free baking blend *might* work, but the texture might differ slightly. I haven’t personally tested it for “ultra-thick” results, so proceed with caution, my friend.
- Butter Swaps: Can you use margarine? Well, technically yes, but why hurt your soul like that? Stick with real butter for the best flavour and texture. Coconut oil *could* be an option for dairy-free, but it will change the flavour profile.
- Add-ins Galore: Throw in a handful of chopped walnuts, pecans, or even pretzels for a salty-sweet crunch. Just don’t go overboard, we want cookies, not a trail mix disc.
FAQ (Frequently Asked Questions)
Got questions? I’ve got answers (mostly).
- “Do I *really* need to use both kinds of sugar?”
Absolutely, 100%! Granulated sugar adds crispness and helps with browning, while brown sugar brings that signature chewiness and molasses flavour. It’s a dynamic duo for a reason!
- “Can I chill the dough?”
You *can*, but this recipe is designed to deliver amazing cookies without the wait. If you do chill it for a day or two, you might get an even more developed flavour, but they’ll still be glorious either way. Your choice, rebel.
- “My cookies are flat! What happened?”
A few culprits here: your butter might have been too warm (melted, not just soft), you might have overmixed the dough, or your baking soda/powder might be expired. Also, always check your oven temperature; sometimes they run a little hot or cold.
- “How long do these glorious cookies last?”
If you manage to hide them from yourself and others, they’ll stay fresh in an airtight container at room temperature for about 3-4 days. But let’s be honest, they probably won’t make it past day two. FYI.
- “Can I halve the recipe?”
Sure, if you’re a minimalist. But who wants half a batch of awesome? I say go big or go home, especially when it comes to ultra-thick chocolate chip cookies!
- “What’s the best way to store leftover dough?”
You can scoop the dough into balls and freeze them on a baking sheet. Once solid, transfer to a freezer bag. Bake from frozen, adding a few minutes to the baking time. Fresh cookies anytime!
Final Thoughts
So there you have it, folks. Your secret weapon for combating sweet cravings, impressing guests, or just proving to yourself that you’re a kitchen wizard (even if you just followed a super easy recipe). These ultra-thick bakery-style chocolate chip cookies are about to become your new obsession, trust me. Now go impress someone—or yourself—with your new culinary skills. You’ve earned it!


