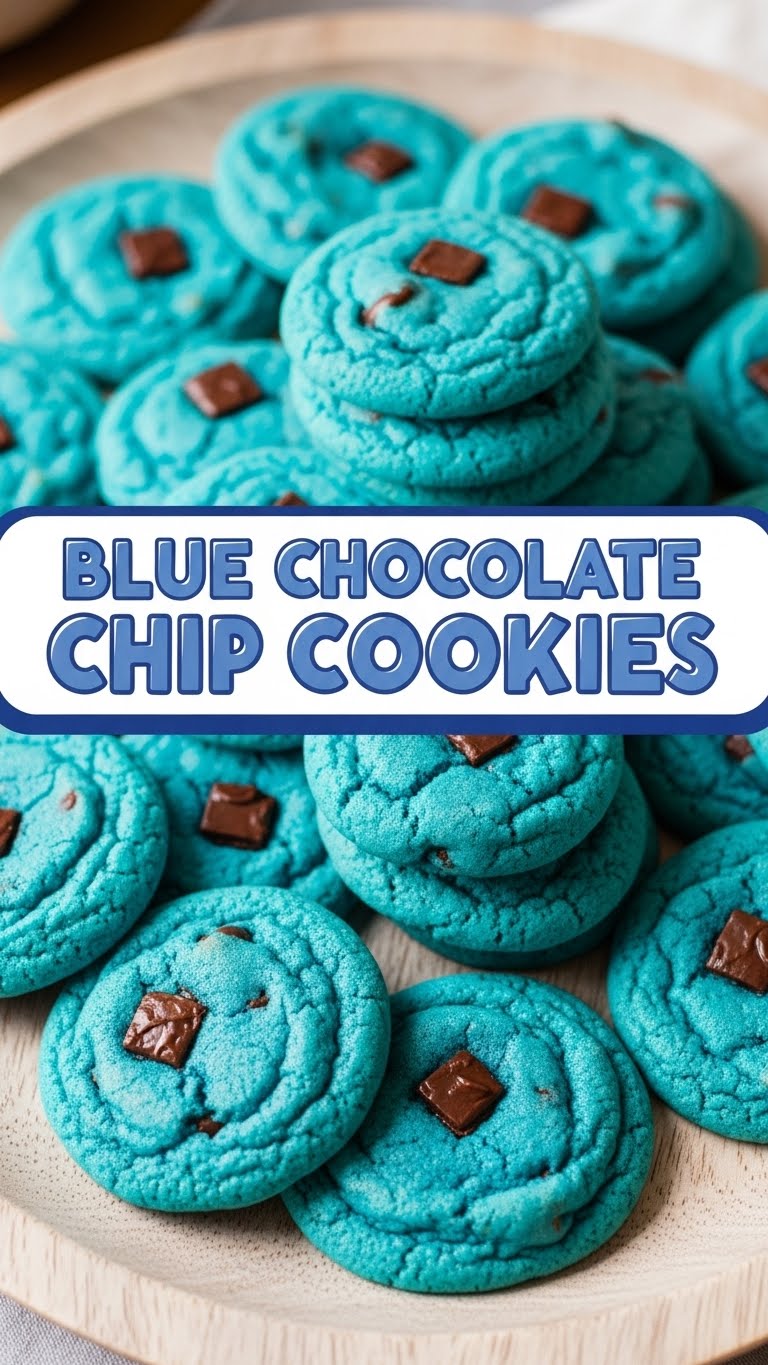
Ever just stare into your pantry, hoping a cookie magically materializes? Me too. But since magic is usually on vacation, and “beige” cookies are, frankly, a bit of a snoozefest, let’s make some *real* magic today: Blue Chocolate Chip Cookies! We’re talking vibrant, fun, ridiculously tasty cookies that’ll make you feel like you’ve got a secret superpower. Ready to dive in?
Why This Recipe is Awesome
Okay, let’s be real. We all want impressive bakes without, you know, the *impressive effort*. And that, my friend, is where these blue beauties shine. This recipe is so straightforward, your pet could probably do it (if they had opposable thumbs, of course). It’s **idiot-proof**, I swear, even I didn’t mess it up! Plus, it’s a total mood-lifter. Who needs a mood ring when you’ve got a plate of electric blue cookies? They’re chewy, chocolatey, and just scream, “I’m here to have a good time!”
Ingredients You’ll Need
Get your grocery list ready, because this is going to be simple. No weird, obscure stuff, just the good ol’ basics with a fun twist!
- 1 cup (2 sticks) Unsalted Butter, softened. Because we’re classy, and you control the salt, darling.
- ¾ cup Granulated Sugar. For that classic sweetness.
- ¾ cup Packed Light Brown Sugar. Hello, chewiness! Don’t skimp on this.
- 2 Large Eggs. Your binding agents.
- 1 teaspoon Vanilla Extract. Pure gold, IMO. Don’t use the imitation stuff, your taste buds will thank you.
- 2 ¼ cups All-Purpose Flour. The backbone of our cookie empire.
- 1 teaspoon Baking Soda. For that perfect lift.
- ½ teaspoon Salt. Balances all that sweetness. Crucial!
- 1 ½ cups Semi-Sweet Chocolate Chips. Or milk chocolate, or dark… whatever your chocolate-loving heart desires.
- 1-2 teaspoons Blue Gel Food Coloring. This is where the magic happens! **Go for gel**; it’s more vibrant and won’t thin out your dough.
Step-by-Step Instructions
Alright, apron on, good tunes playing, let’s get baking! These steps are super easy, I promise.
- First things first: Preheat your oven to **375°F (190°C)**. And line a baking sheet with parchment paper or a silicone mat. Trust me, less mess is always best.
- In a large bowl, cream together the softened butter, granulated sugar, and brown sugar until light and fluffy. This usually takes about 2-3 minutes with an electric mixer. You want it looking happy and well-combined.
- Beat in the eggs one at a time, making sure each is fully incorporated before adding the next. Then, stir in the vanilla extract. Mmm, that smell!
- Now for the fun part! Add 1-2 teaspoons of blue gel food coloring to your wet mixture. Start with a teaspoon, mix, and if you want a deeper blue, add another. **Don’t be shy here!** You want BLUE, not “is-it-a-little-moldy?”
- In a separate medium bowl, whisk together the flour, baking soda, and salt. This ensures everything is evenly distributed.
- Gradually add the dry ingredients to the wet blue mixture, mixing on low speed until just combined. **Do not overmix!** Overmixing leads to tough cookies, and nobody wants that.
- Stir in the chocolate chips by hand. Get them nice and evenly distributed throughout that gorgeous blue dough.
- Drop rounded tablespoons of dough onto your prepared baking sheets, leaving about 2 inches between each cookie. They will spread!
- Bake for **9-11 minutes**, or until the edges are lightly golden and the centers are still slightly soft. They’ll firm up as they cool.
- Let them cool on the baking sheet for a few minutes before transferring them to a wire rack to cool completely. Or, you know, eat them warm because who can resist?
Common Mistakes to Avoid
We’ve all been there, staring at a baking disaster. But with these pointers, you’ll dodge those culinary bullets like a pro!
- Forgetting to Preheat the Oven: Rookie mistake! Your oven needs to be at temperature from the get-go for even baking. Cold oven = sad, flat cookies.
- Using Too Much Flour: Measure your flour correctly! Scooping directly from the bag can pack it too tightly, giving you dense, dry cookies. **Spoon and level** for best results.
- Overmixing the Dough: Once the flour goes in, mix only until just combined. Overmixing develops the gluten, making your cookies tough instead of tender and chewy. Hello, hockey pucks!
- Not Chilling the Dough (Optional but Recommended): If your dough feels super soft or your kitchen is warm, a 30-minute chill in the fridge can prevent excessive spreading. Not a “mistake” to skip, but it helps!
- Underbaking vs. Overbaking: Pull your cookies out when the edges are set and lightly golden, but the centers still look a little soft. They’ll continue to bake on the hot sheet. Overbaked cookies are dry and crumbly.
Alternatives & Substitutions
Feeling adventurous? Or maybe you’re just out of one thing? Here are some simple swaps:
- Chocolate Chips: Swap semi-sweet for white chocolate chips for a stunning blue and white contrast, or use dark chocolate if you’re feeling sophisticated. You could even mix in some chopped nuts for extra crunch!
- Food Coloring: If blue isn’t your jam (gasp!), feel free to use any other gel food coloring you like! Green for St. Paddy’s, red for Valentine’s, rainbow for… Tuesday! Liquid food coloring *can* work, but you’ll need more of it, and it might thin your dough slightly.
- Extracts: A tiny dash of almond extract (¼ teaspoon) with the vanilla can add a lovely, subtle complexity. Or try peppermint extract for a festive twist!
- Butter: Technically, you *can* use margarine, but why hurt your soul like that? Butter is king for flavor and texture, FYI.
FAQ (Frequently Asked Questions)
- How long do these cookies stay fresh?
If they last that long (they won’t, trust me), they’re best enjoyed within 3-4 days when stored in an airtight container at room temperature. But good luck keeping them around!
- Can I freeze the dough?
Absolutely! Roll the dough into balls, then freeze them on a baking sheet until solid. Transfer to a freezer-safe bag and bake from frozen, adding a few extra minutes to the baking time. Fresh cookies anytime!
- My cookies spread too much! What happened?
Could be a few things: your butter was too soft, you used too little flour, or your oven wasn’t hot enough. Next time, try chilling the dough for 30 minutes before baking!
- Is the blue food coloring safe to eat?
Yep! Gel food colorings are perfectly safe and made for baking. Unless you’re eating it straight from the tube (no judgment!), you’re good.
- Can I make these gluten-free?
You bet! Just swap out the all-purpose flour for a 1:1 gluten-free baking blend that contains xanthan gum. The texture might be slightly different, but still delicious!
- What if I don’t have an electric mixer?
No problem! You can totally make these by hand. Just be prepared for a bit of an arm workout, especially when creaming the butter and sugars. Embrace the 💪!
Final Thoughts
So there you have it, your ticket to cookie stardom. You’ve just unlocked the secret to making cookies that are not only insanely delicious but also ridiculously fun to look at. They’re perfect for parties, surprising friends, or just making a Tuesday feel a little more extraordinary. Now go forth and bake, my friend! And maybe save one for me? Just kidding… unless?


